Nail Art
Stamped Japanese Green Tea Nails
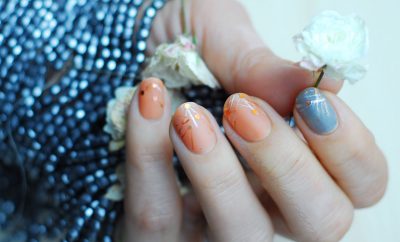
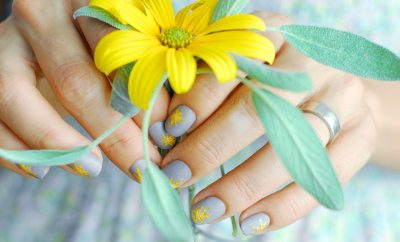
With the arrival of Spring, it’s time we rejoice the renewal of nature, all the beauty it brings: everything turns green again and all the fantastic nail art inspired by spring! However, it’s not because the weather warms up that we need to put aside our tea cups! I love green tea and this is one of the reasons why this nail art feels simply fabulous – I can only hope you enjoy it just as much as I did!
Hello my dear fellow nail art addicts,
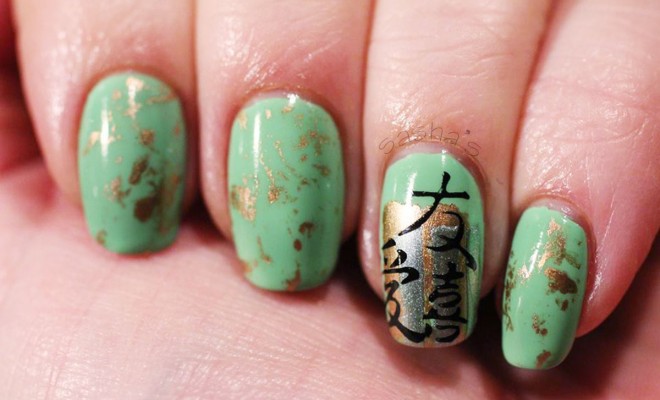
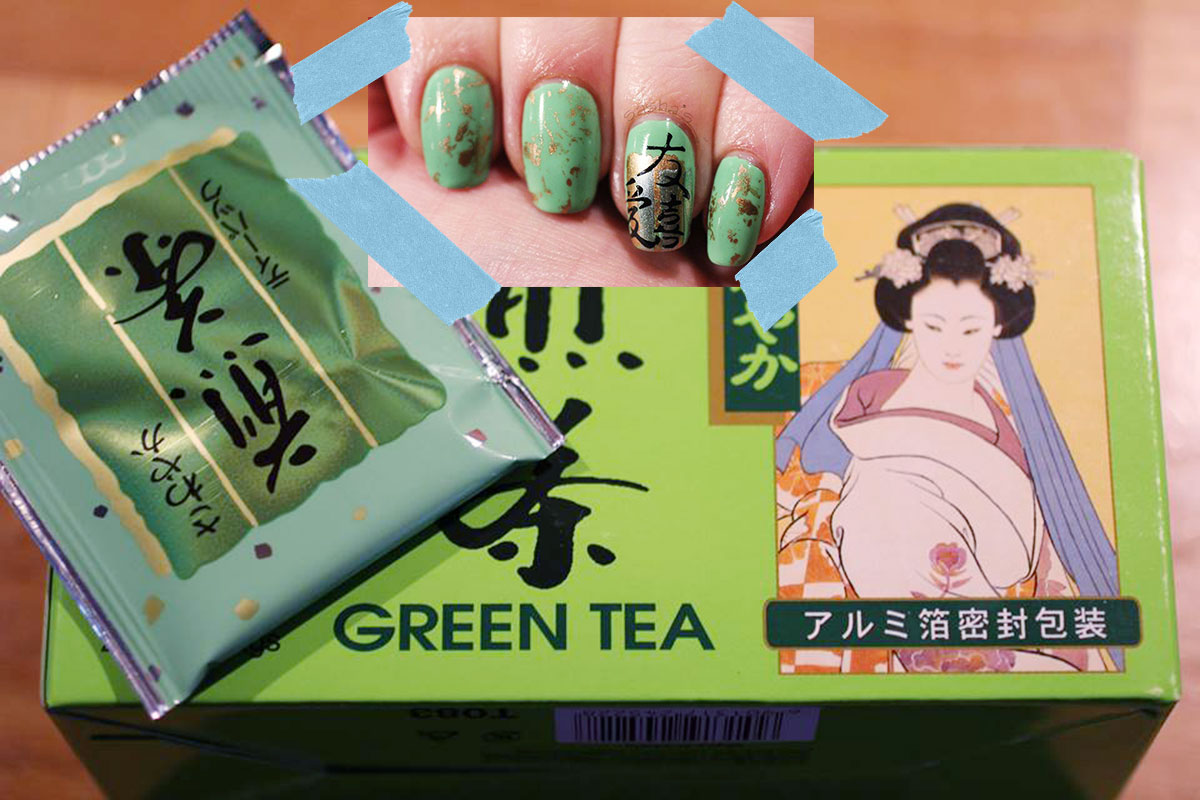
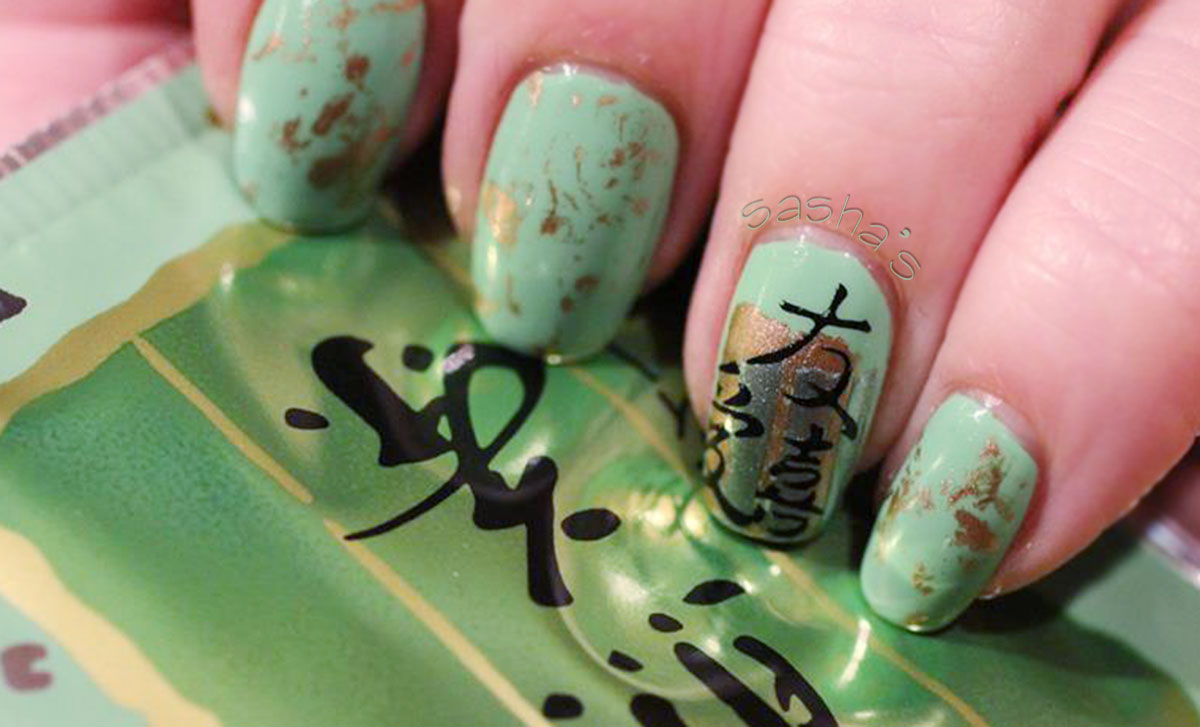
This time I got my inspiration out of a present I got: Japanese green tea in the most adorable package and beyond cute and gorgeous wrapped bags! Looking at this, I immediately felt a mani coming up, so let’s get on with it because I really want to show you my Japanese Green Tea Mani!
See also: How to recreate the fabulous black lace nails!
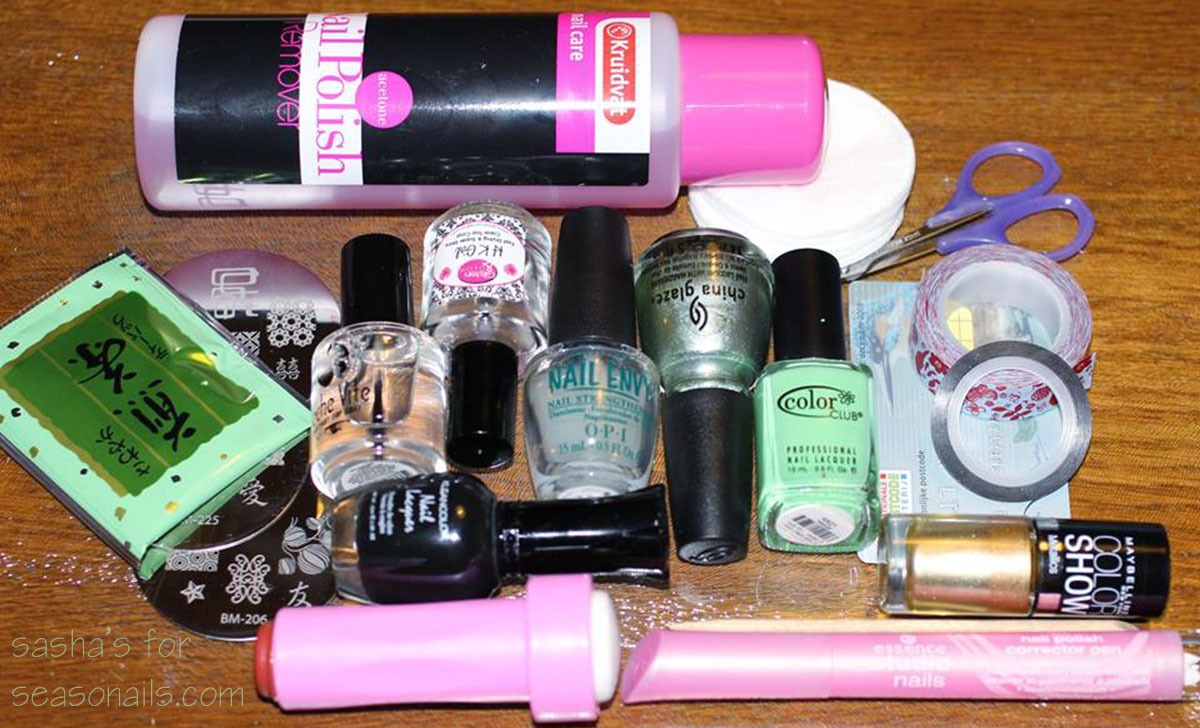
The items I used for this: Nail polish remover (you might know by now I prefer the one with acetone), cotton pads, a rosewood stick, a little pair of scissors for cutting the striping tape, a teabag as my example, stamping plates with Japanese characters, a stamper, a store card for a scraper, black (stamping) polish, fast drying top coat(s), base coat, metallic green polish, bright green polish, gold polish, washi tape, striping tape and a nail polish remover pen.
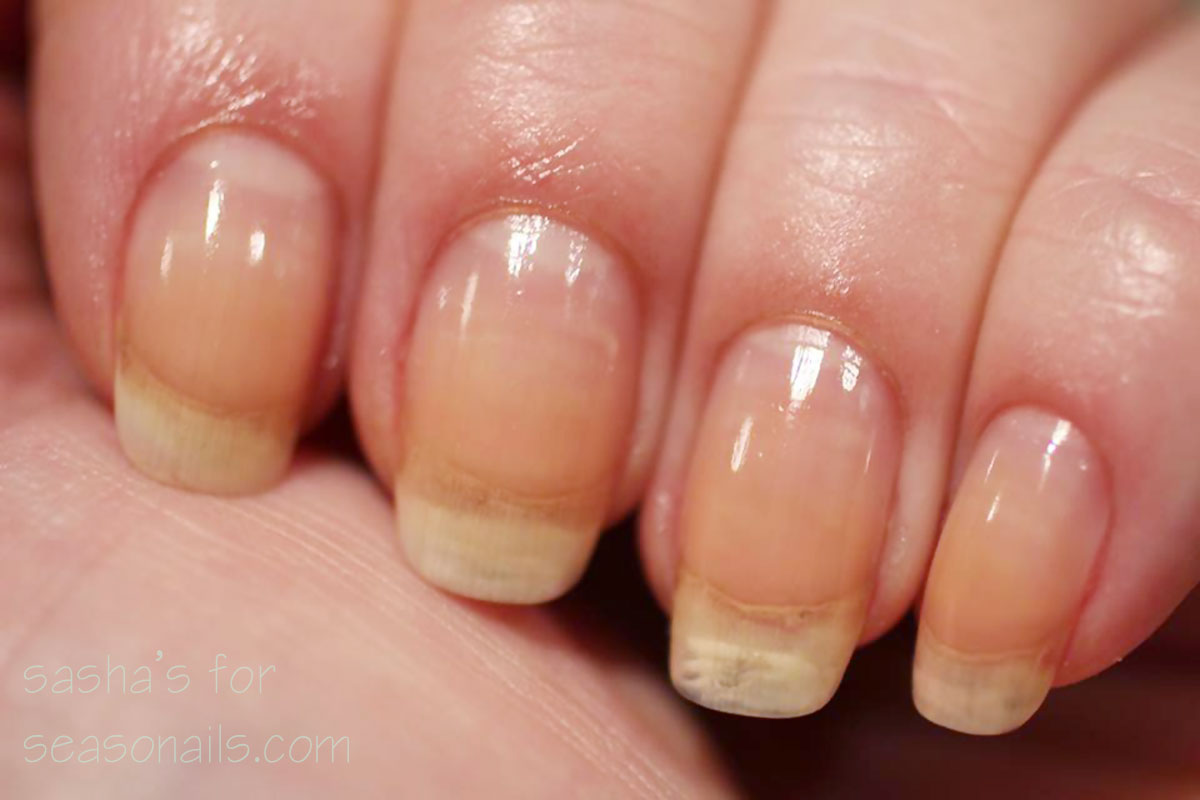
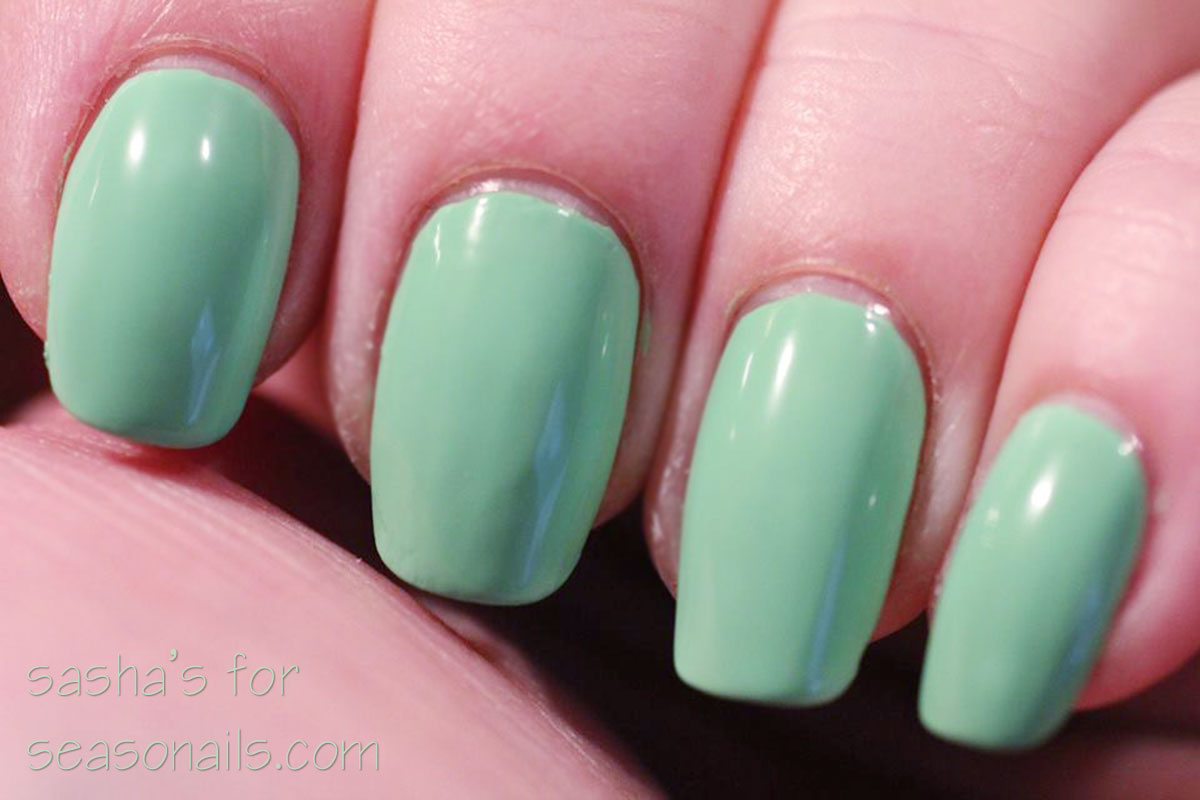
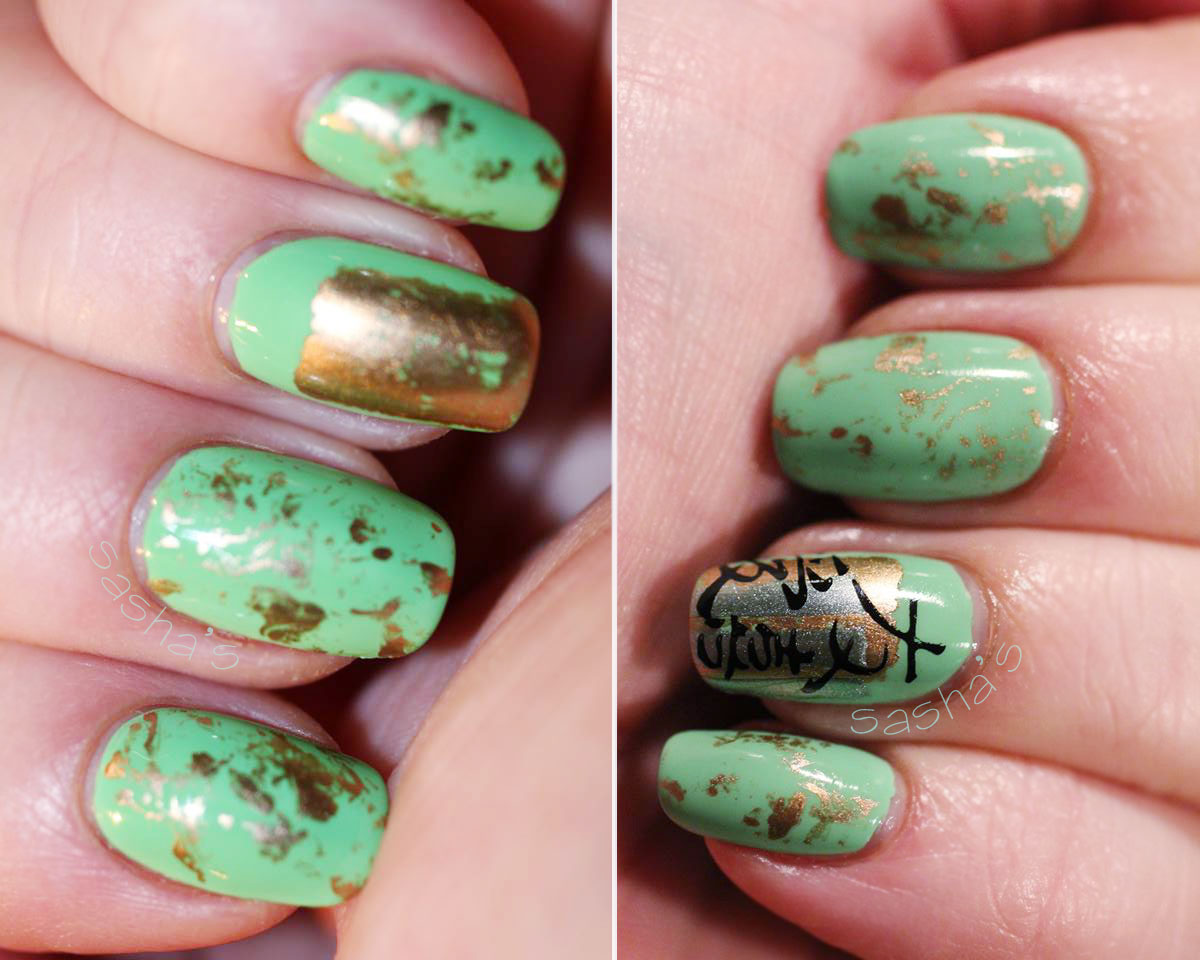
As usual, I started off with clean nails (no polish left, no oils left) and applied my base coat. When that was dry, I applied 2 coats of my gorgeous green base color. I topped the accent nail off with some fast drying top coat. Then I applied some gold polish onto a bit of saran wrap (for this, take a little piece of the saran wrap or cling foil and sloppily form that into a kind of rough “ball”), dab the excess off onto a piece of paper and then dab it carefully on all nails, except the accent nail (I my case almost always my ringfinger), to get a random stippled gold effect on the nails. When dried (that will be very quickly), I applied top coat on the “stippled” nails.
See also: Joyful rag doll mani how to!
Then I taped my accent nails off with some torn off washi tape (you can also use masking tape) and filled in the gap with the gold polish. There’s no need to do this neatly, because there’s gonna be another color applied over that later. I removed the tape and let the gold polish dry. This won’t take long either because for this you just need a very tiny amount of gold polish.
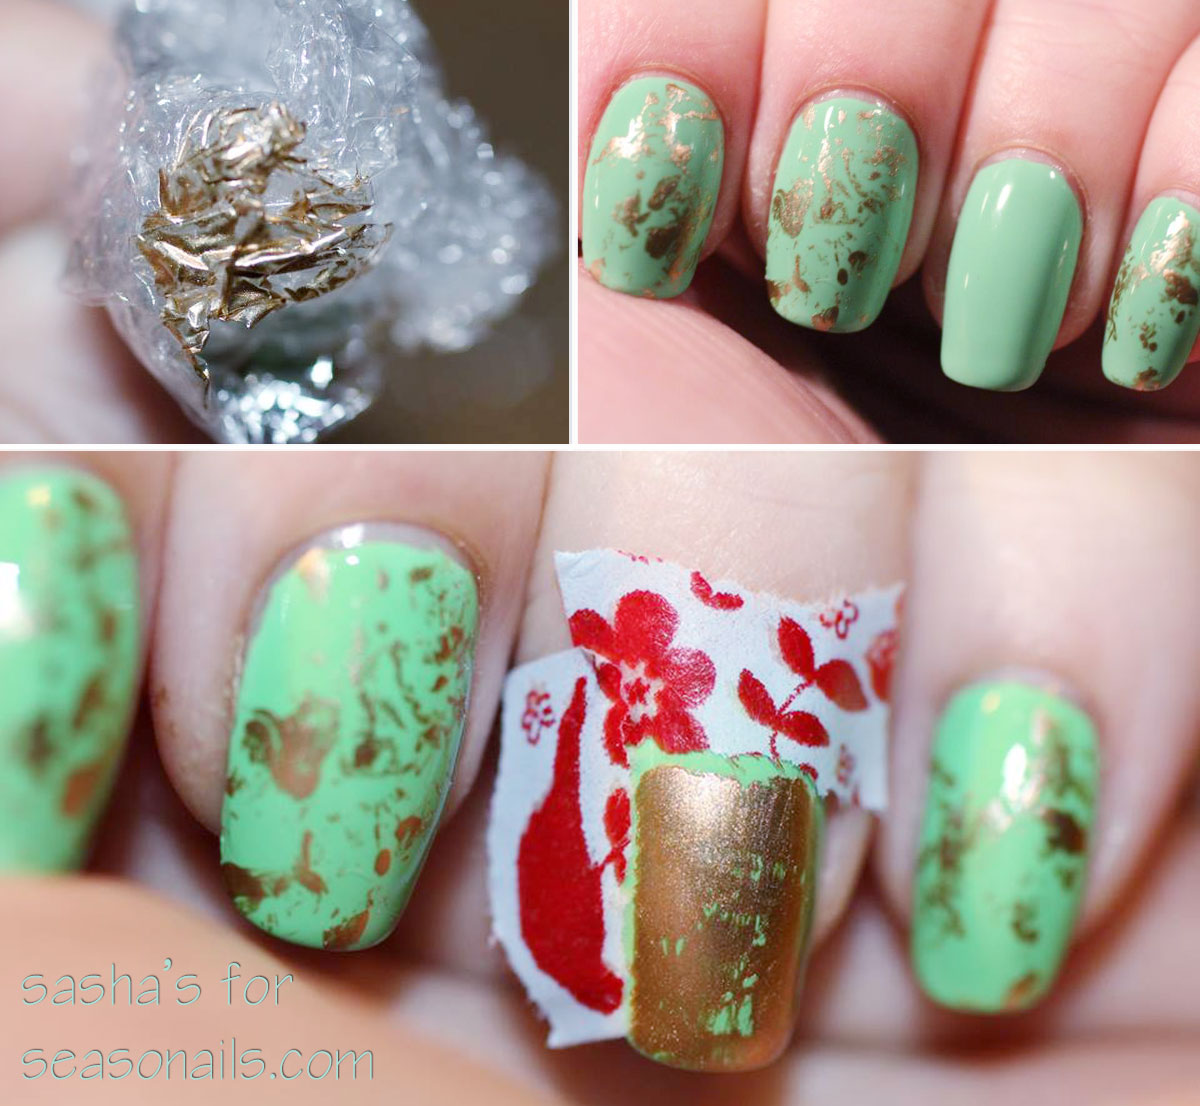
When that dried, I used washi tape once more. Just exactly like the previous step, but then so that the next colored “block” will be just a bit off. I also used the striping tape to get two vertical lines in the metallic green “block”, through wich the gold is visible. To color this gap in, I used a tiny bit of the green metallic polish. Immediately after that, I removed the striping tape and washi tape (reversed order; the tape you applied lastly, will be removed first). If you look at the end result, I hope you will see what I mean. Let that dry for about ten minutes.
See also: Delicate, subtle nail art for Spring!
Now let’s go on with the stamping!!
I chose a few Japanese characters and stamped that in black across the gold and metallic green color blocks. For stamping I applied some black (stamping) polish onto the image plate, scraped it over the entire image with an old store card, then picked up the image with my stamper and stamped it onto my nails.
I applied a nice thick layer of top coat on all the nails (I love multiple layers of top coat, because for me, the glossier, the better), applied some cuticle oil on my cuticles and there it was: my Japanese Green Tea mani! I just loved it and got many compliments wearing it….
I sure hope you enjoyed this step by step and I’d love it if you would recreate this mani, don’t forget to share your experience!
We sure did, Sasha! And thank you for the wonderful nail art guide! If you want to follow Sasha and keep up with her amazing stamped designs, make sure you visit her Facebook page!


Latest Comments