Nail Art
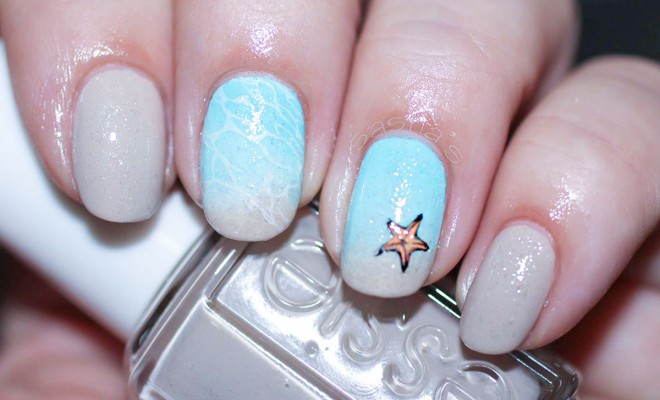
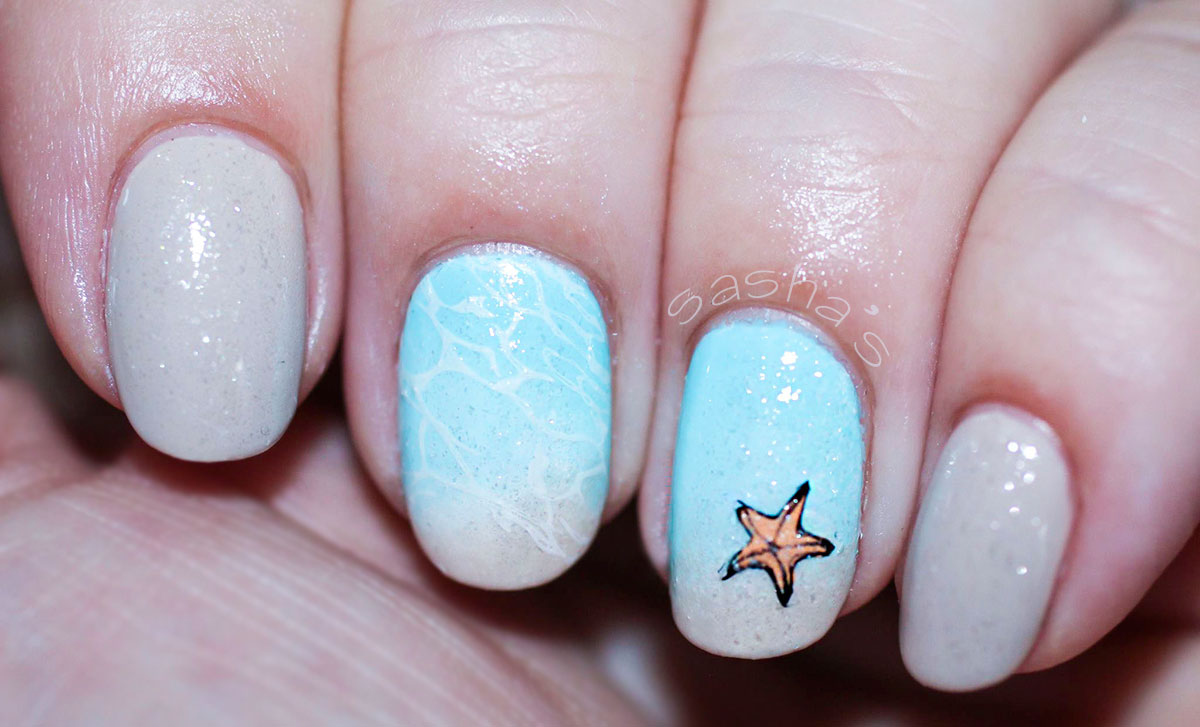
Stamped Nail Art: Sandy Beach Summer Holiday Nails
It’s time to wish a warm welcome to our resident Stamping Specialist! So good to see you back Sasha! We really missed your stamping expertise (blushing) in this ocean of struggling freehand nail art!
Since Summer is that special Beach Holiday time for most of us, Sasha was happy to help us out with Stamping Summer Holiday nails ideas! And it all started with the Sandy Beach Summer Nails! They’re so easy to do and the result is perfect for a shoreline summer holiday. Actually, even if I got back from a sandy beach holiday I would wear these nails as a reminder or a fabulous vacation! Let’s hear it from Sasha herself:

For these gorgeous sandy beach summer nails I used: nail polish remover, cotton pads, base coat, top coat, orange wood stick, two turquoise polishes (one slightly darker than the other), sand color polish, white polish, white sand texture top coat, black, white and orange stamping polish (orange could be any orange or light brown polish, I happened to like this one best for my starfish), liquid latex (if you are allergic to latex, use scotch tape!), nail foil transfer glue (works miracles when it comes to stamping), stamper(s), scraper/storecard, stamping image plates, a sponge (any sponge wil do) and a piece of paper towel.
See also: How to create a grown-up version of the summer-staple watermelon nails!
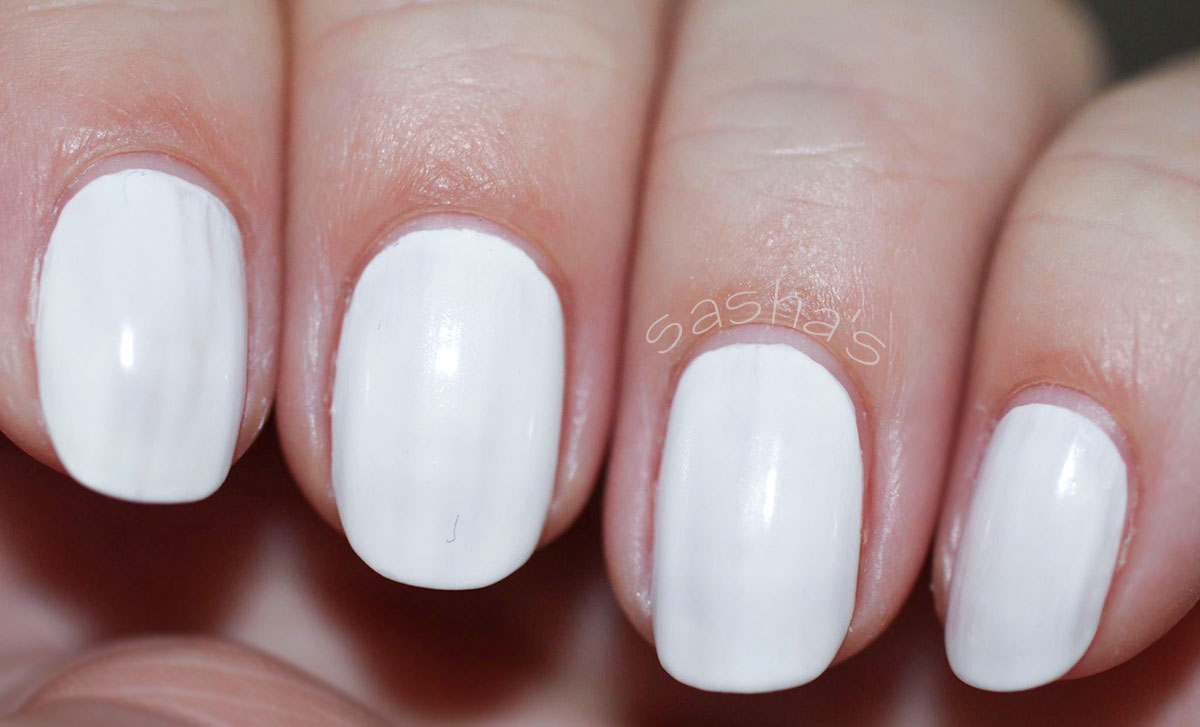
I started off with clean, oil-free nails, I applied a base coat (for protecting the nails and a better adhesion of the polish to the nails) and then one coat of a fairly opaque white, as a base for my gradient. I applied some liquid latex on the cuticle areas of my middle and ring fingers and the sand color (Essie’s Sand Tropez, such a gorgeous color!) on the thumbs, pointer fingers and pinkies.
See also: Stamping Summer Hawaiian Sunset nails!
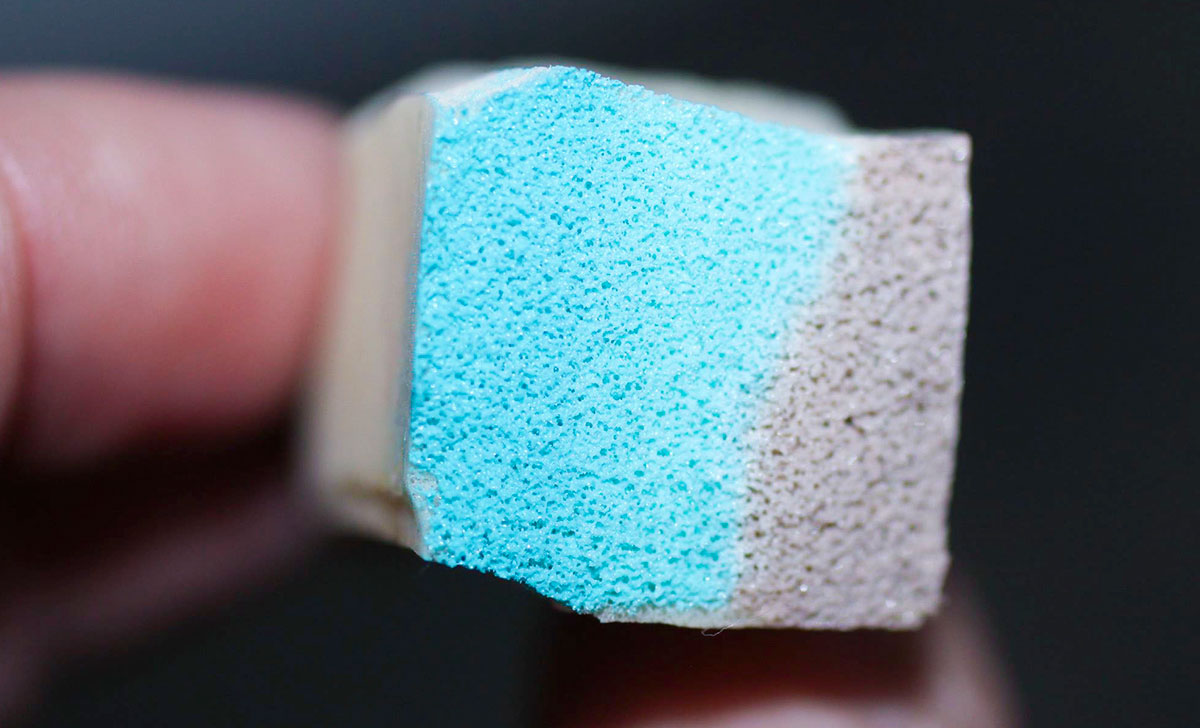
Then I grabbed a piece of sponge, prepared it for stamping by damping it so it won’t soak up the polish, and applied the 4 polishes I wanted to create my sandy beach with. I used the darkest turquoise on top, then the lighter one and then the sand color. After that, I used some white polish to dab on the line between the lightest turquoise and the sand color, to create surf. Remember not to apply the polish in straight lines, for the ocean never has straight lines; they’re always moving, looking curvy and irregular!

I dabbed the sponge with my ‘beach’ onto my nails and I repeated that until I was happy with the opacity – be careful not to press too much or your base color will imprint on your sponge.
See also: Summer’s blockbuster Minions nail art!
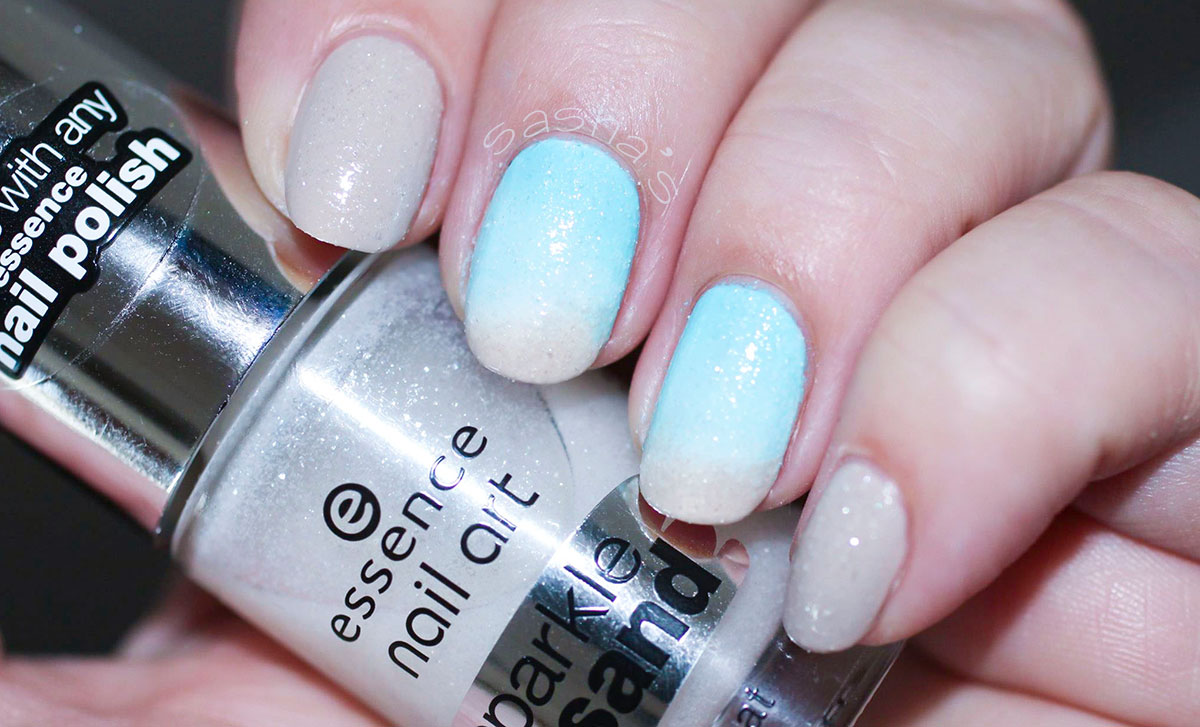
After this step, I topped every nail with the white sand texture top coat to create a real sandy, irregular and sparkly, glistening beach and ocean (can you guess how much I love the beach already?). While it dried, it was the perfect time to create my decals!
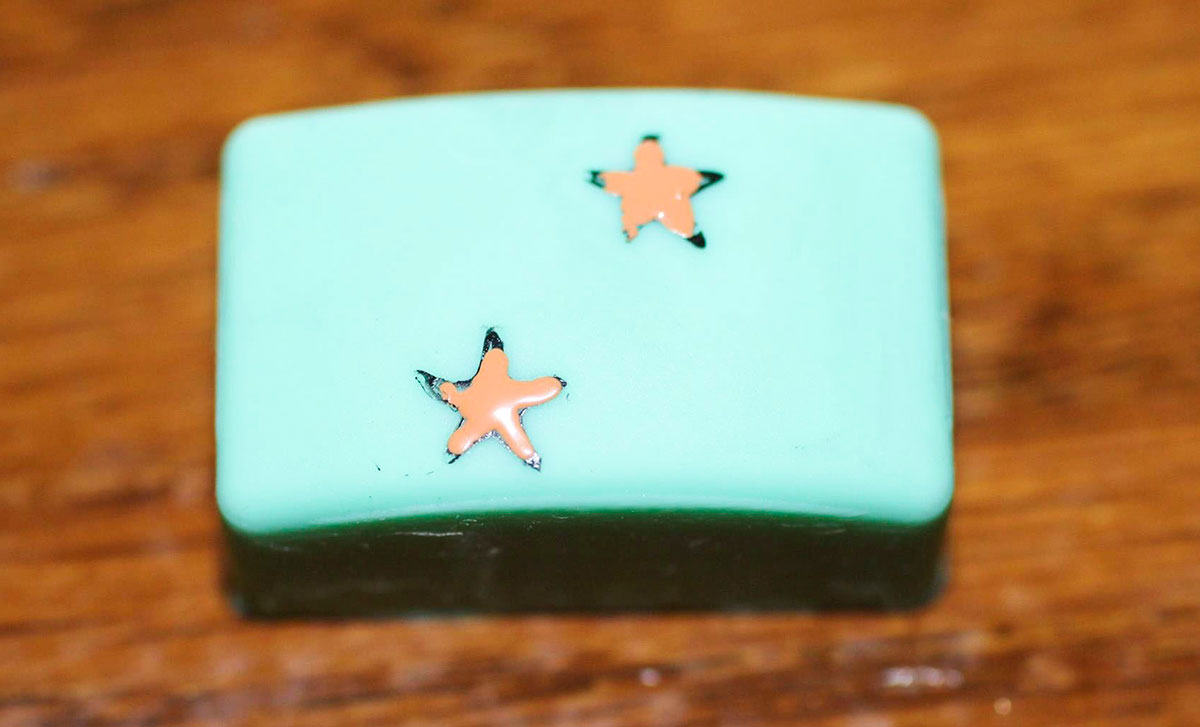
I stamped some cute starfish onto the stamper and colored them in with an orange polish. I let them sit there to dry and stamped the middle finger with an image in white, to create the suggestion of moving water. Hmmmmm, don’t you just wanna dive into this ocean? (daydreaming) Back to the starfish decal now: I applied some nail foil transfer glue on my ring fingernail, let that dry and stamped the starfish on top of it. At this stage, I top coated all my nails with a nice layer of high gloss, fast drying top coat, my favorite part of doing nail art! I moisturized my cuticles and I was good to go: VAMOS A LA PLAYA!


Latest Comments