Nail Art
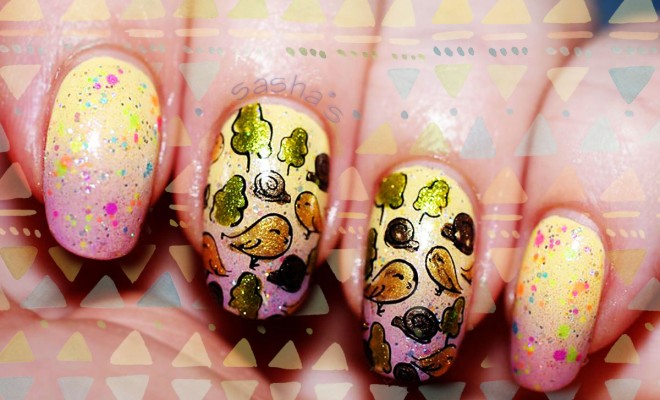
Spring Easter Stamped Nails
Spring is finally here! There’s certainly no way to deny it anymore, especially when Easter and Passover are just a couple of days away! Naturally, we couldn’t have let this go by without the proper fabulous stamping! This time earlier, just in case you’ll be needing a last-minute idea for this weekend’s celebrations! Long story short, let’s hear it from our very own Stamping Specialist: Sasha!
Hello my fellow nail stamping addicts! With Easter just a few days away, I had to do an Easter mani with cute chicks to get in the right mood…
First a list of items I used: cotton pads, nail polish remover, orangewood stick, sponge, nail polish remover pen, base coat, topcoat, pastel yellow polish, tape, pastel purple polish, soft glittery polish, 3 metallic polishes, stamper, scraper (old store card), black stamping polish, neon glitter polish and glue for transfer foil.
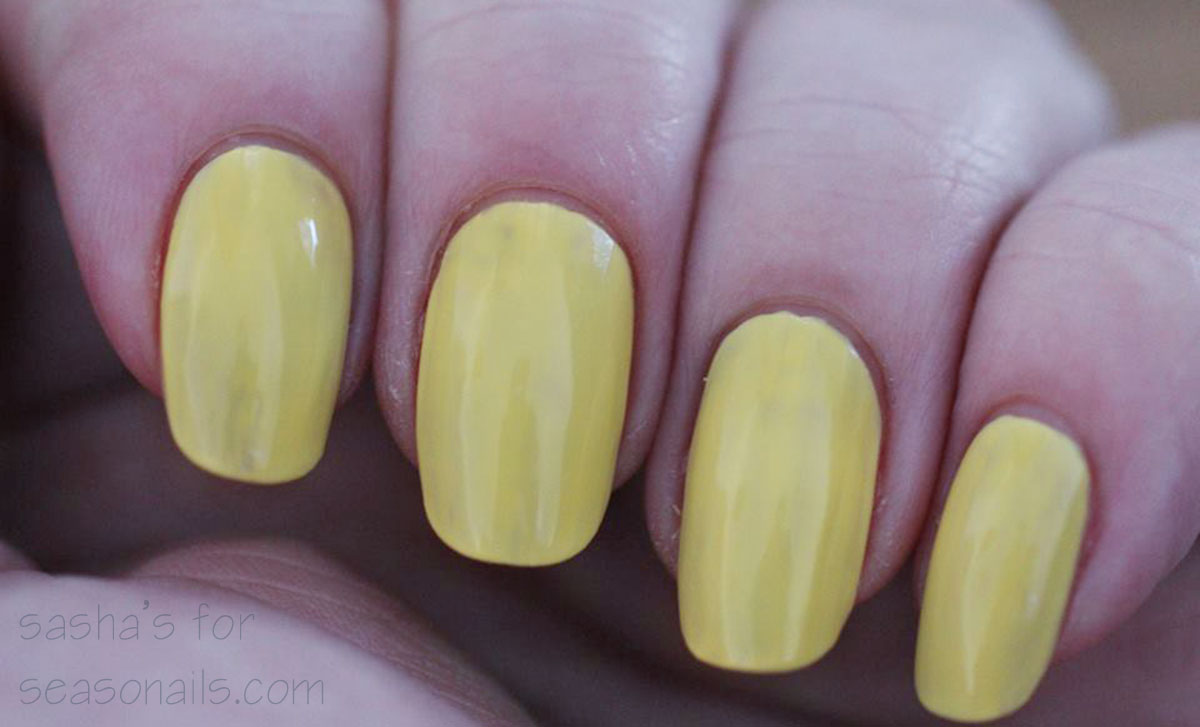
As always, I made sure my nails were free from all the old polish and any oils by cleaning them with a cotton pad and some polish remover. Then I added my base coat, let that dry and I applied the pastel yellow polish. You might need several layers of that, because light yellow is one of the most difficult colors to get opaque… Once that dried out, I applied tape around my cuticle area to protect my skin from the mess I was going to make, creating the gradient.
See also: Gorgeous flowers gradient for Spring & more!
Before all that, I started by preparing the stamping images: I used 4 stampers – one for each “accent nail”. I put some black stamping polish onto the image plate, scraped the excess off and transferred the image to the stamper. Then I grabbed my 3 metallic polishes and carefully colored in the details in the image (yellow for the chicks, green for the trees and brown for the snails. To make sure that was dry enough before transferring it onto my nails, I let that sit and began my mani.
I drew a line of yellow polish on my sponge and slightly overlapping I also added the pastel purple in a line beneath the yellow. Then I pressed the sponge onto the nails, gently dabbing the polish onto my nails in a slightly up and down movement, so the colors blended in the middle. Don’t do that too long, because when the polish is starting to dry a little, it becomes very sticky and here’s the risk of pulling off polish, what will damage the design beyond repair. Better do the dabbing or sponging twice or more times with a small amount of polish each time to get the opacity you want, than keeping on dabbing with a overloaded sponge!!
Don’t miss: The fantastic Pirates’ Treasure Map Nails!
When satisfied with the color and opacity, I carefully pulled off the tape around my nails, cleaned up the tiny bits of polish that still managed to end up on my cuticles (imagine if I didn’t tape it off…..) and topped that off with a nice glittery (white-ish) polish and a fast drying topcoat and let that dry for a few minutes. The thumb, pinky and pointer finger I first covered with some super cool, very festive and springy neon glitter polish before applying the topcoat.
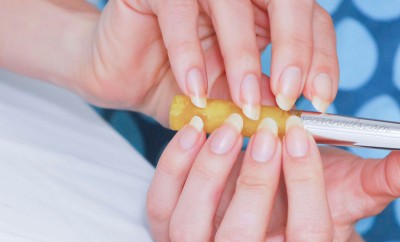
As soon as the topcoat had hardened a bit, I applied a thin layer of glue for tranfer foil. When that was dry (it becomes completely transparent/invisible), I rolled the stamper with the colored images onto my accent nails. I used my nail polish remover pen to clean up the edged and to make those as crisp as possible. I topped off my accent nails with topcoat (the other fingers I already did) and the mani was done. Of course I didn’t forget to apply some lovely cuticle oil on my cuticles, some delicious, strawberry-scented hand creme on my hands and let that soak into my hands and I was good to gow, ready to find me some Easter-eggs!!
Have a lovely Easter you all and see you next time! Whenever you have any questions or requests, don’t hesitate to leave it in the comment section!!! Liefs, Sasha
Don’t forget to keep up with Sasha’s wonderful designs, all you need to do is check out her FB page (and come back on Seasonails for more special Stamping Sunday!)




Latest Comments