
Nail Art
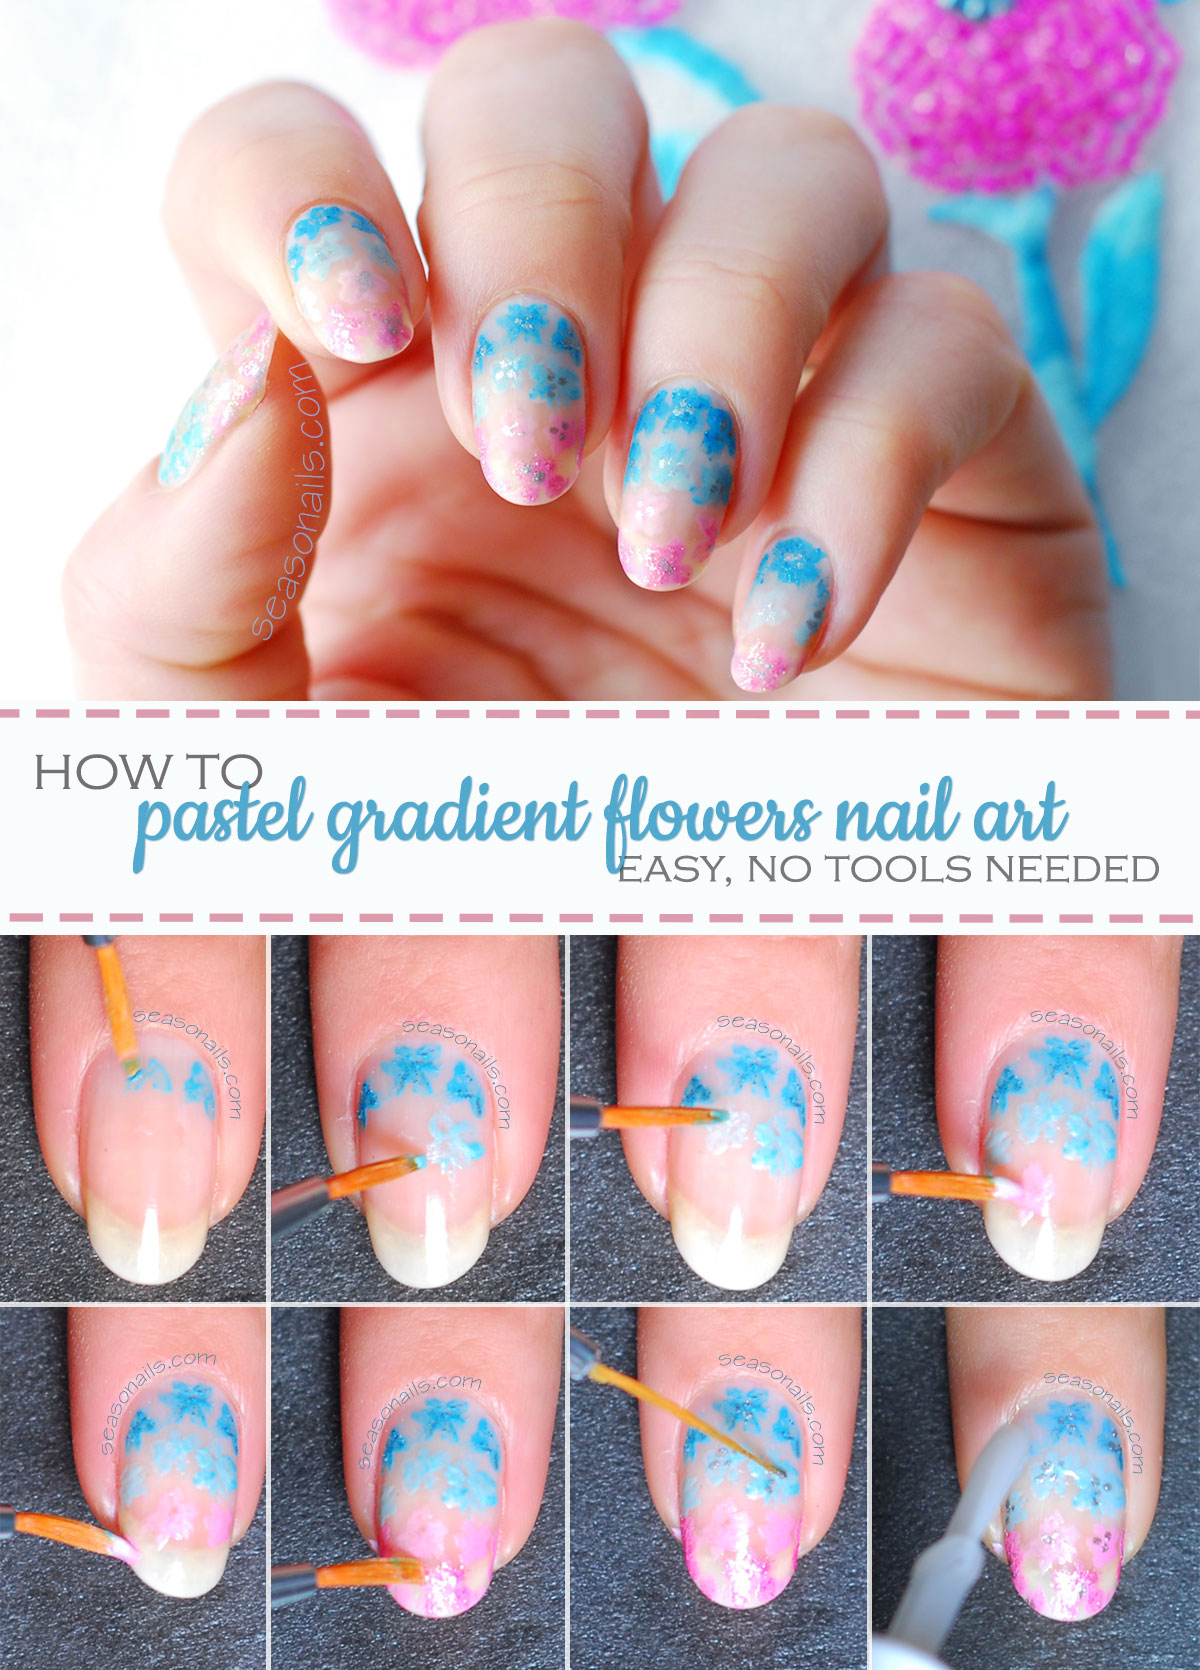
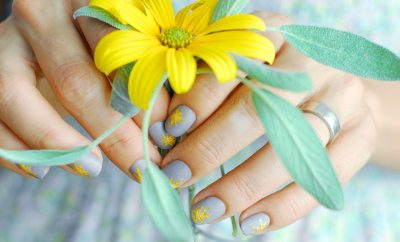
Pastel Flowers Gradient Nails
Now this is a pretty special type of nail art! Not just because it looks incredibly catchy, but because it has a story – you didn’t think you’ll get by without a story, didn’t you (smile)?
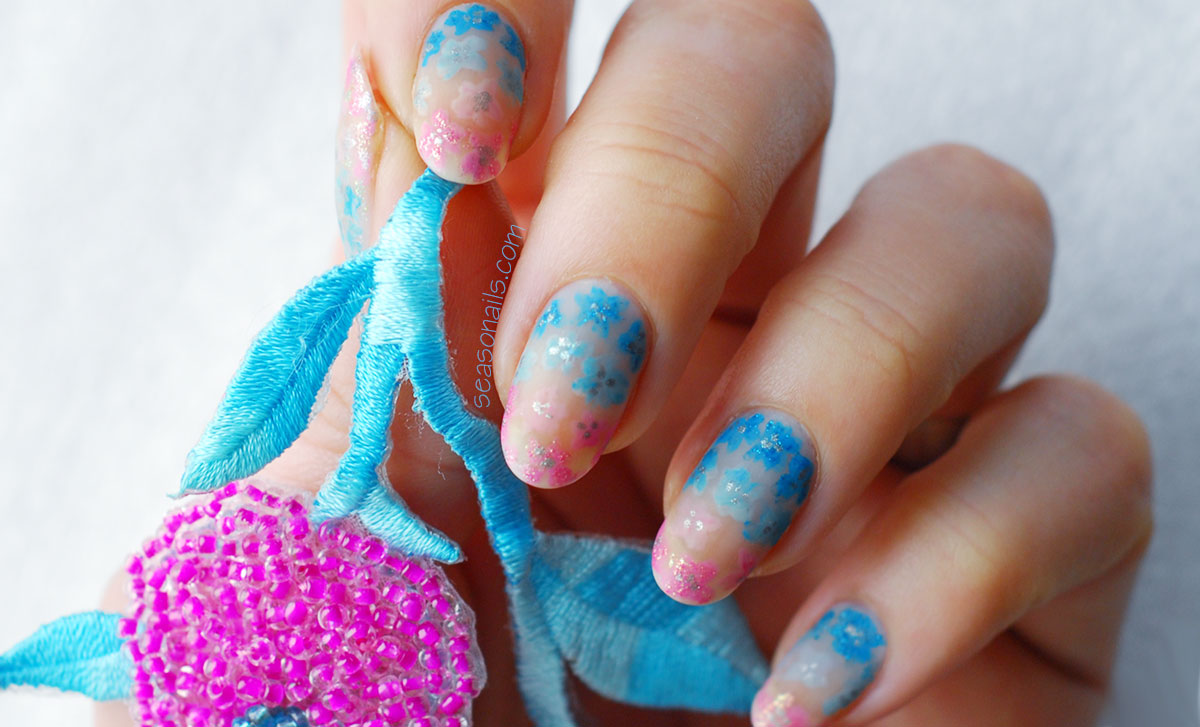
These nails, what you see right there, is how I see Hydrangeas! I love these flowers so much, in my head they were created with one purpose: to brighten up one’s day! I find myself staring at those giant flowers and instantly feel uplifted and full of energy! After I painted my nails with the Hydrangea flowers nail art, I could literally race the Easter Bunny! Seriously, they’re crazy simple to do!
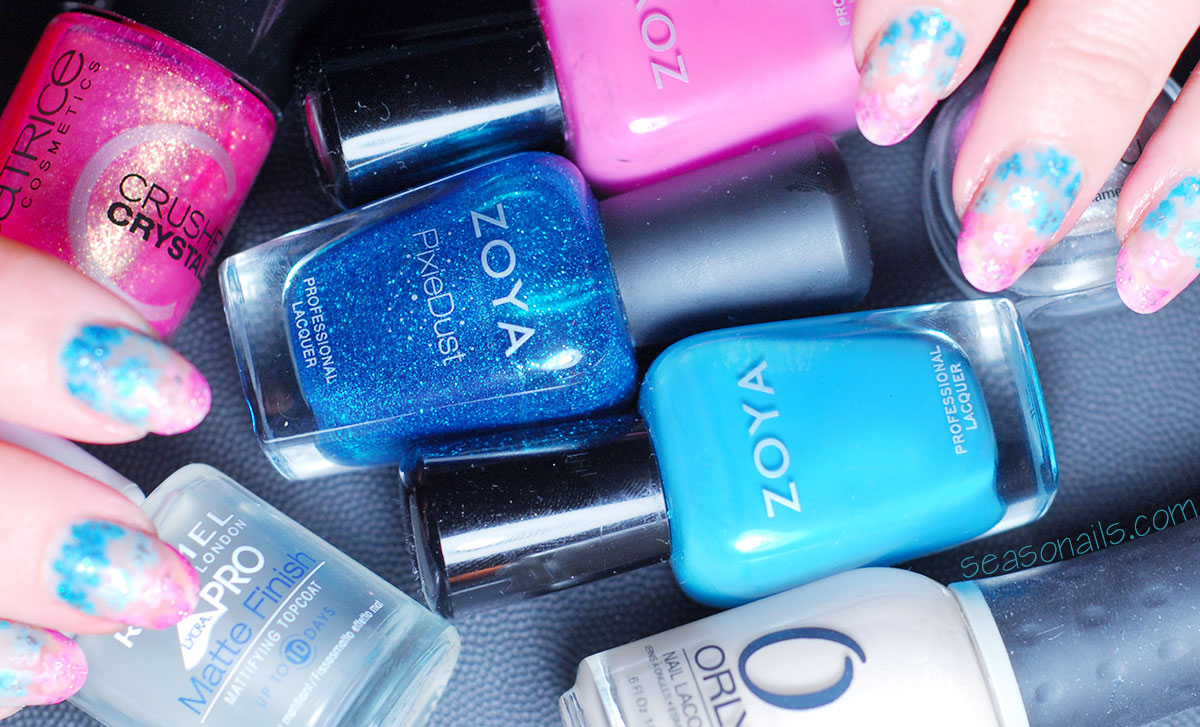
Start by painting your nails with a natural base (I used OPI Step Right Up), allow the nails to dry and gather the colors you need for the flowers – in my case Zoya Robyn and Zoya Sweet plus Orly Pink Whisper to create the gradient; I added light touch-ups with Zoya PixieDust Liberty and Catrice Crushed Diamonds Call me a Princess). Throw in a no-name silver for the dots and a matte topcoat for the fantastic finish!
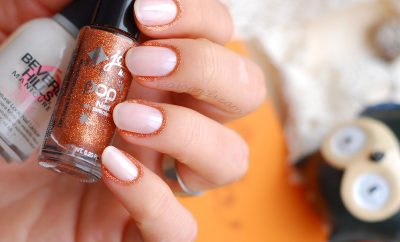
See also: Pretty Pastel French Nails!
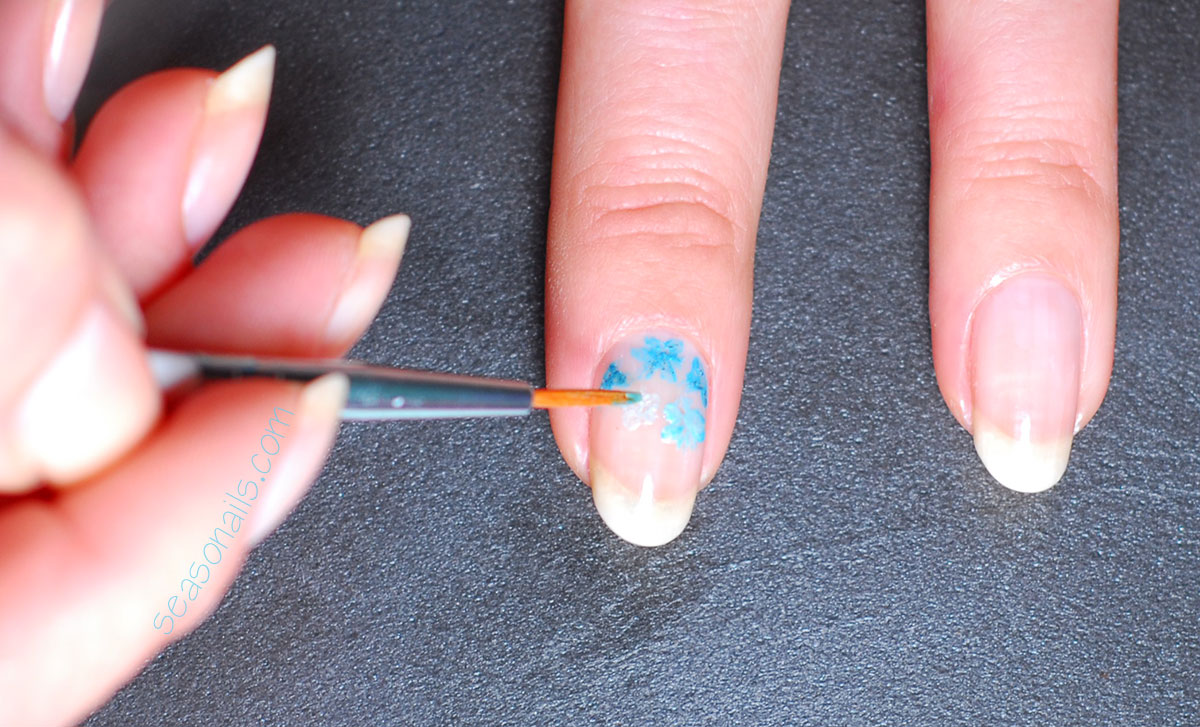
I wanted an irregular look for the flowers, so I painted them with a brush instead of a dotting tool. Dots make such surreal, perfectly shaped petals – I wanted something closer to the nature. Nature is perfectly imperfect! Allow yourself to be creative with the flowers – the arrangement, the number of petals: keep one thing in mind, though – you’re working on a gradient nail art so you’ll have to work from the darkest color to the lightest and back to dark again! I went from deep blue to light blue ,light pink and hot pink at the tips.
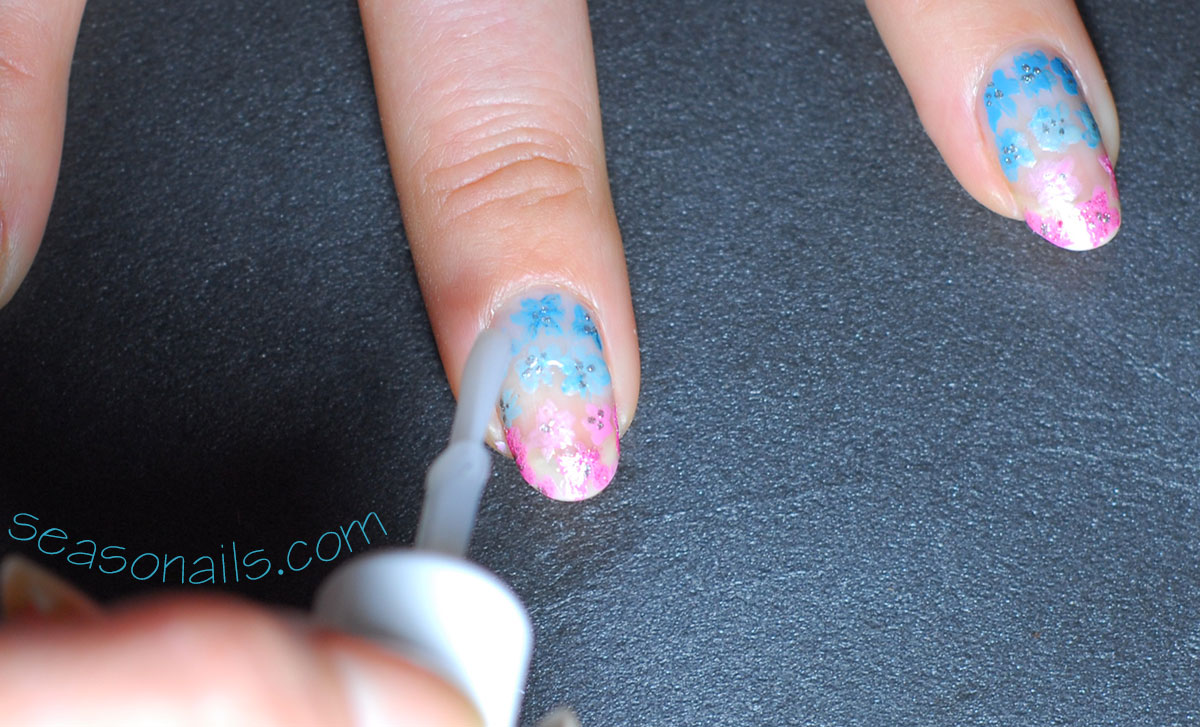
Mix in as much light polish as you feel is needed to lighten up the color you started with and then go to your second color in the gradient – in my case the pink. I mixed light colored lacquer with the pink Zoya and decreased as I was going up the nail, to achieve the right hot pink. When I finished the flowers, I dipped the brush just a bit in the blue Pixie Dust and added a bit of sparkle on the very first blue nails. I cleaned the brush and dipped in the pink Catrice and added a bit of shine only on the pink flowers at the top. You can definitely skip this, I just got carried away (this happens a lot, especially when you have PixieDust lying around).
See also: Freehand Cherry Blossom Nails!
I painted the silver dots with the brush because I wanted to keep the same imperfect look. Sealed with matte topcoat (I used Rimmel, but you can use whichever you have) and … I allowed myself a moment to stare (make that 10 minutes!).
Oh, but I didn’t tell you the story! The actual story of how this mani came to life ( you thought I’d forgot, huh?). This is actually the first nail art competition I entered! It was a floral-themed contest and from the first day it was announced I was petrified, not knowing what I would come up with that would be original and pretty at the same time!

The very last evening (I was supposed to send the picture of my floral nail art the next day till noon) I inhaled deeply and tried to empty my head and let only the flowers in. The hydrangeas popped right in. I had my nail art idea and it looked all Sixtine Chapel-worthy in my head. Of course I painted it as if Michelangelo was 2 years old, but that’s ok, no Pope’s gotta look at my nails either! (oh, and just in case you’re wondering – I haven’t got the results yet, so… cross your pretty fingers for me!)
See also: Watercolors hearts nail art!


Latest Comments