Nail Art
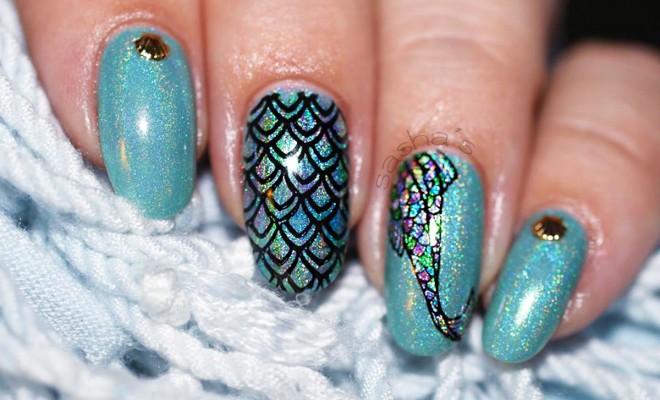
Holo Mermaid Stamped Nails
Another week has gone by, bringing us closer to Fall and consequently to Fall Nails. This is officially the last Summer manicure this year and I’m happy to have Sasha to close this seasonal chapter! Today she will lure us all into making Holographic Mermaid Nails! Let’s see how:
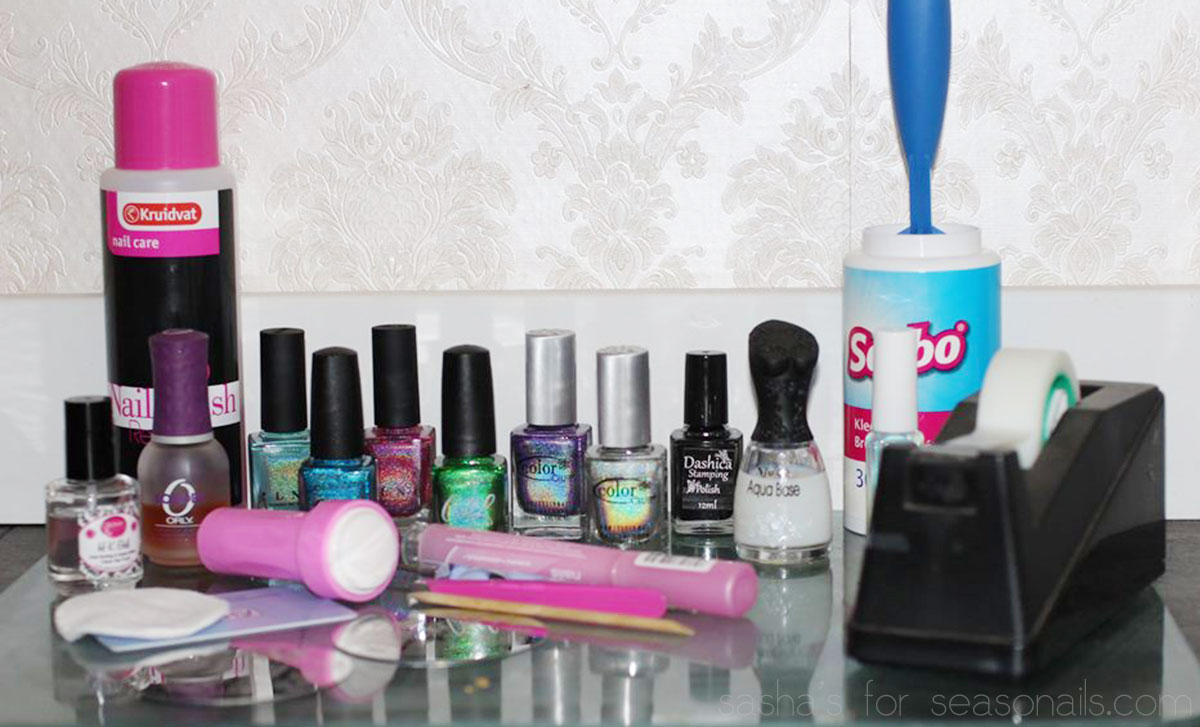
The items I used for this lovely mani are: nail polish remover, cotton pads, orange wood stick, nail polish corrector pen, tweezers, base coat, top coat, dotting tool, aqua base coat, transfer foil glue, scotch tape, 6 bright holo polishes in mermaid-y colors, black stamping polish, two stampers, a scraper/store card, and of course, mermaid-y stamping image plates.
For this special look, I first prepared the gorgeous mermaid tails by transferring a fishtail image onto my two stampers and gently top coated them (so the images wouldn’t smear when I colored them in). When the top coat dried out, I grabbed my dotting tool and the five colors (save for the one I used for my base color) and started to fill in the tiny scales of the tails with holo polish. I tried to make sure not to use the same color on scales that were next to each-other. This took me some time, but oh my, the result is really drool worthy! Once almost dry, I put a coat of fast drying top coat on top.
See also: How to do the Easiest Summer nails ever!
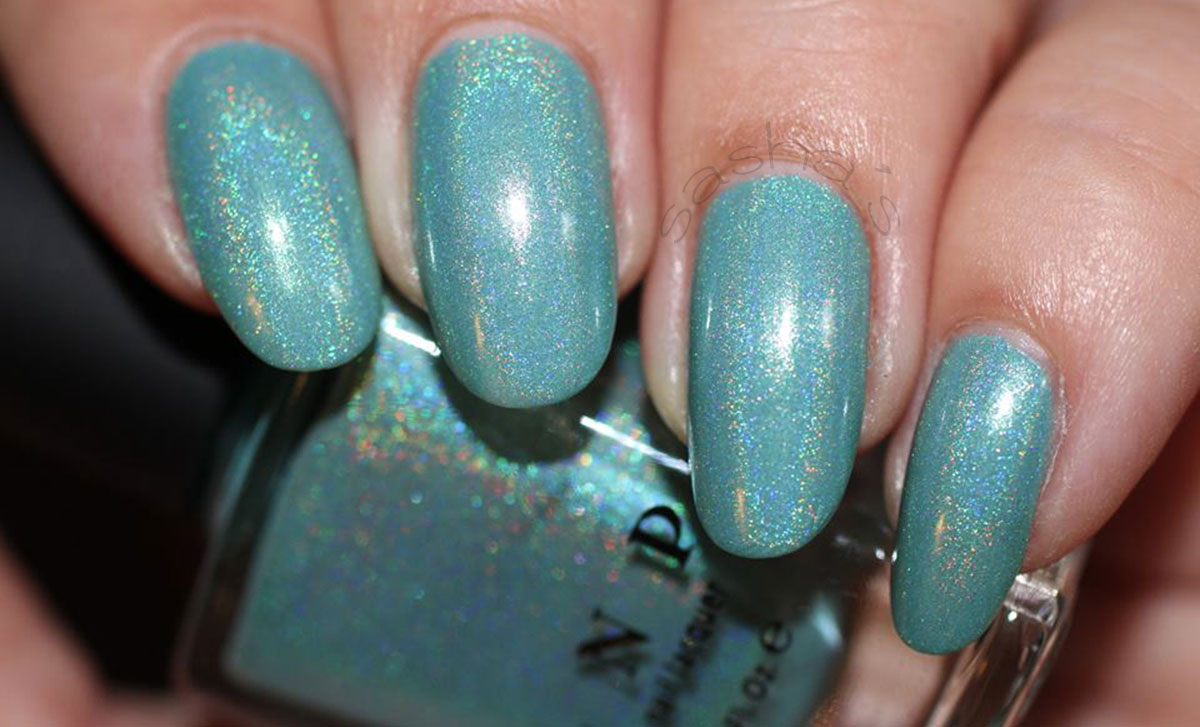
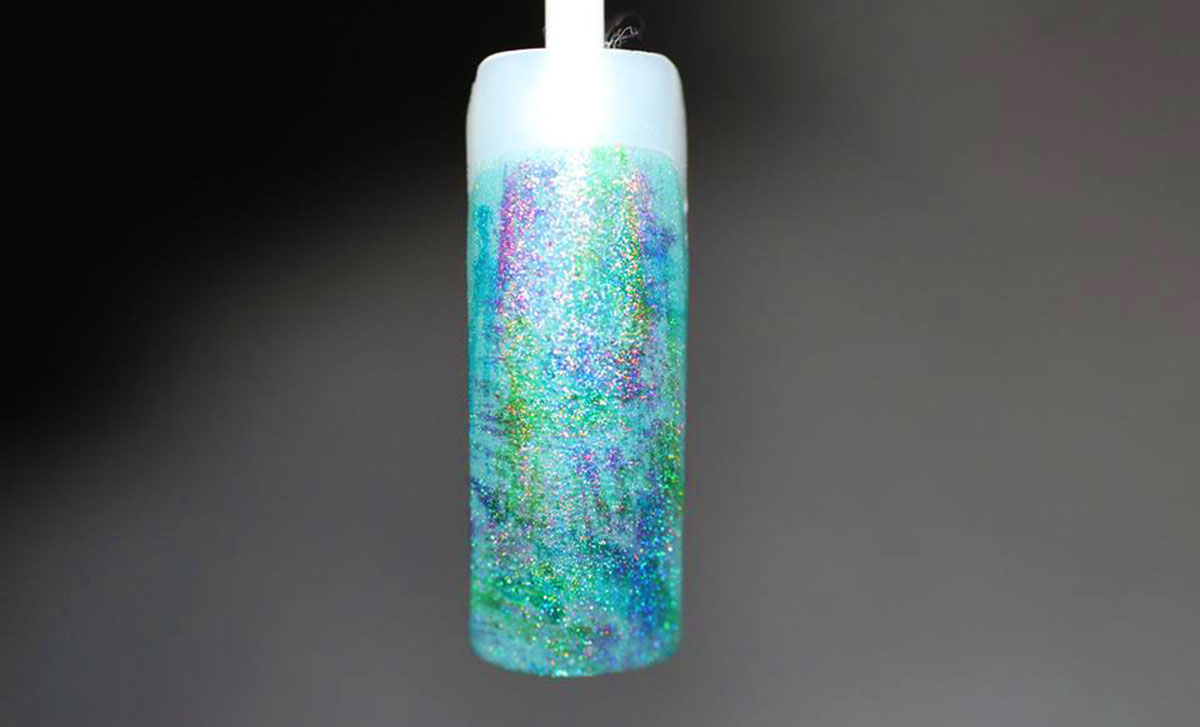
Waiting for my decals to dry completely, I made sure (as always) that my nails were clean and without any oils. I applied my base coat (remember to always use a base coat!) and after that, I applied two nice layers of my base color. I used a gorgeous, soft, sea foamy holo polish.
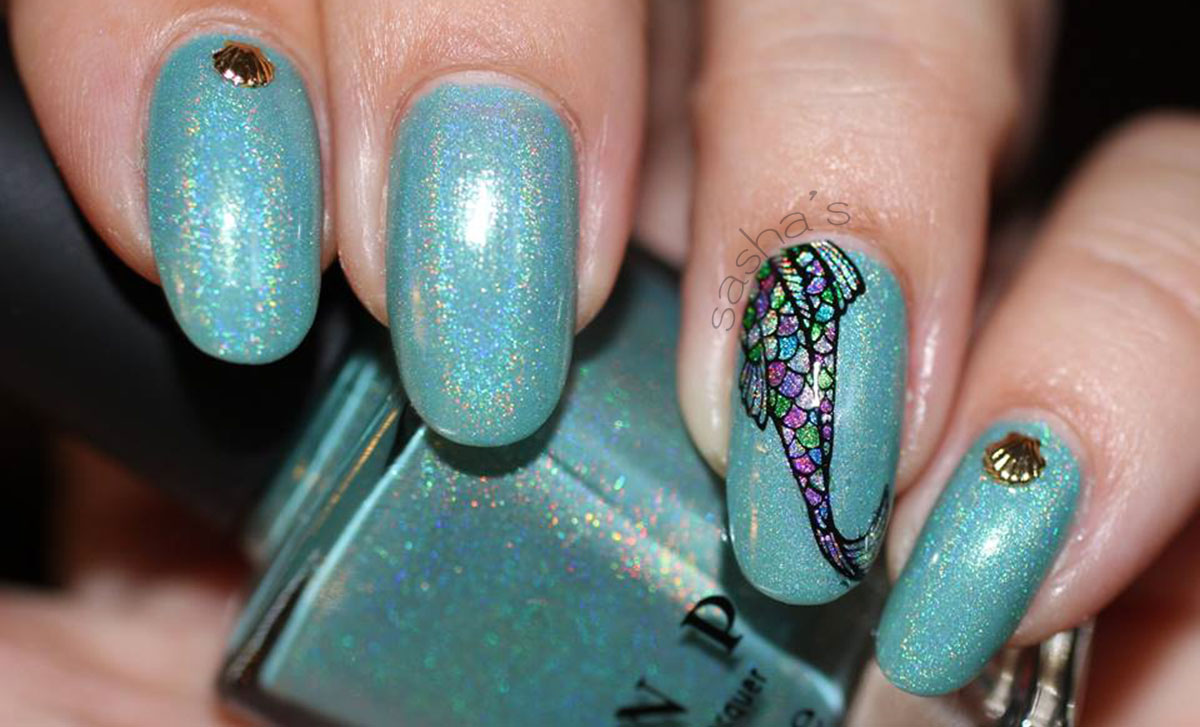
As soon as the base was dry, I put some nail foil transfer glue on the nails of my ring fingers and let that dry. Then I gently peeled the decal off of my stamper with the tweezers, flipped it so the right side was up, and placed it onto the nail in the spot I wanted it to be. The foil glue makes sure the decal immediately sticks to the surface of the nail. I gently pressed the decal completely flat with my finger.
See also: Sasha’s Mysterious Pond stamped nails!
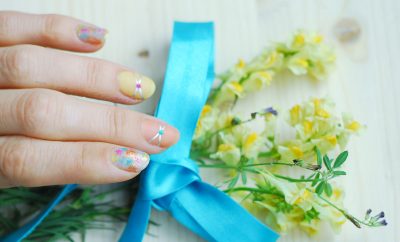
On the pointer fingers and the pinkies, I put a tiny bit of top coat and placed small sea shells in it. I did this on the base of the nail, but you can do that anywhere you would want, of course.
At this point I decided to incorporate another technique; I used the same five colors that I used for coloring in the tail, to do the “dry brush” technique. I wiped all the (excess) polish off of the brush to the sides of the bottle neck, I tested the amount of polish left on the brush on a piece of paper, because I wanted a really dry brush, and I swiped the dry brush over my nails. I repeated this with all five of the colors. Due to this technique, the polish was dry immediately, so I just went straight on with the stamping. I used some scotch tape to protect the skin around my nail. I transferred a scale image on to my nail in black stamping polish. I took the scotch tape off right after stamping. To protect the image from smearing, I first put a thin layer of aqua base coat on top of the image and let that dry.
See also: Flowers & Negative Space easy to do and fabulous to wear!
Lastly, I applied a nice layer of fast drying, high gloss top coat on all my nails, wich really brought the colors to life. After that, I used my corrector pen to get rid of any imperfections, I rubbed in some cuticle oil (cos you gotta keep them cuticles moist, ya know), and my holo mermaid mani was a fact.
This was my tail to tell this time, I hope you’ll like it! ;-) Love, Sasha
Oh, we did! And if I weren’t so bad at stamping, I’d sure give this one a try because it looks so otherworldly! Thank you Sasha for closing our Summer chapter here on Seasonails with yet another fabulous stamped mani! Your mermaids are enchanting, as are all your nails, every time – be sure to check Sasha’s nail art on her FB page!
See also: How to do the stunning Mandala neon nails!


2 Comments