
Nail Art
Easy Nail Art For Winter: Frozen Nails
Ready for some Frozen Nails? It’s all about winter nail art right now and since we’re all on the run, checking those gift lists and visiting friends, let’s take 5 minutes of our precious time and prep some really easy cold winter nails! Be sure to always follow the Nail Care routine for healthy, gorgeous nails!
Once winter kicks in, it’s hard to resist the kids joy and excitement about everything making this season obnoxious for the rest of us. The way I see it – I would literally hibernate with a cup of hot cocoa tucked away in my bed, watching old romantic movies while the kids would be out, playing in the snow, making snowmen and, generally, freezing their cute noses in penguin weather.
How do I play a compromise? By rounding them up in front of the TV and playing Frozen – it’s got what they want: tons of snow and ice, snowmen, drama and songs while I get to peacefully sip on my hot cocoa safe from the season’s icey wrath. Easy-peasy, right? The same should go about making Frozen nails as well! Simple and easy – just ‘let it go!’
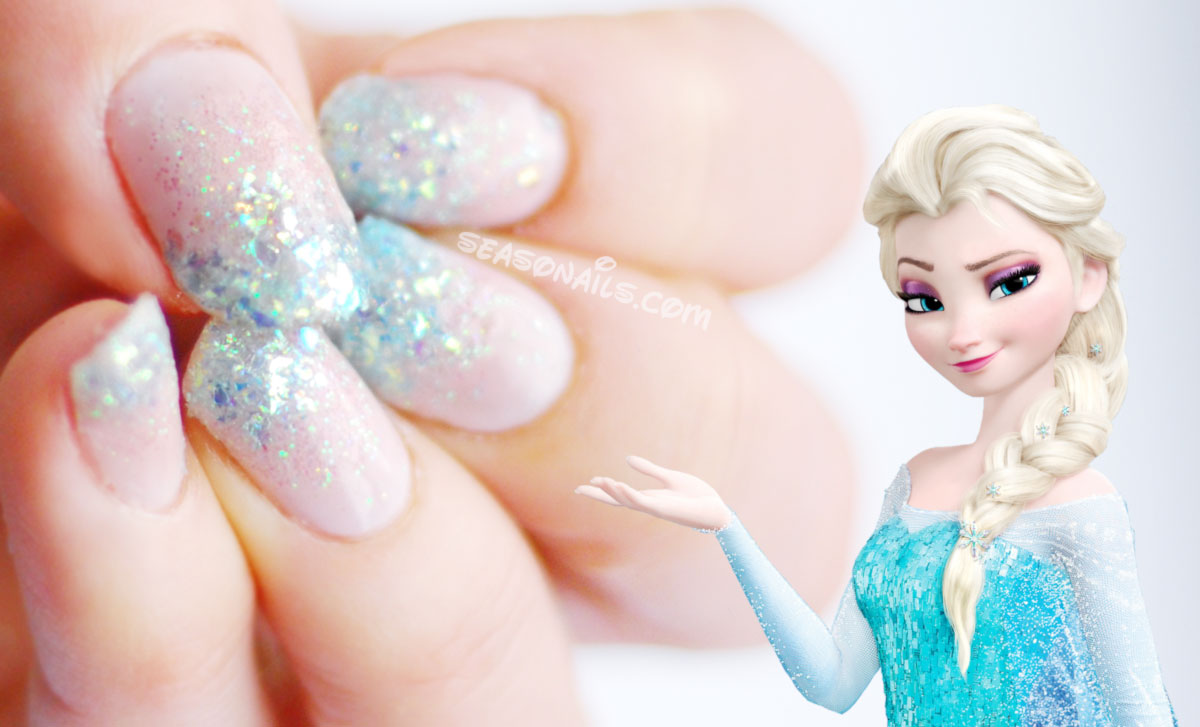
For me, winter nails, especially the ones hinting at snow, should be all about glitter! The more the merrier the nail art! For the Frozen nails, I only used two types of free range glitter – white with holo particles and blue ice-effect particles. The combo, to me, is so ‘Frozen’, I was constantly forced to remind myself I wasn’t Elsa!
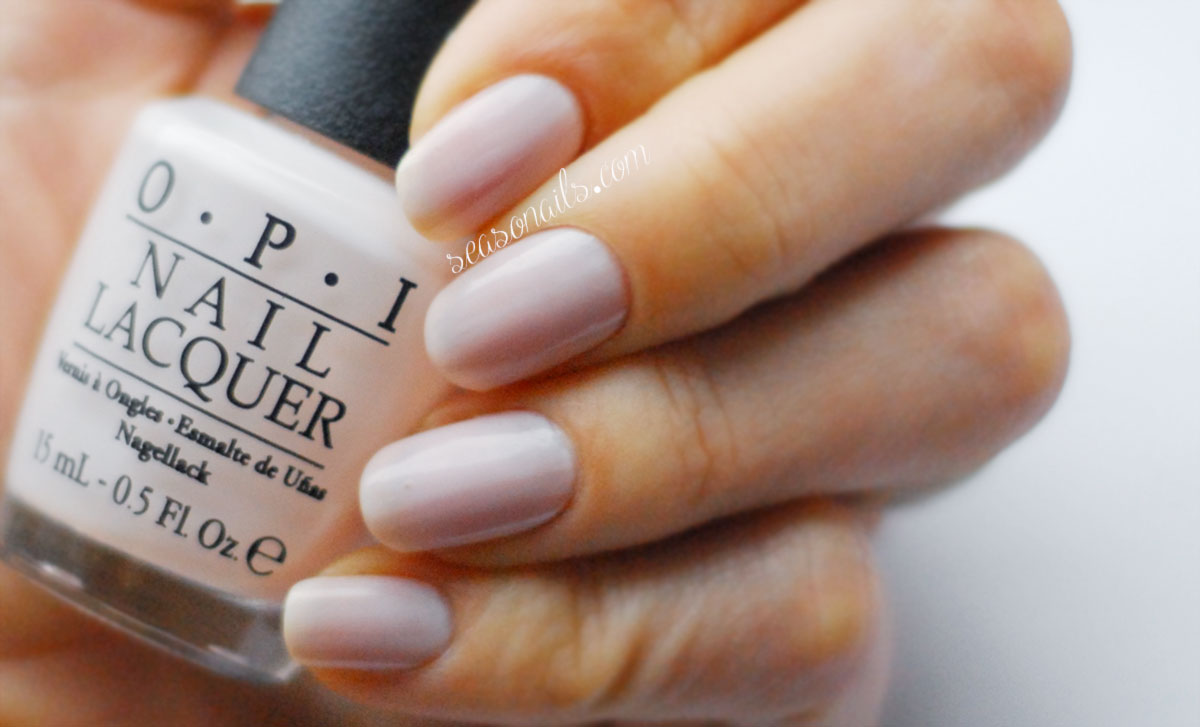
Paint your nails in a white-ish base, but not too opaque, the kind you’d use for classic French nails base (I used OPI’s Step Right Up). Just before it dries out completely, when it’s still sticky, dip half the nail (the superior half, with the free edge) in the white free range glitter. Should you not have this kind of magic dust, use whatever white glitter you have at hand to create a gradient on the nail.
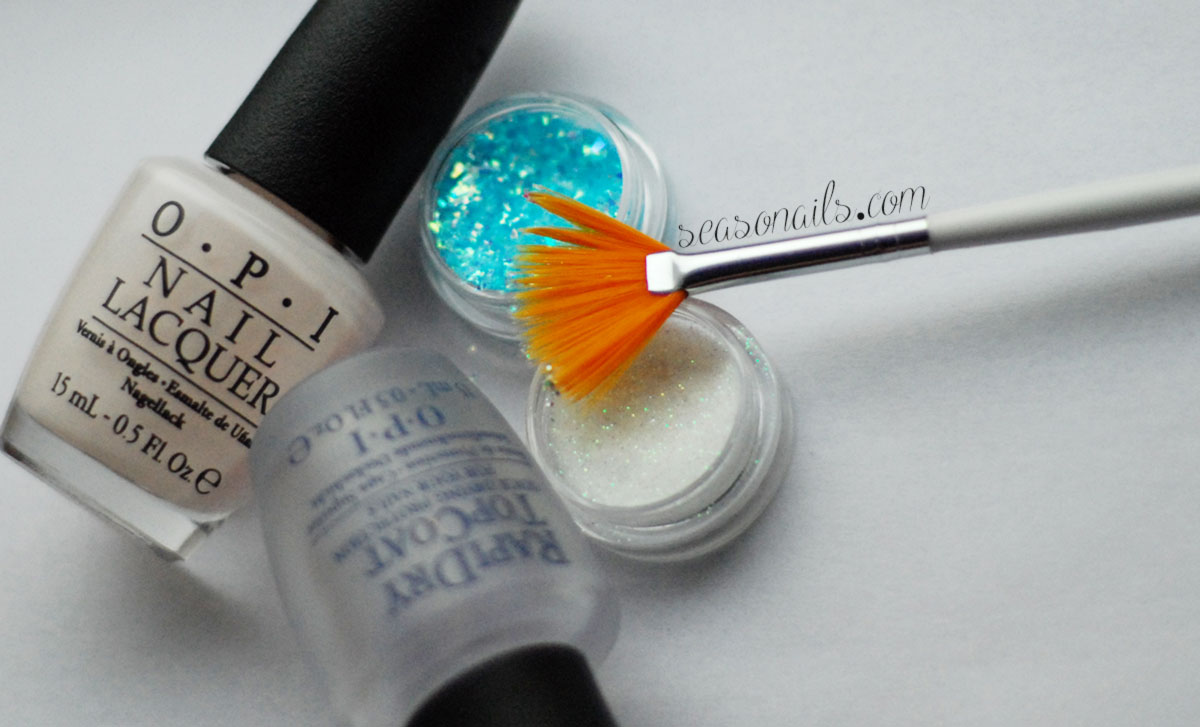
Apply a coat of transparent polish (I used OPI’s Rapi-Dry) and repeat the dipping operation this time with the blue ice effect glitter! This – I’m sorry to lay it out plainly – cannot be replaced by any bottled lacquer. It’s the ice-effect glitter used for building those wonderful acrylic nails, thusly it must be used with moderation because it creates bulk really easily. But then again – what would a Frozen manicure be without the bumpy, edgy feeling of ice on your fingers?

You need to cover the icey glitter with as many layers of topcoat as you need and feel comfortable with! I don’t need to tell you what feels like when you haven’t covered the glitter enough and you get your fingers though your hair! Think roses thorns – yep! Elsa’s got her way with your nails! But don’t they look beautiful? Just let it goooo!
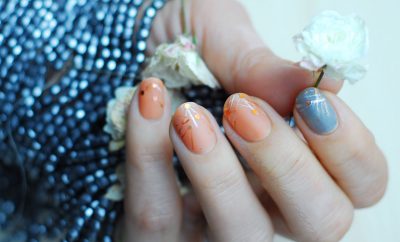
If you want to see more winter nails, be sure to check out these fabulous, really easy to do freehand Christmas nails!


Latest Comments