
Nail Art
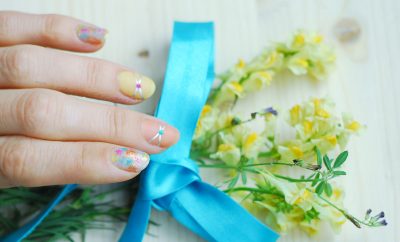
Stamping Sunday: Hawaiian Sunset Nails
Every Sunday, we’ll be hosting a special guest-post with one of the most gifted, passionate ladies out there who happens to be one of the most resourceful and inspiring stamping polisher I ever came across: Sasha!
Hello my fellow nail art addicts!
Welcome to my very first contribution to Seasonails! I’m very pleased and honored to be a part of this and I hope I can inspire you with my stamping nail art.
This first time, the theme of my nail art is “Bright and Summery “ and how can I do this theme more justice than with a Hawaiian sunset? I made a picture of every step of the way and I hope I am clear in my explanation how I achieved this manicure. I don’t mean this is the only way, but it is my way.

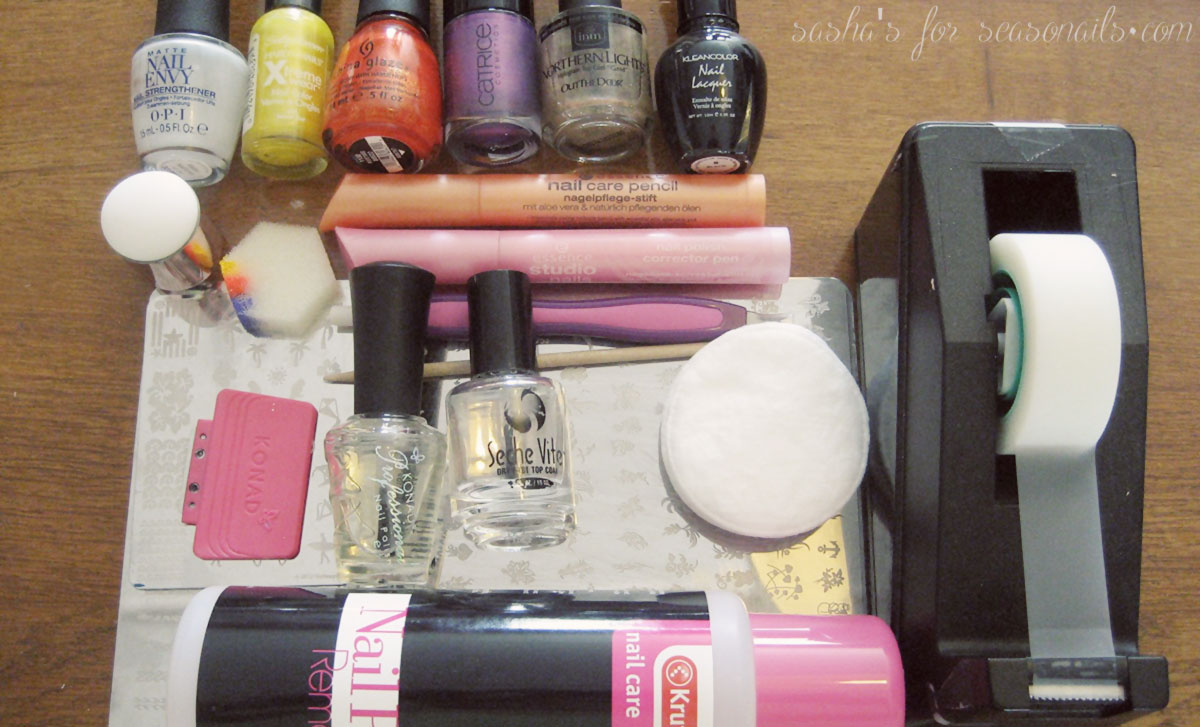
In this first picture below you can see all the items I used for my Hawaiian Sunset mani: Cuticle pusher, Orange wood stick and nail polish corrector pen (for cleaning up around the cuticles if necessary), Basecoat, Scotch tape, Sponge, 3 nail polishes (yellow, orange and purple); Micro holographic glitter; Stamping plates; stamper and scraper; Stamping polish; Cotton pads and nail polish remover with acetone; Cuticle oil.
Let’s get started!
First be sure your nails are free from any old polish and oils and gently push back your cuticles. Then apply a base coat. Always use a base coat: it prevents your nails from staining and it will make your mani last longer.
Then apply the base color. In this case it’s a bright yellow. When making a gradient, it’s best to use white underneath or the lightest color of the gradient. Here I used yellow because with white underneath, the colors became too bright for my liking.

Because of the patchiness of the polish, I applied two coats of yellow. When doing gradients, I prefer to tape off my fingers (clockwise from top left in the picture above) because it will be very messy and I rather take the tape with the excess polish off of my fingers, than having to clean my fingers. For me, tape works better, cleaner and quicker!
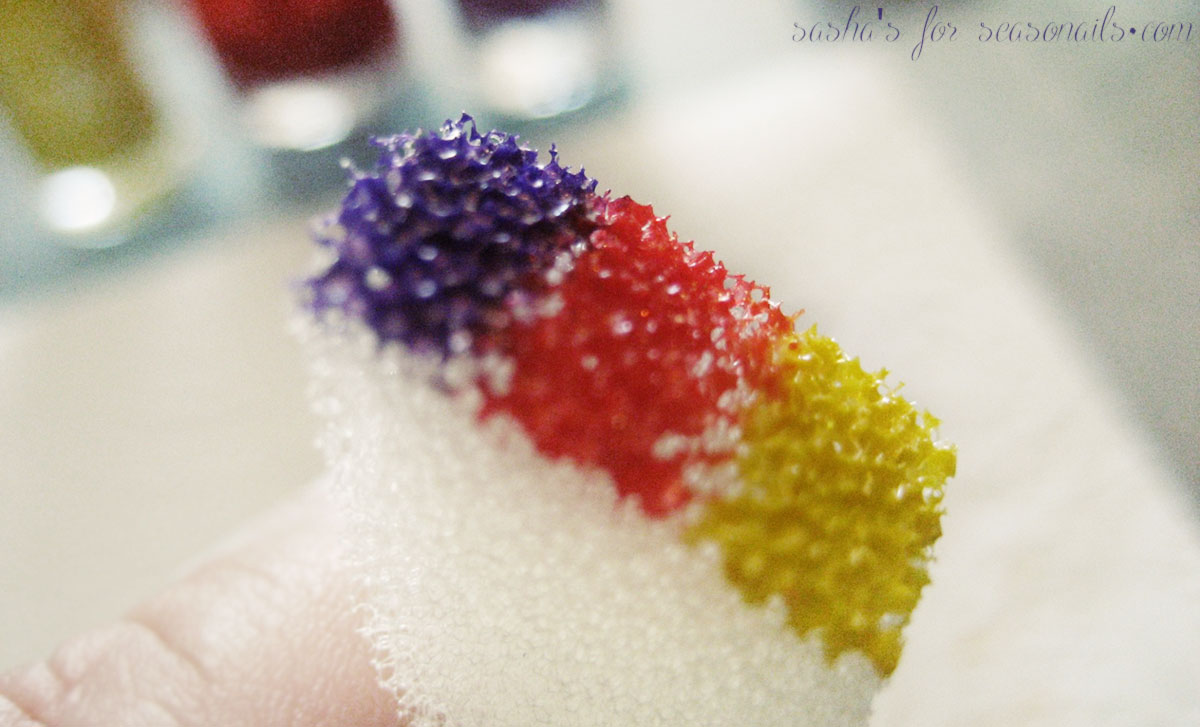
Now on with a very fun part; sponging on the gradient. Take a sponge (any sponge will do: a make up sponge, a special nail art sponge or a kitchen sponge, it doesn’t matter, anything works for this). Apply the three polishes onto the sponge (picture below) and press it very gently onto the nails, making a slightly upwards and downwards movement to let the colors flow into each-other, to make a gradient.
Usually you can do two to three nails with the first “load” of polish on the sponge. Don’t keep on dabbing on the same nail too much, because when the polish is starting to dry a little, you will pull off the polish and damage the layers underneath which can’t be fixed properly anymore. Before sponging on the next layer(s), give your nails some time to dry a little (this is rather quick) and keep on applying sponged layer until you are satisfied with the result and opacity.
When the gradient is done: ta-daah! there you have your sunset!
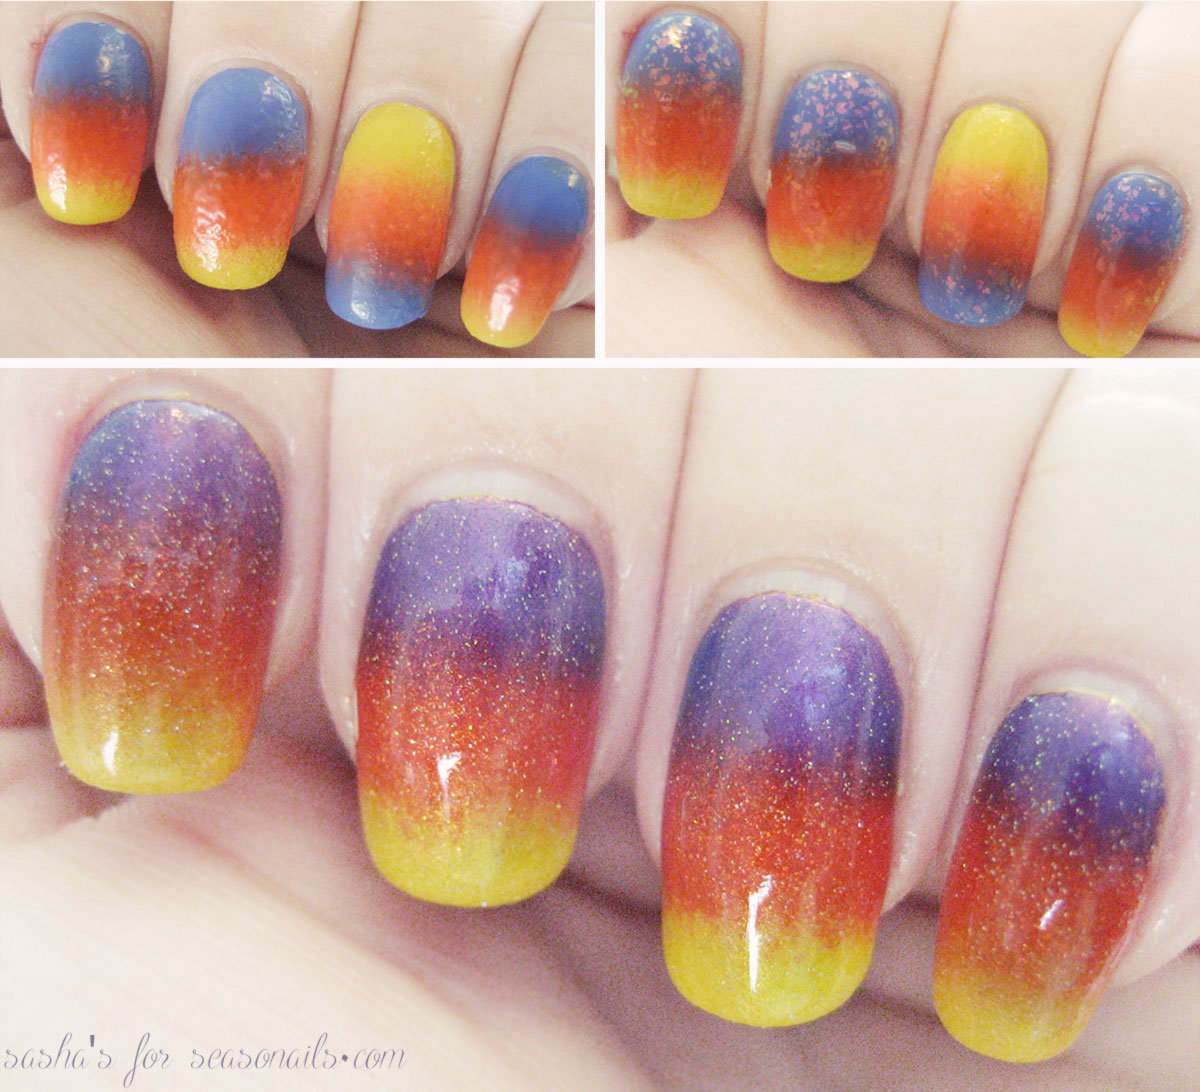
Carefully take the Scotch tape off of your fingers and then top it off with a micro holographic glitter polish (pictures above). For this mani, I used INM Out the Door gold holo top coat. It dries very quickly so you can stamp on it rather soon after. Before stamping, be sure the image plate, stamper and scraper are clean and free from any oils (I always use a cotton pad with nail polish remover (containing acetone) and clean these items).
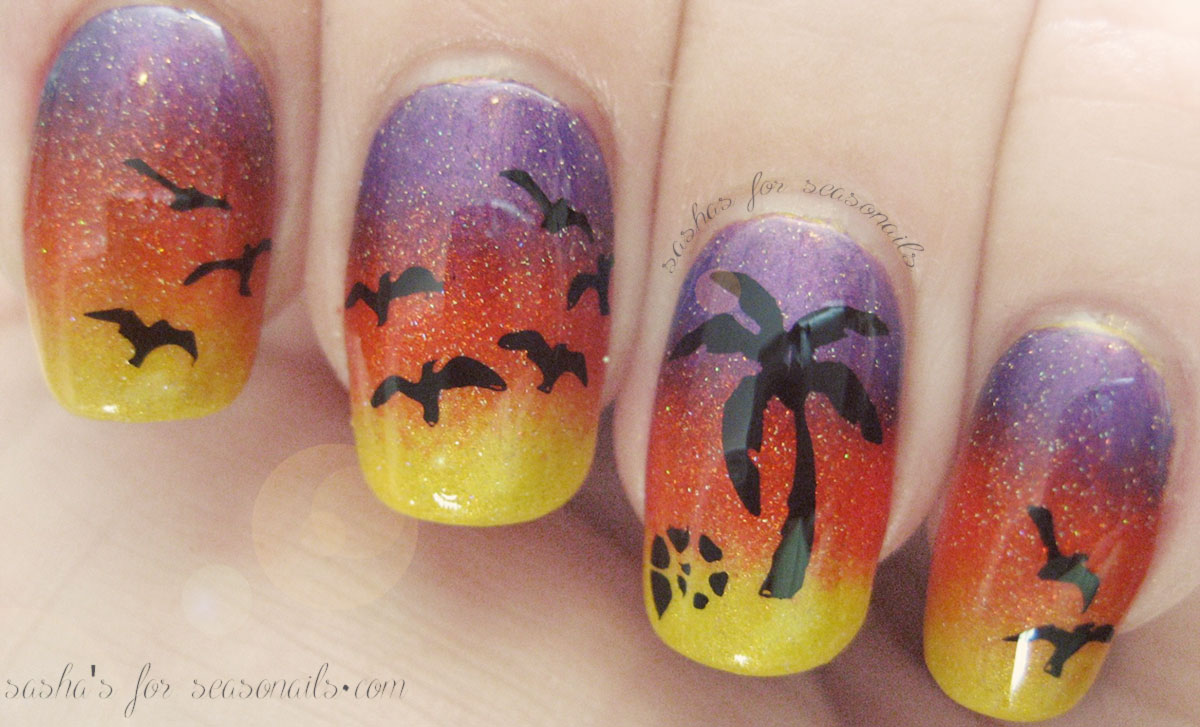
Put a bit of black stamping polish (I’m hooked on Kleancolor in black for stamping!) on the image, scrape it off and quickly pick up the image with your stamper and transfer it onto your nail.

To avoid smearing the image when applying top coat, I always first apply a coat of Konad’s special stamping top coat. This doesn’t dry quickly and doesn’t give a very glossy finish, so I always top that off with a nice layer of Seche Vite (also addicted to this!) and it will be dry in no time. In the next few hours, it will also harden. And that shine…. Amazing!
And it goes without saying; when done, treat your cuticles with a nice cuticle oil to keep them moisturized, healthy and beautiful.
So gals, I hope you liked this “how to”, I enjoyed doing this very much and I’m looking forward to knowing the next theme so that I can get started my next how to!!
Liefs,
Sasha
Thank you so much Sasha! I sure enjoyed your nail art tutorial, as always! You can see more of her wonderful nails here and be sure to come back next Sunday for yet another episode of Sasha’s Sunday Stamping! However, if you’re in the mood for freehand nail art, check out the summer tie-dye neons or the easiest flowers manicure ever!


Latest Comments