
Nail Art
Party Nails: Full Glitter Ombre Nail Art
New Year’s Eve’s party is all wrapped up: my ears won’t be needing music for at least two months, my legs can use the same rest, but not my nails! Oh, no! A New Year is like a promise – a promise for new adventures, new wonders, new jokes and new reasons to love even more than we’ve had before!
All pretty and poetic! How that translates in nail art stuff? Why – glitter of course! Glitter is the answer to every exciting opportunity! Glitter makes everything sparkle and shine! Make way for the first nails of 2015!

A full glitter ombre! You want to know the funniest part? Although this combo is perfect for freezing days when Jack Frost is not only snipping at your nose but also at your fingertips, the exact same combo goes amazingly well for summer! So this one is definitely a keeper and you’ll be seeing it again for looong beach days.
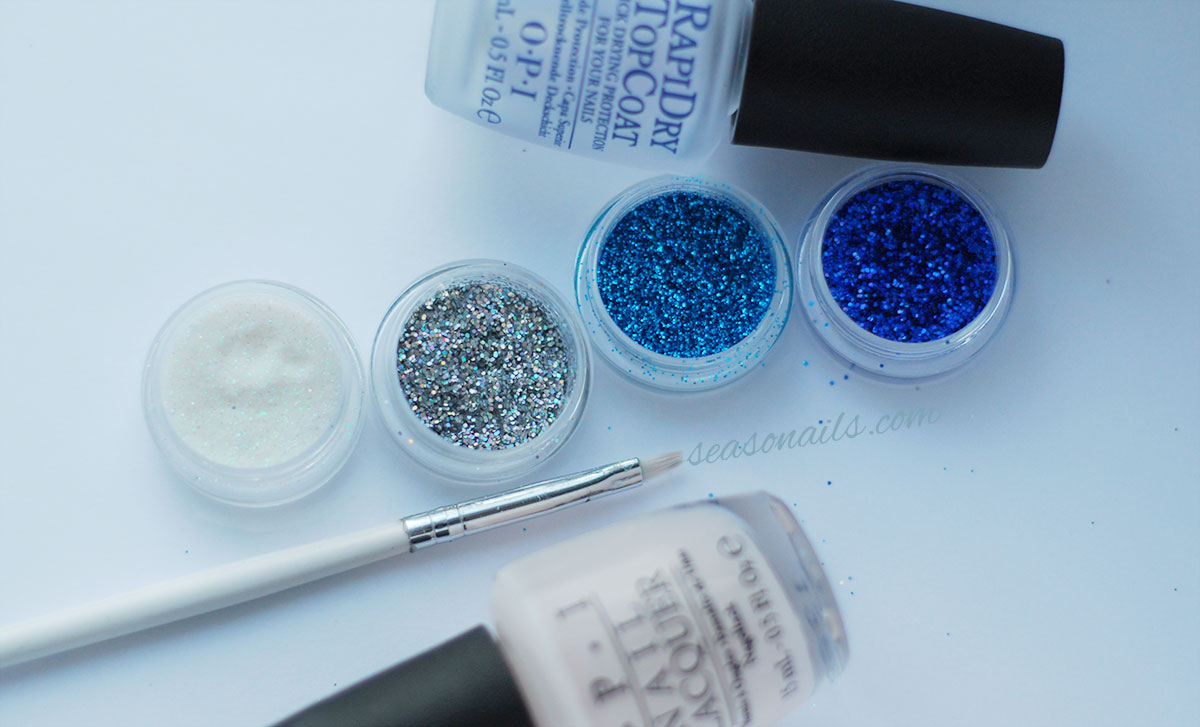
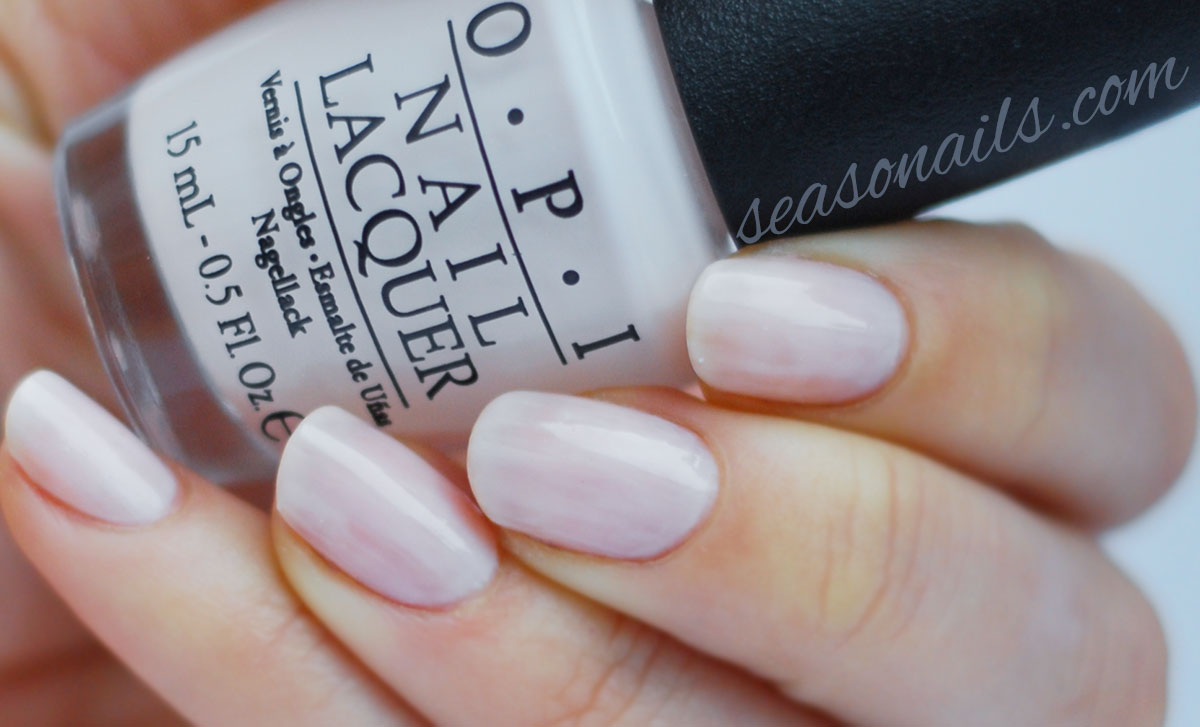
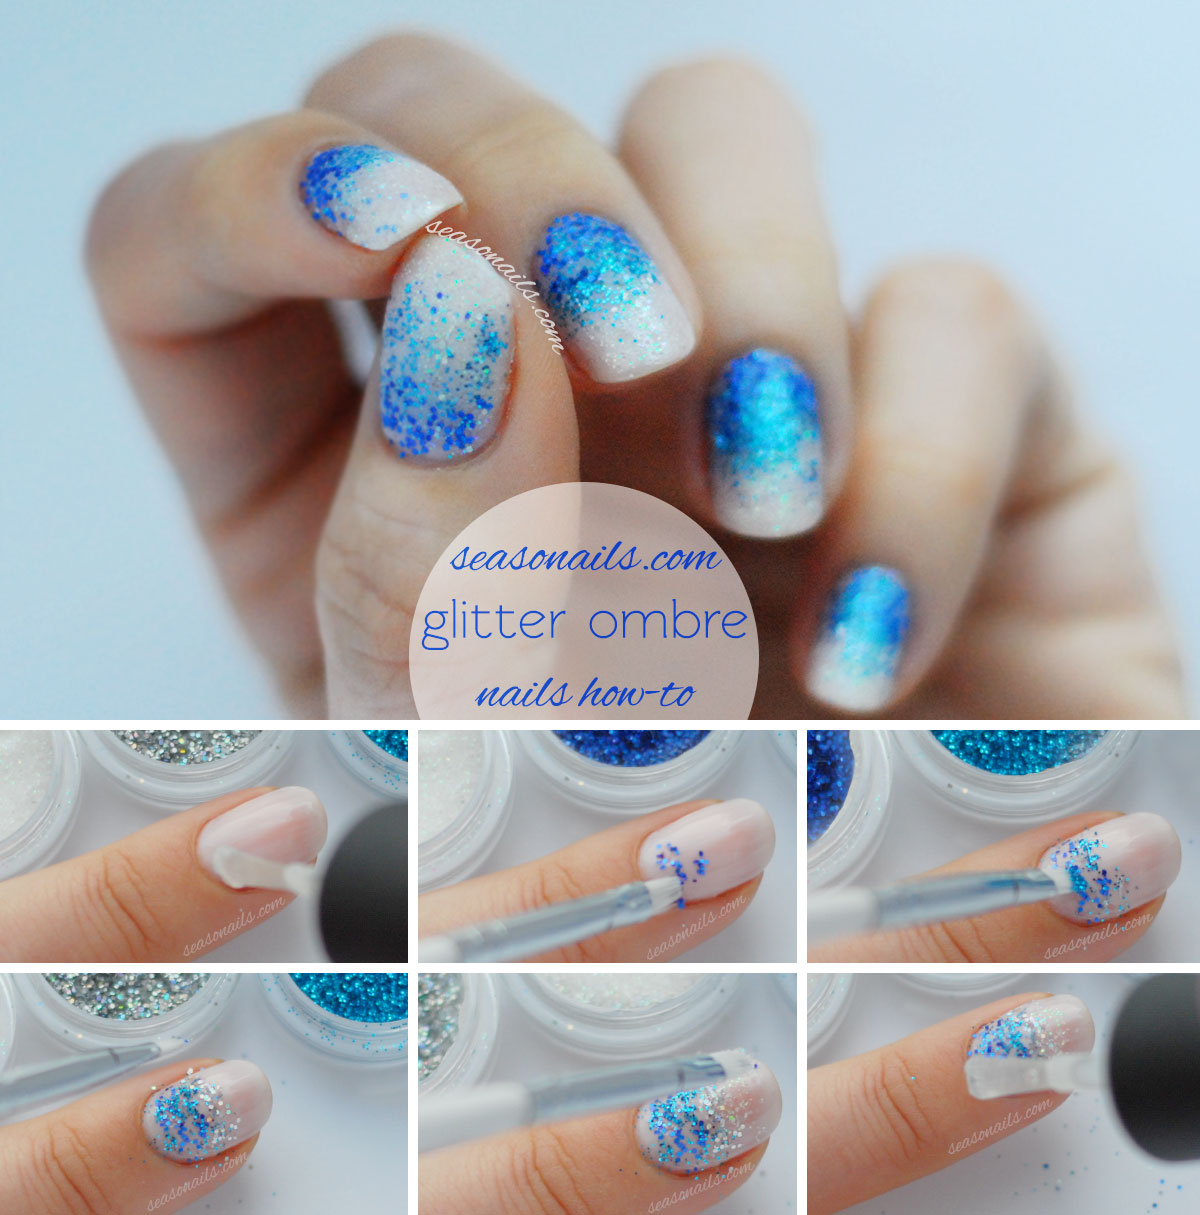
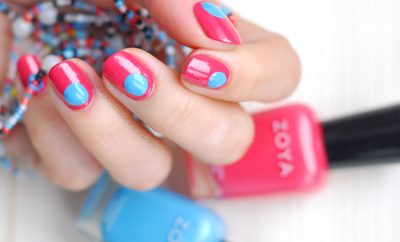
Before I get all daydreaming about that perfect suntan and that gorgeous salty sea hair, let’s get down to Glitter business! Four different glitters were used for this ombre – from dark blue to turquoise, silver to white. A creamy base and a transparent top coat. As you already know my preferences from my Nail Care Routine, I favor OPI for basics and as you’ve seen before, I love using loose glitter for awesome nail art results!
As you’ll see for yourself, although highly sophisticated as end-result, the actual process of making glitter gradient nails is a walk in the park! Brush on, brush off, that sums it up! I started off with the dark glitter near the base of my nail and then added the lighter blue, the silver and ended up with the white holo glitter for the free tips.
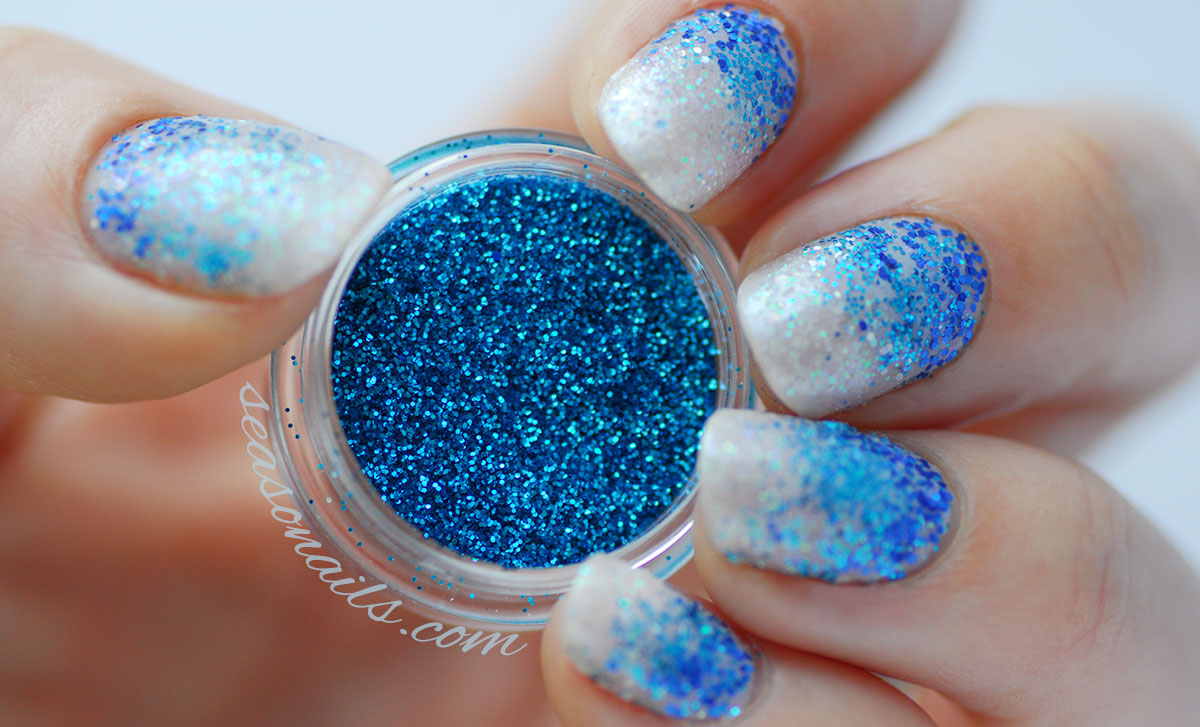
Seal it all with a clear topcoat and you’re ready to outshine the stars! I used free range loose glitter in shades of blue, but you can try with any color you like, creating the ombre effect by adding lighter nuances. You might’ve noticed in my previous gradient manicures, I tend to start with the darkest color at the base of the nail, toward the finger and go light towards the tip of the nail.
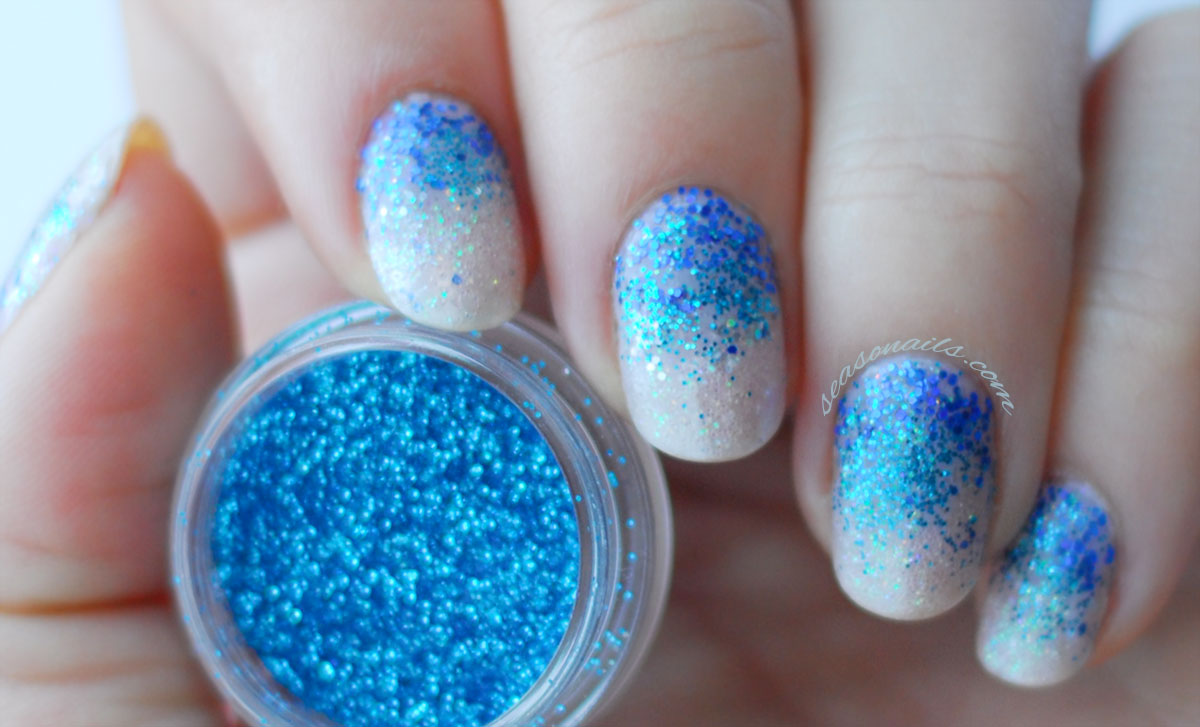
It’s a personal preference but also a trick to visually enhance the length of the nail which will appear longer just because of the lightening effect towards the tip of the nail. So if you’re having rather short nails, do remember this trick – it will elongate your nails! Try painting a reversed gradient next to this dark-to-light type and you’ll see the difference with your own eyes!


Latest Comments