
Nail Art
Dotted Mix Party Nails
A little while back, I was sharing my favorite Birthday Party nail art. While I still love them dearly, and think the highest of them, it was time I refreshed a bit the partying nail art!
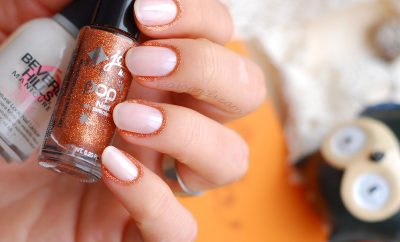
We’re still talking birthdays, weddings and such parties, keeping it joyful, bright and simple, hence today I’m wearing a Dots Party Nail Art! Literally! Unlike what I usually wear, this time I opted for an identical design on both hands (save for my thumbnails which had bright, neon pink dots instead of gold dots – simply because it was a girl’s Birthday; should it have been a boy’s bday, you would’ve seen blue or green dots).
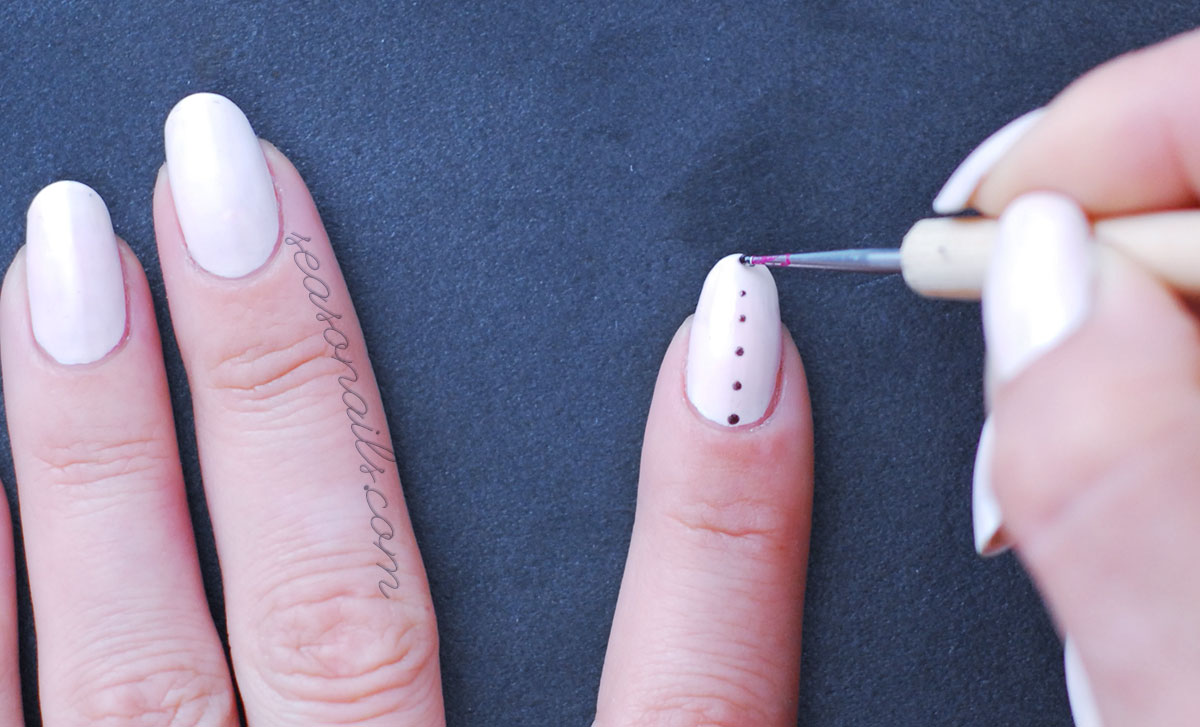
The wonderful thing about this nail art is that regardless of the length of shape of your nails, a happy mix of dots is always a good idea! Visually enchanting, easy to do and joyful to wear, my dots only need two tools to make: a fine dotting tool and a larger one (I used a round plastic head needle).
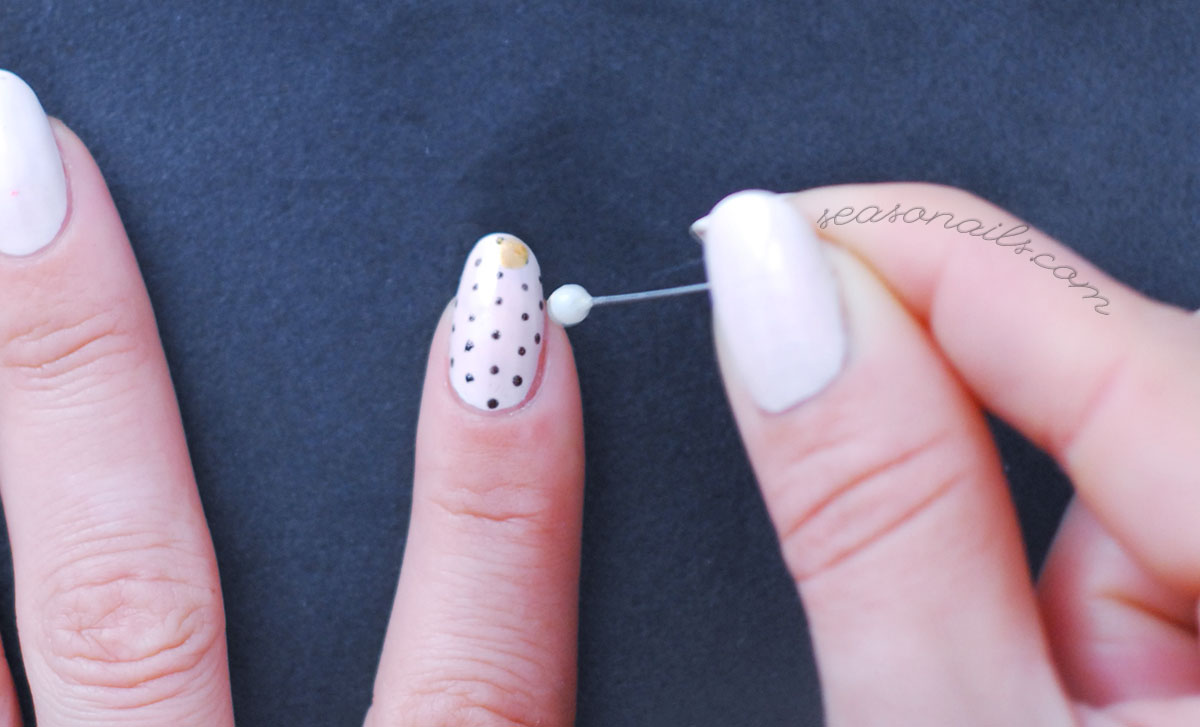
On a white-pink base (wait for it to dry), I started with the small dots in a shimmery brown – I know you can’t really tell from the pictures, but the dark chocolate brown is warmer and less dramatic than a solid black. After I painted all the tiny dots on all 10 nails, I used a gold metallic acrylic paint for the large dots.
See also: Neon flowers nails for Spring and Summer!
Simply because I didn’t have any metallic gold at hand. Feel free to use any nail polish or paint you have at hand! There’s no rule of placement for the large dots. You just go with the visual flow! If you use acrylics, any mistake is permitted since you can erase them so quickly (I use rubbing alcohol).

See also: How to do the perfumed gemstones nails!
You can either paint one nail differently – for me it was the thumbs (I replaced the gold with bright neon pink, you can catch a glimpse between the fingers) , or just leave them be, a happy dots mix party! I think I’m going through a matte period – but a shiny finish would’ve stolen the artistic feel from the design! Keeping it matte with a topcoat makes the dots look so much artsy-er! Doesn’t it?


Latest Comments