Nail Art
Summer Nails Simple Retro Flowers Manicure
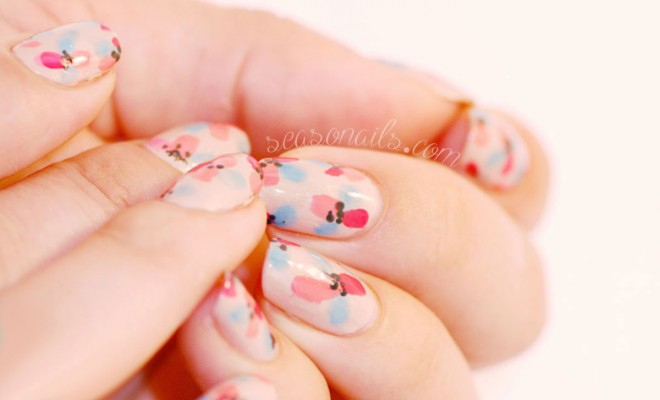
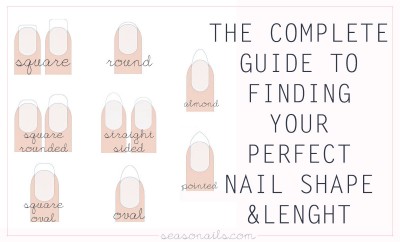
Before the summer is out, you’ll need a transitional mani that can fully express your feelings about the hot season and its many mani-festations. A retro spread of lovely flowers on a neutral base is the perfect choice! Don’t forget to get your nails in perfect shape by reading and following this Nail Care routine!
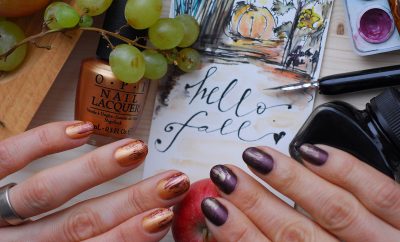
The inspiration for this mani came from an art print with a… campervan! Isn’t it suitable? – to dream about a campervan when the summer is almost done this year? Yes, it is! It’s like seeing your favorite nail polish bottle almost finished – you know you need a new one! Well, same goes for the summer vacation – when it’s nearly done, I really feel I need another one!
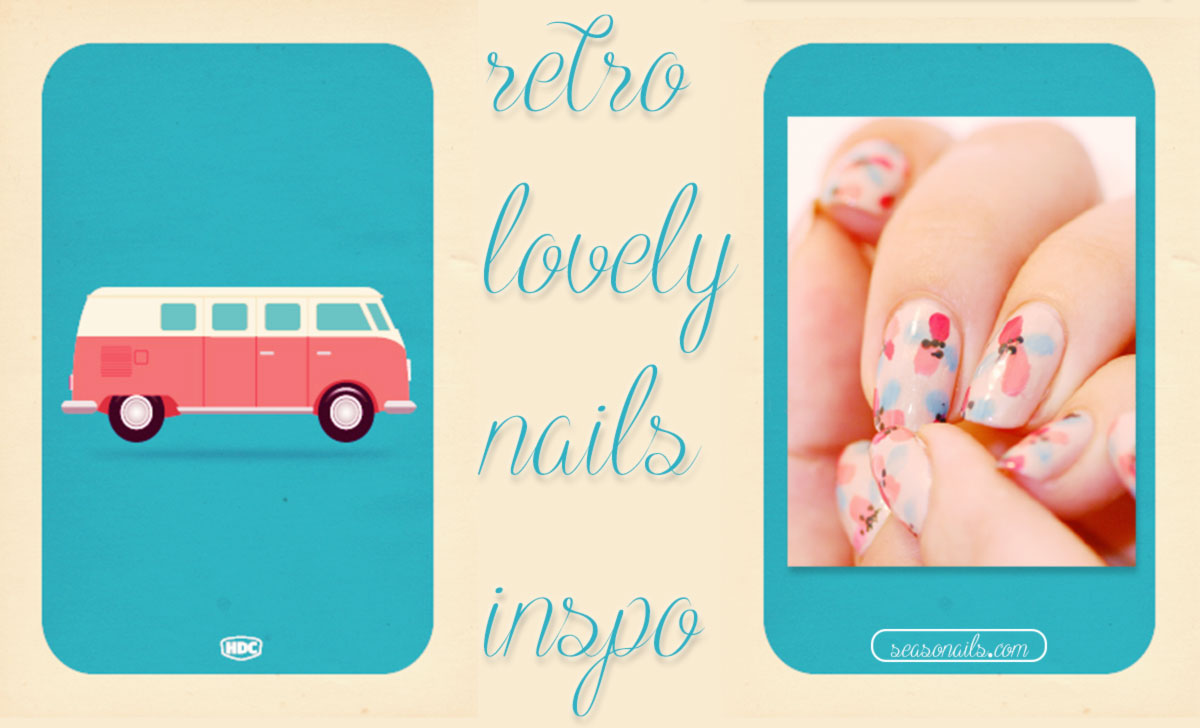
This print was made by the very talented Hand Drawn Creative team and it’s actually available as an smartphone wallpaper in a multitude of options (you’ll fall in love with those! And they also offer a clever visual inspirational palette for those days when you’re feeling low on creativity!)

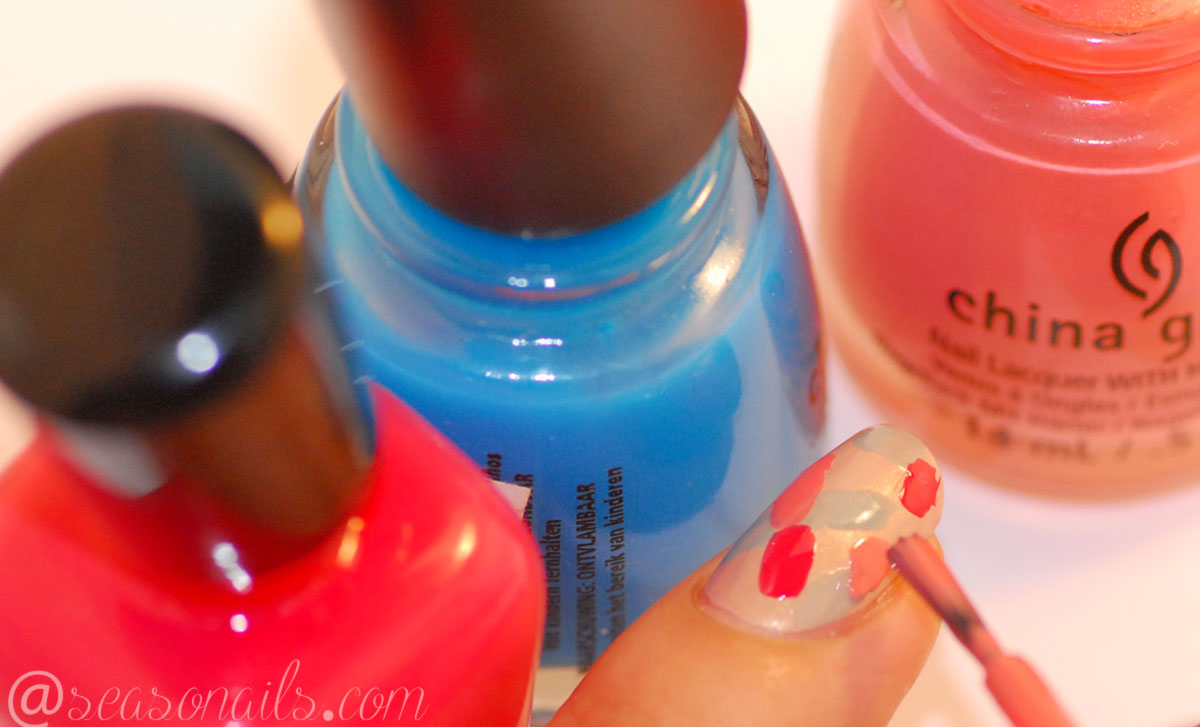
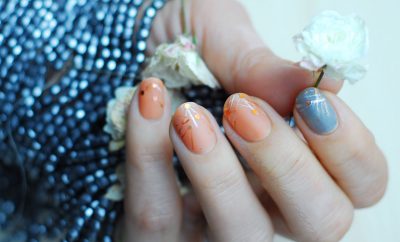
Back to those nails now: after applying your usual basecoat, starting building your new mani with a neutral color – I chose Orly Blushalicious. It has a beige matte finish with nice, opaque coverage that allows me to fully dress the nail, even the free tips and it also has a subtle shine, perfect for that effortless sparkle effect!
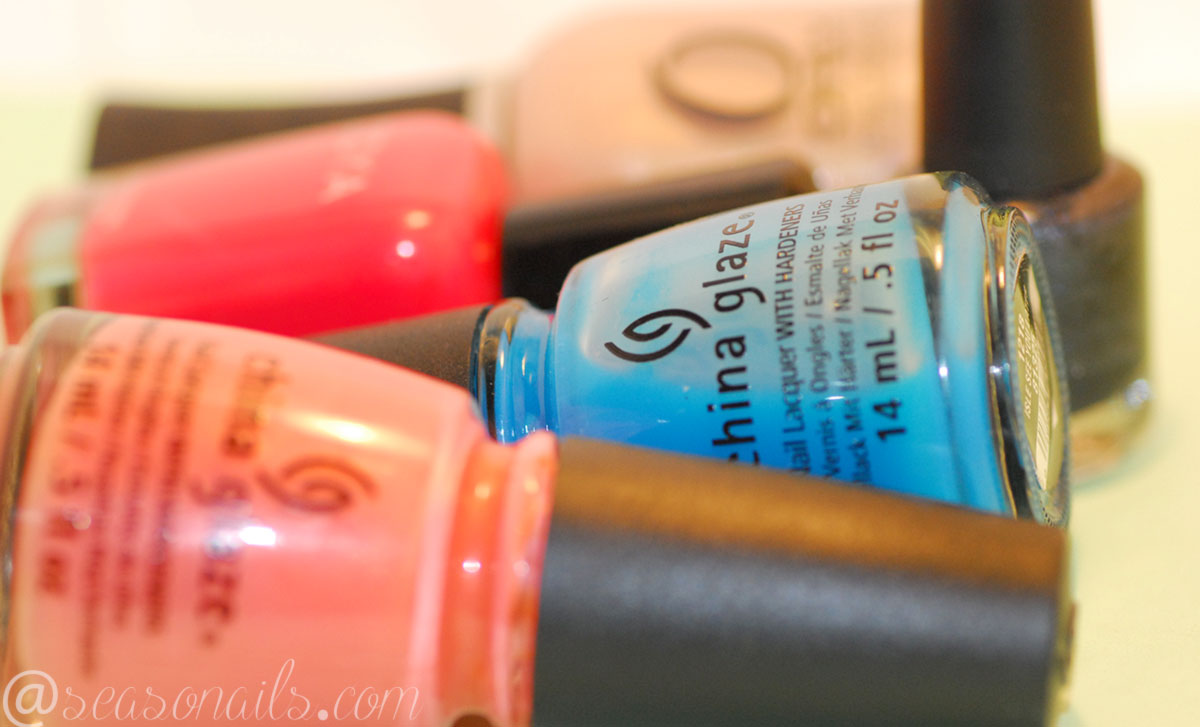
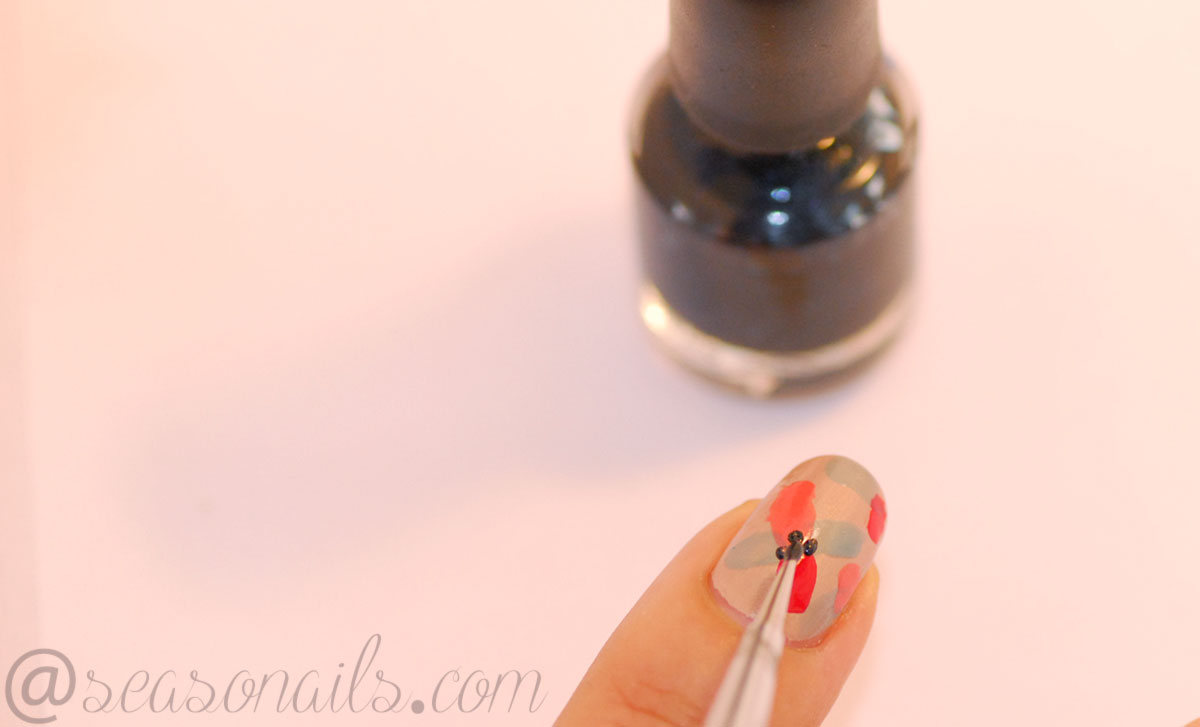
For the flowers, you’ll need three bright nail polishes in the colors of your choice – I went for those which reminded me of the campervan: China Glaze Isle See You Later and Mimosas Before Mani’s and Zoya Kara. For the dots, I wanted a really black black, so I went for one of the Konad stamping blue-blacks, really opaque and dark. The black points on the flowers are essential – you can’t risk with a less opaque color so be careful when you choose that polish!
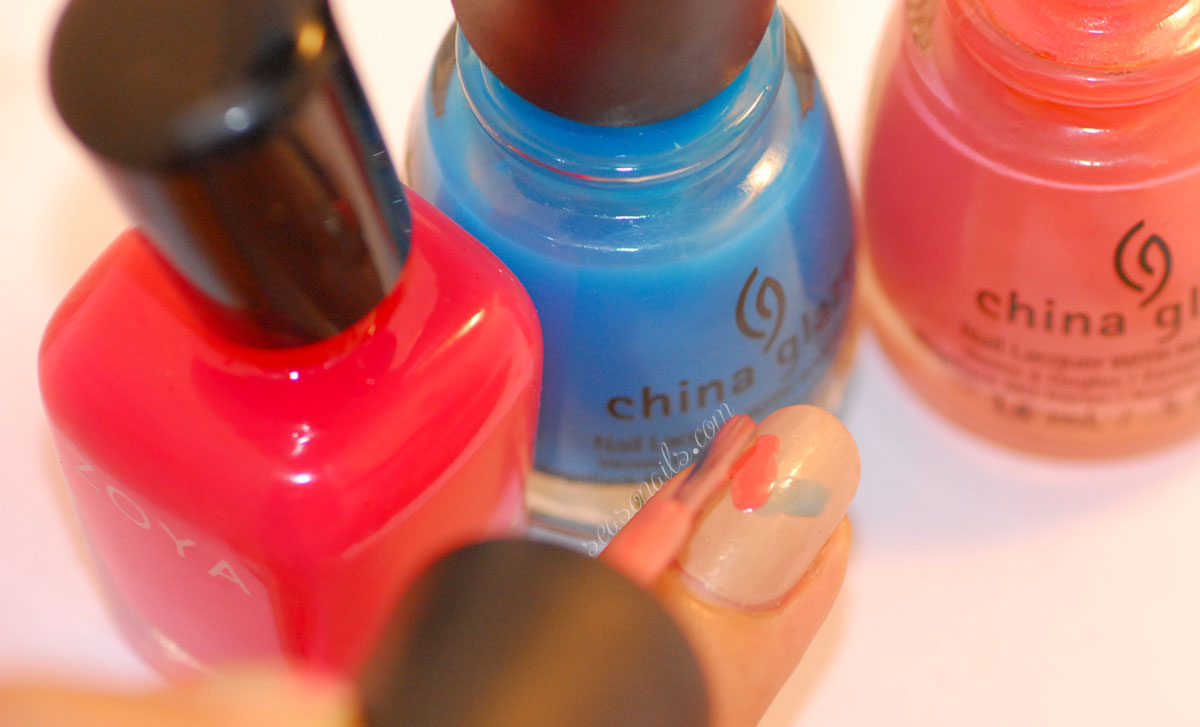
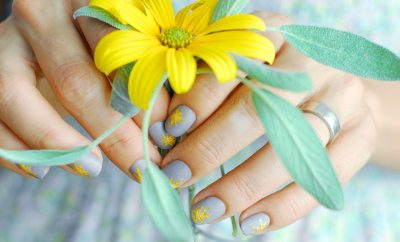
These are the simplest nail art flowers you’ll ever come across and also the most stylish. Their un-done-ness is their cool-ness. You just take your polish bottle brush and paint a petal, switch the color, add another petal and so on. You can draw them longer or shorter, the petals will still work their magic! Be careful to add half-flowers around the edges of the nail, to create a continuum-effect of the print.
By using a dotting tool or a toothpick dipped in the black polish, you add three to five dots in the middle of each flower. After you’re done, wait for the polish to dry (and the dots) so you won’t smudge over the hard-worked flowers! I went for a quick dry topcoat which I applied generously to avoid the smudging.
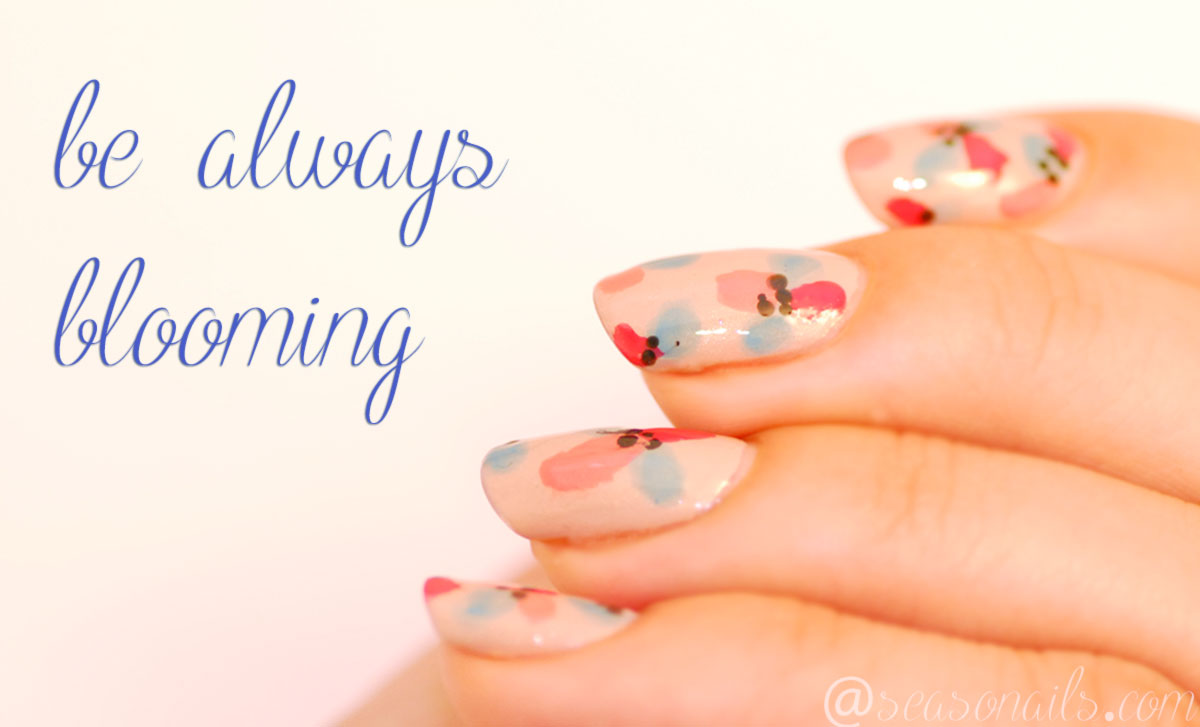
Aren’t these beautiful and summery (but not over-the-top summery?) – oh, I love my campervan flowers! If you’re looking for more summer nail art, you can always go for this stamping sunset or a tie-dye neon manicure!


Latest Comments