Nail Art
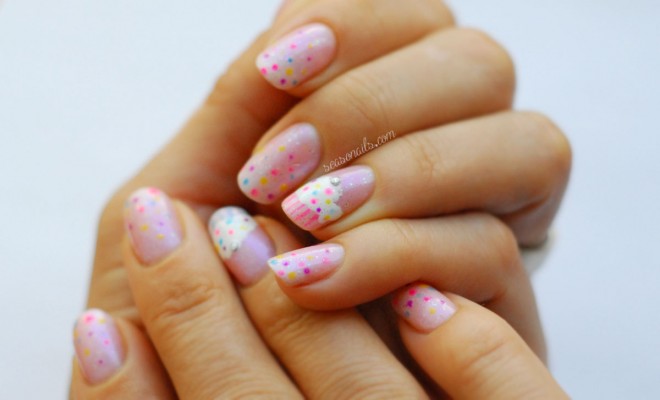
Easiest, Cutest Birthday Nails!
If you’re looking for the perfectly cute and effective Birthday Party Nails, look no further, you found the perfect solution! Amazing B-day Party Nails you can wear even beyond the celebration in question, compatible for any day! Before that, be sure to follow this Nail Care routine for your healthiest, longest nails ever!
For some reason, time keeps playing tricks on me and whenever I try to plan in advance, I still discover, much to my surprise, that I can’t do what I planned. Because … well, I have no more time to do what I had planned to do! – sounds familiar? If so, then you know how it feels to do a birthday mani in less than 30 minutes time! Scroll down with me:
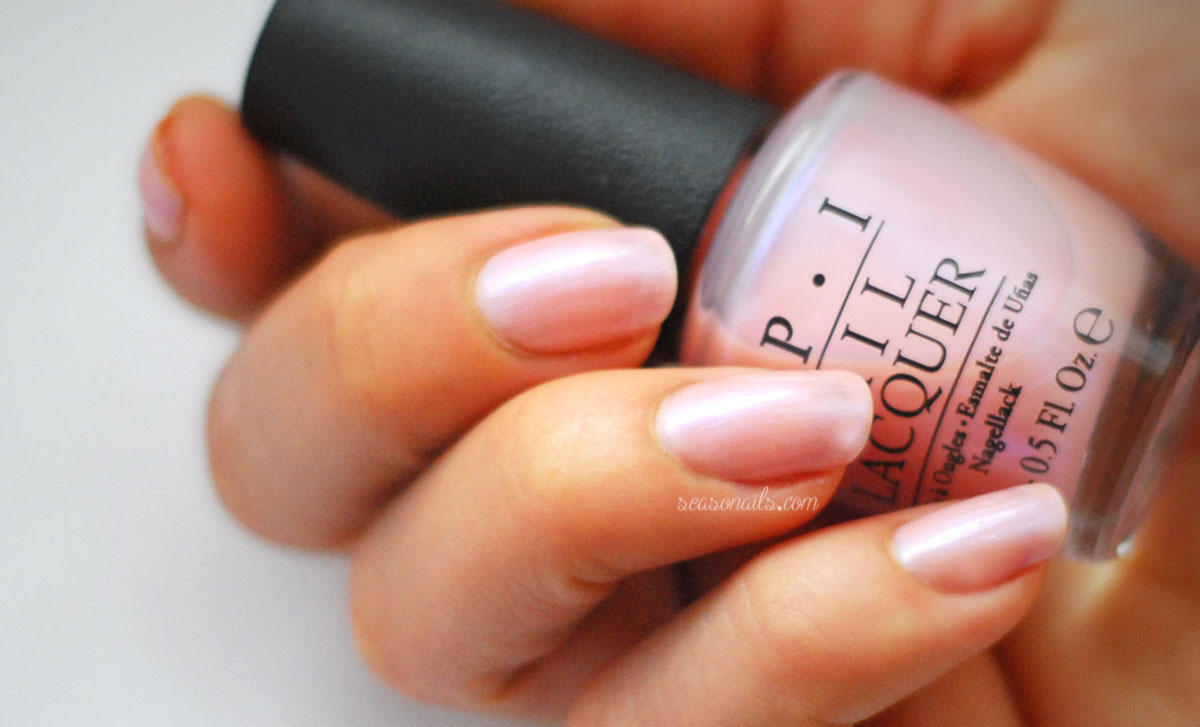
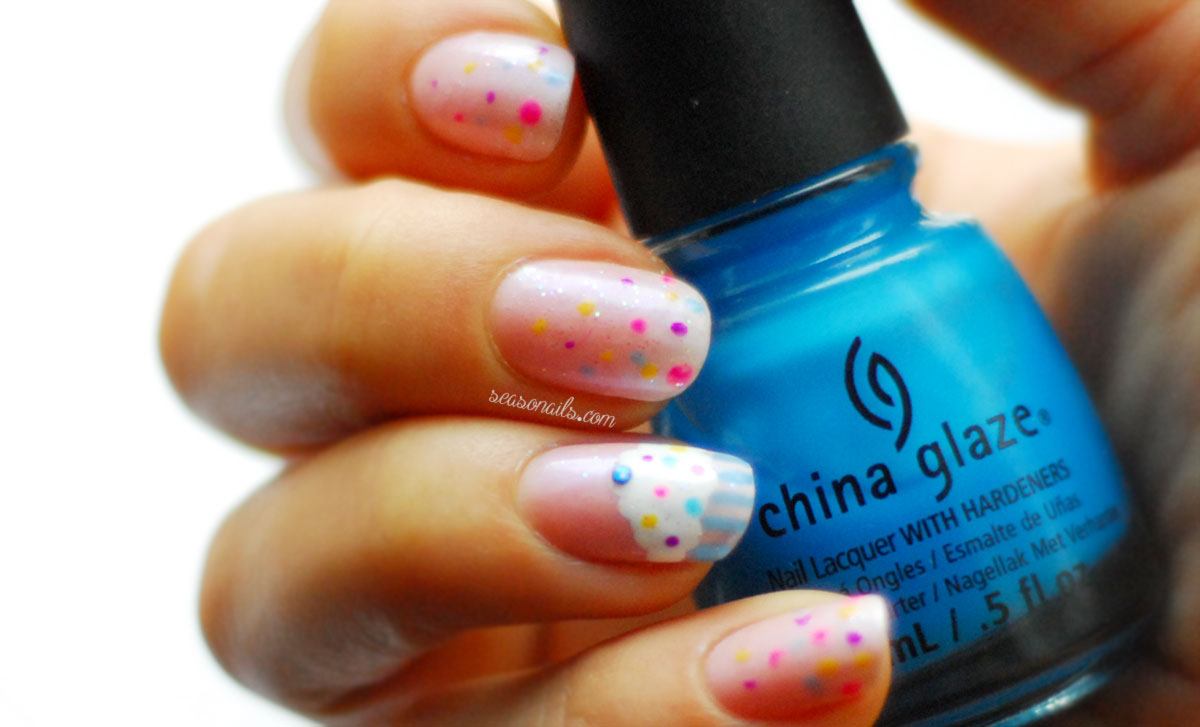
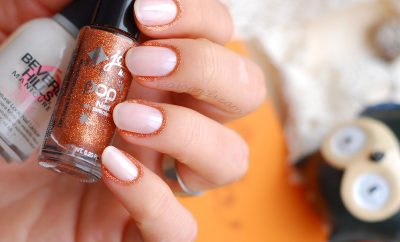
After cleaning & base coat, start by painting your nails in the neutral base of your choice. I wanted something lovely, so I went for a transparent pink suitable for French manicures. Rosy Future – what a beautiful name for the base of a party manicure! It looks lovely and has a very subtle shimmer to it, great for special occasions!
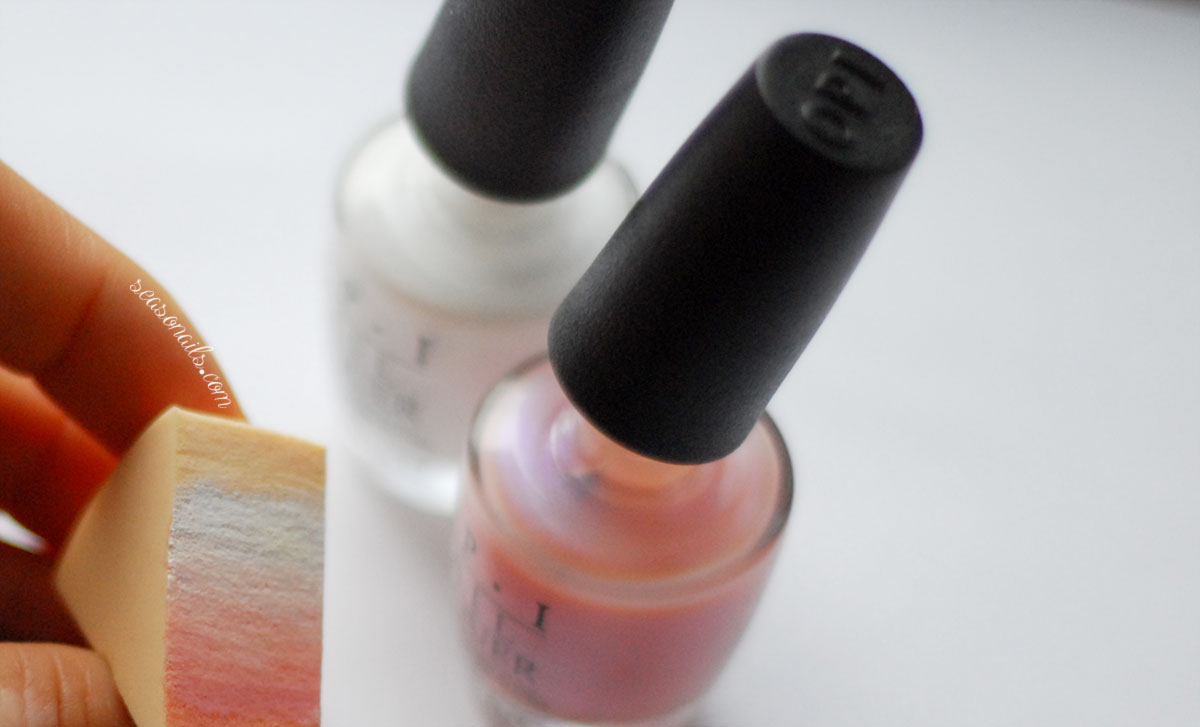
After waiting for the base to dry completely, I prepped my gradient tools – the same Rosy Future and a solid white, Alpine Snow from OPI. On the pre-soaked makeup sponge, I applied and mixed the colors together, obtaining a lovely French gradient which I painted on my nails.
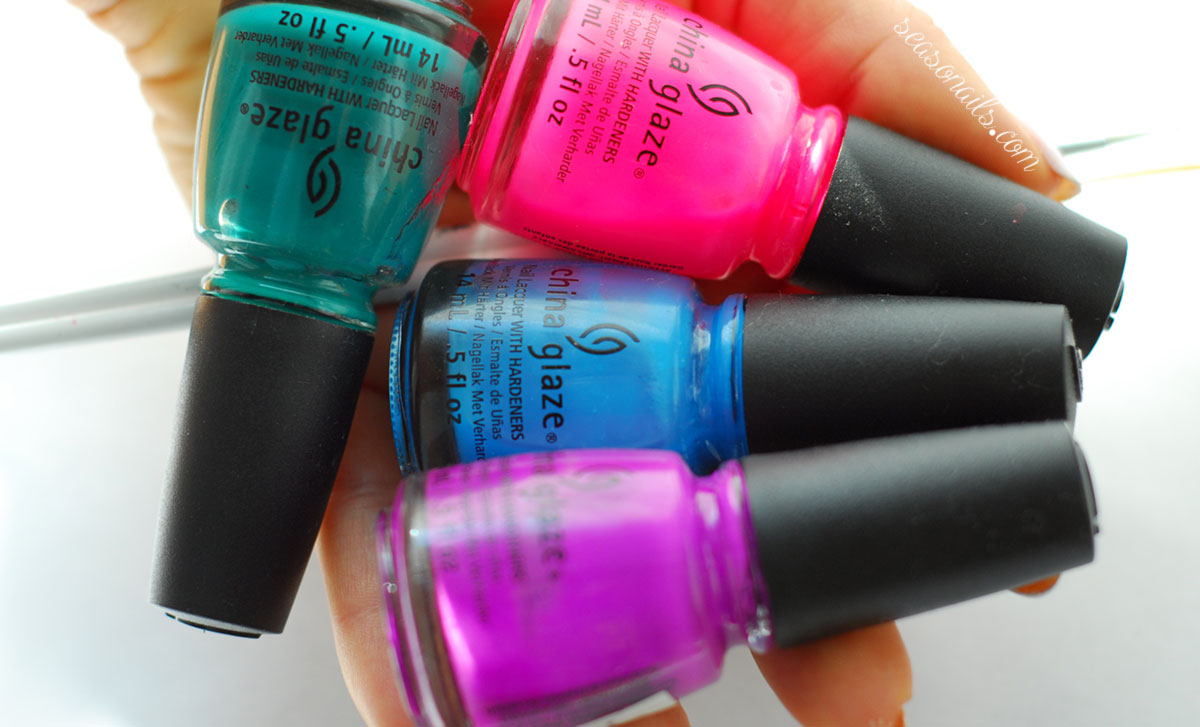
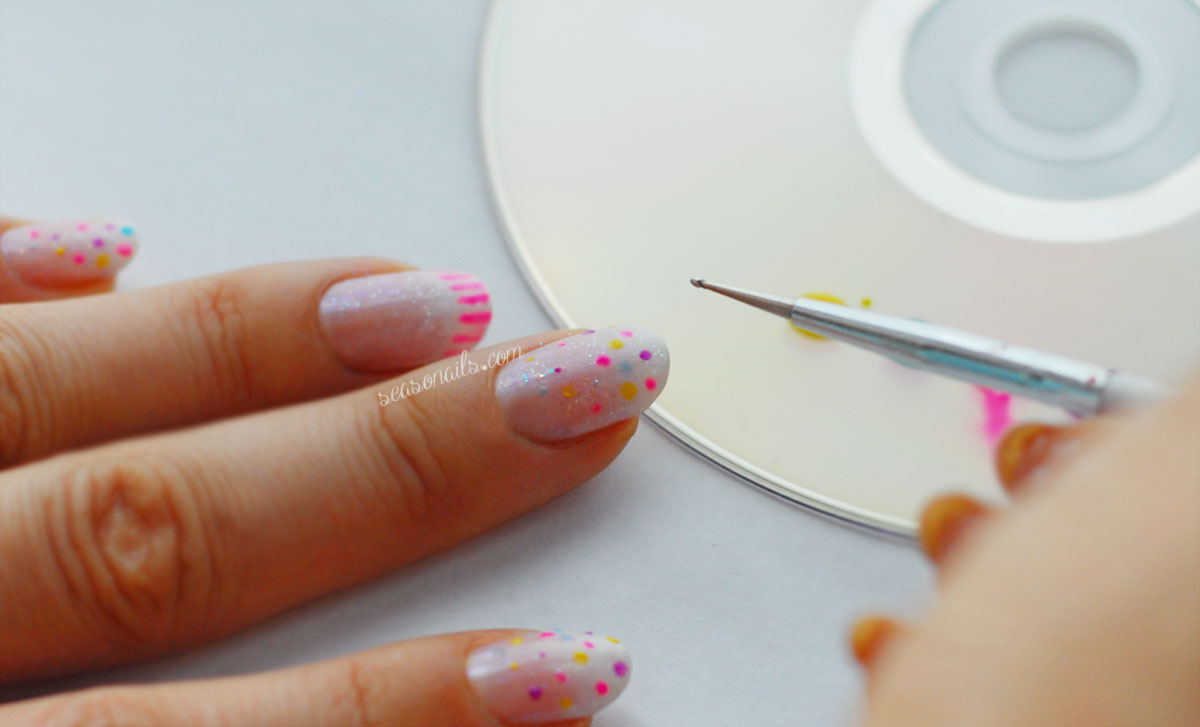
Wait for the gradient to dry completely and then use the smallest dotting tool or the tip of a toothpick and different drops of neon nail polish to paint skittles on the gradient French like in the picture below. Be careful to make small dots, otherwise your cute nails will look surcharged, not cute.
You can use the same dotting tool, a toothpick or a fine nail art brush to draw thin lines on the free tip of the ring finger nail.
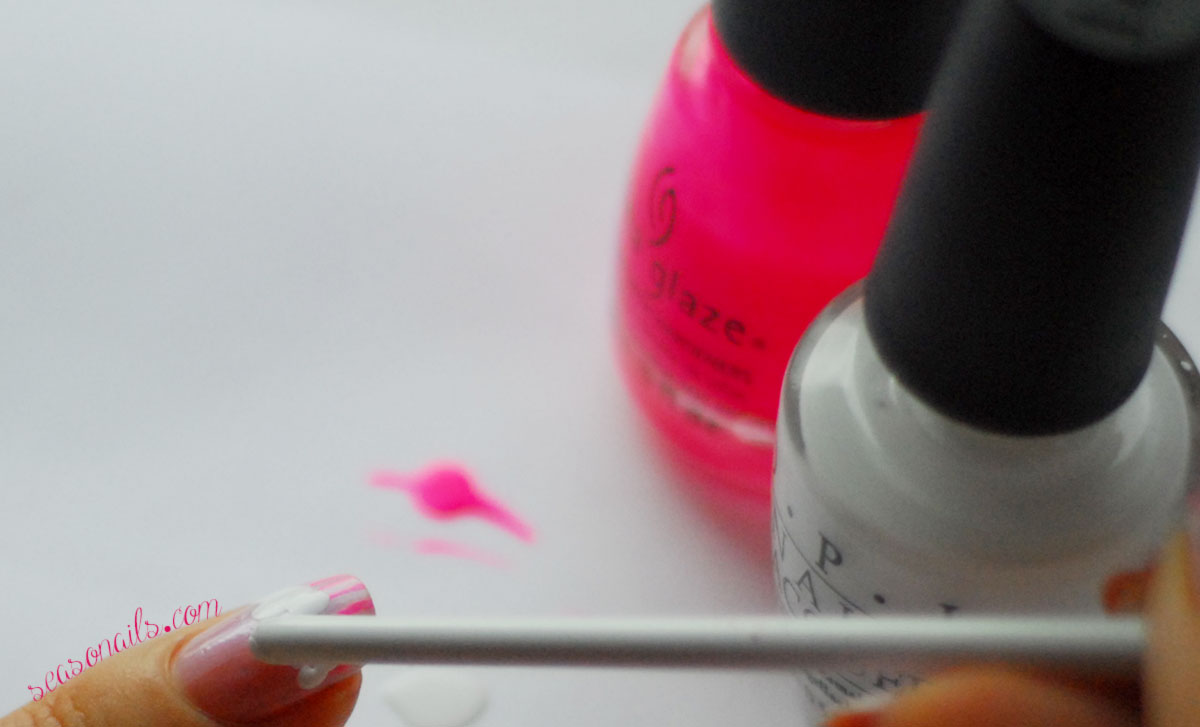
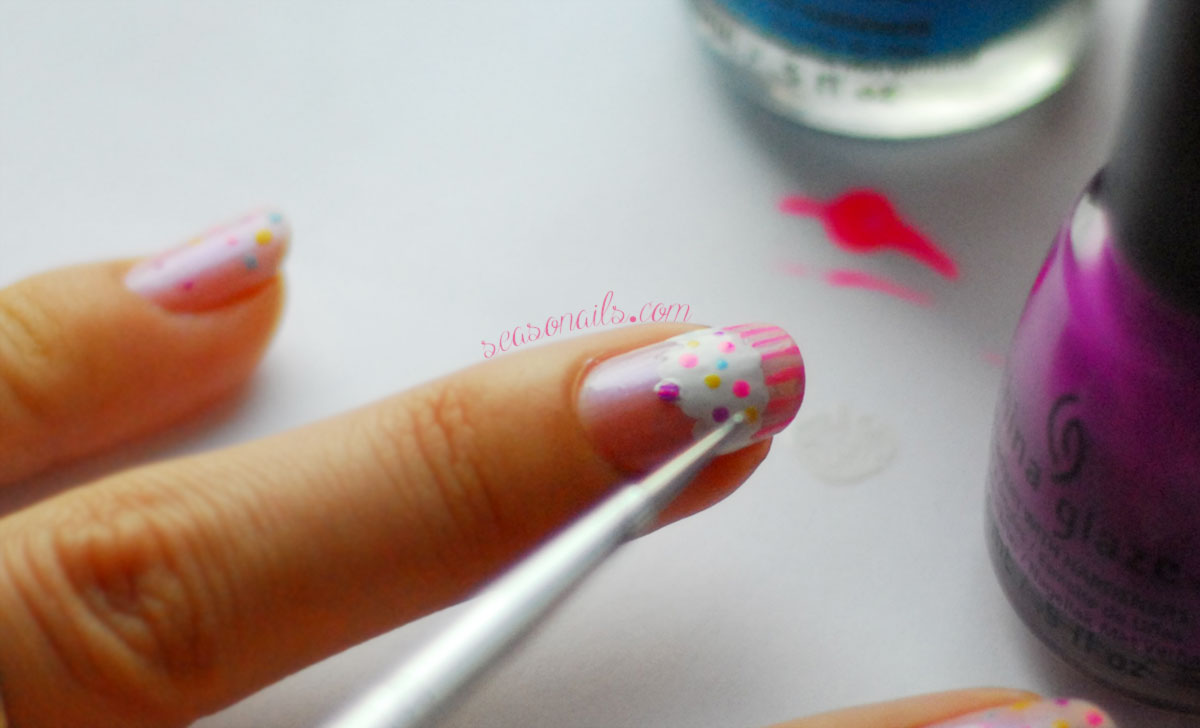
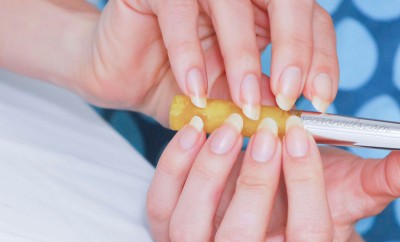
Then, using the other end of the brush or one of those pin needles with rounded plastic tip, make big white dots just above the lines, connecting them as to form a frosting-like mass of white.
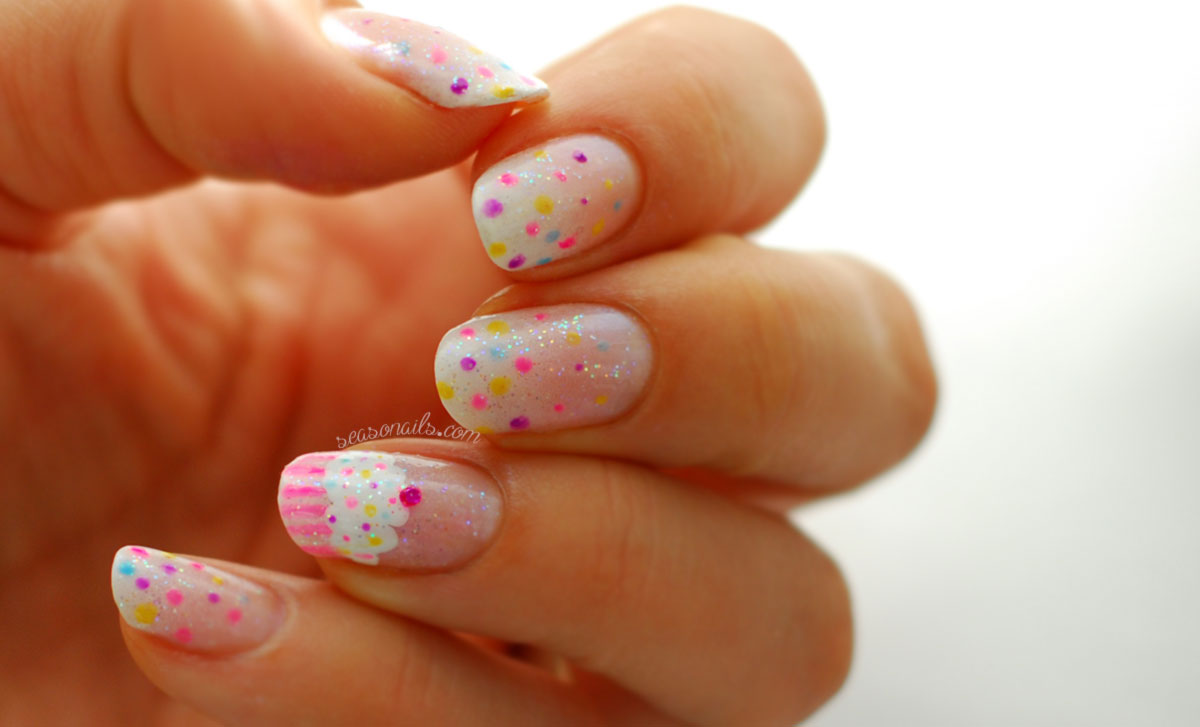
Using the same tool you did for the dots, apply really small dots on the white, in different neon colors. Make a bigger dot on top or put a nail stud on top, to finish the cupcake.
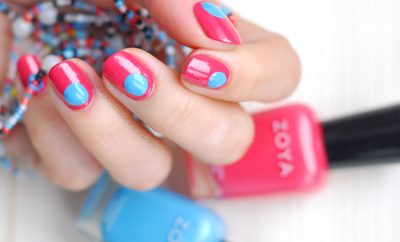
Top it off with a thin layer of holographic glitter to add extra sparkle and you’re perfectly good to go! (if you’re attending a girl’s Bday party, use pink for the lines.
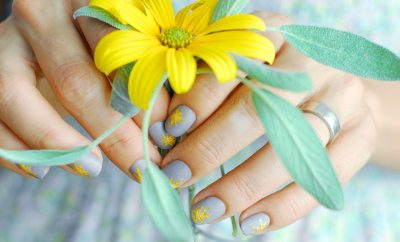
If it’s a boy, use blue. We went to a boy and girl’s co-joined parties so I painted one hand with pink and the other with blue. Subtle but different still. And just as beautiful). If you’re in the mood for more easy nail art, check out these amazing flowers to rock your nail word!




Latest Comments