
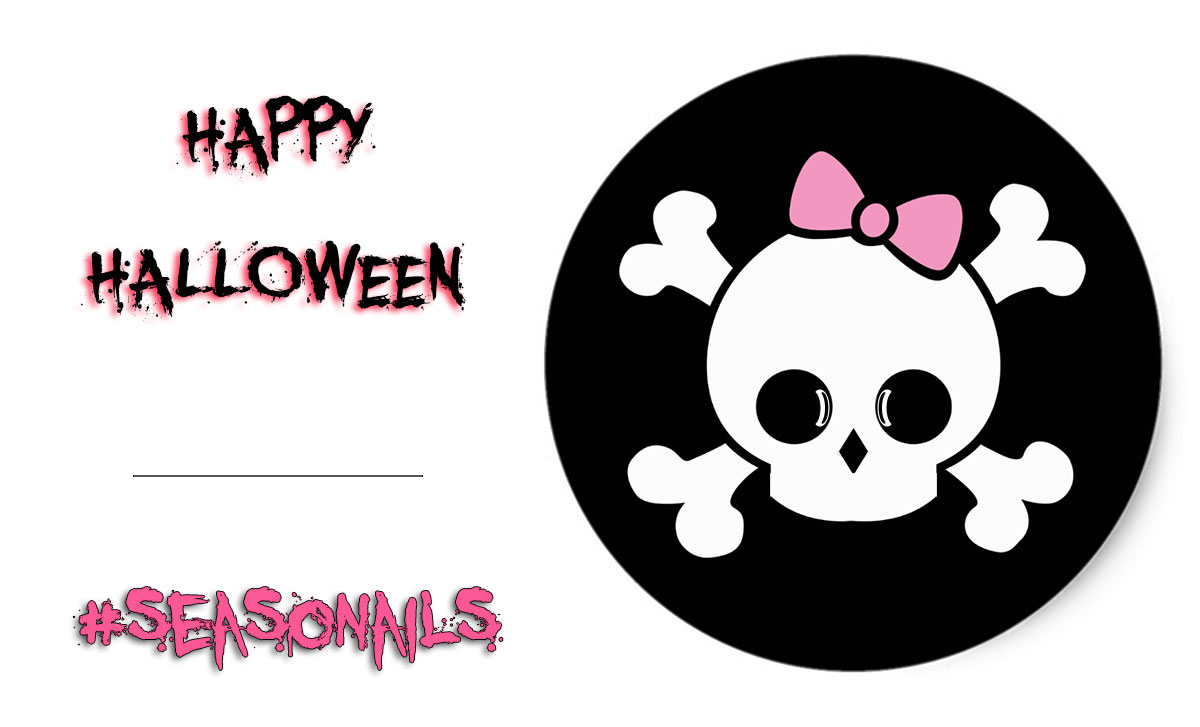
Nail Art
Skull Halloween Colorful Stamped Nails
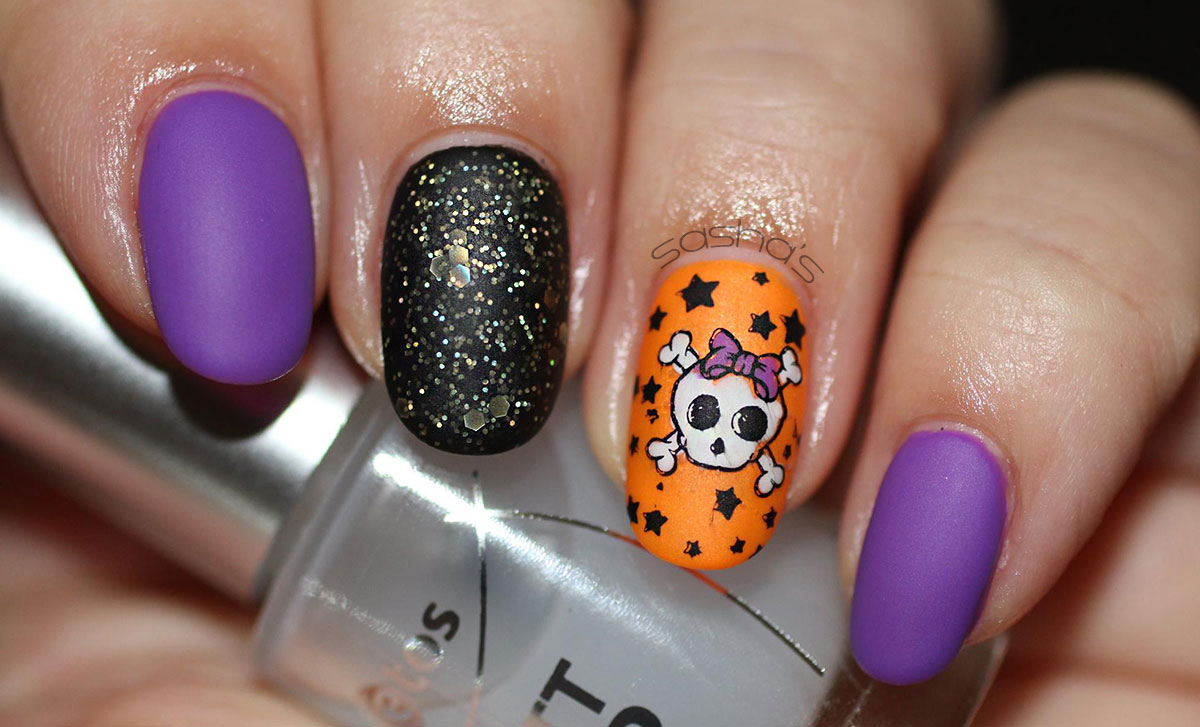
It wouldn’t be no Halloween without a fair share of skulls and bones, right? We have Sasha, our resident Stamping Specialist to do the skull&bones honors for us!
Actually… I think this nail art only confirms this year’s trend – cute Halloween nails! Since I first saw this bow skull, I was in love! Adding stars and glitter to the mix makes this Halloween nail art the superstar of this celebration! I’ll cut it short and leave it to Sasha because I’ll start to sound like a broken record with ‘fabulous’ on repeat!
Hi there, all you lovely nailistas! It’s been a while for me, and all because my dad got ill. He was in the hospital for four months and in the end, he wasn’t able to fight it any longer. So sadly, he passed away (thanks so much Cecilia, for honoring him in one of your awesome manis, that was really sweet of you and I felt really overwhelmed with awe… by it). I’m not sharing this with you to make you feel sorry for me in any way, but it’s the reason why I haven’t been very busy with doing intricate designs on my nails for Seasonails, or write tutorials. The past over five months also are the reason why I can’t seem to like the gory, creepy, bloody and sinister Halloween nails on me this year. While usually I absolutely love those!! But now I feel like it is inappropriate, so who knows, next year will be my year for the real Halloween stuff again!!
See also: Cute cartoon ghost nails for Halloween!
This time I do have a Halloween design for you, but the cute, funnier kind.
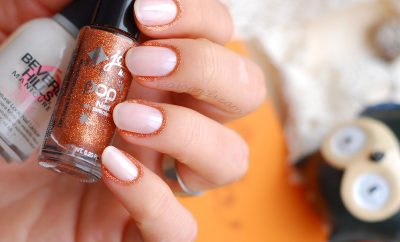
Apart from the usual items (orange wood stick, cotton pads, nail polish remover, stamping tools, black stamping polish, base coat, top coat, tape), for this particular nail art I grabbed a black polish, a gorgeous black-ish holo glitter polish, a greyed out white, a yummy orange and a delicious purple. Let’s go!
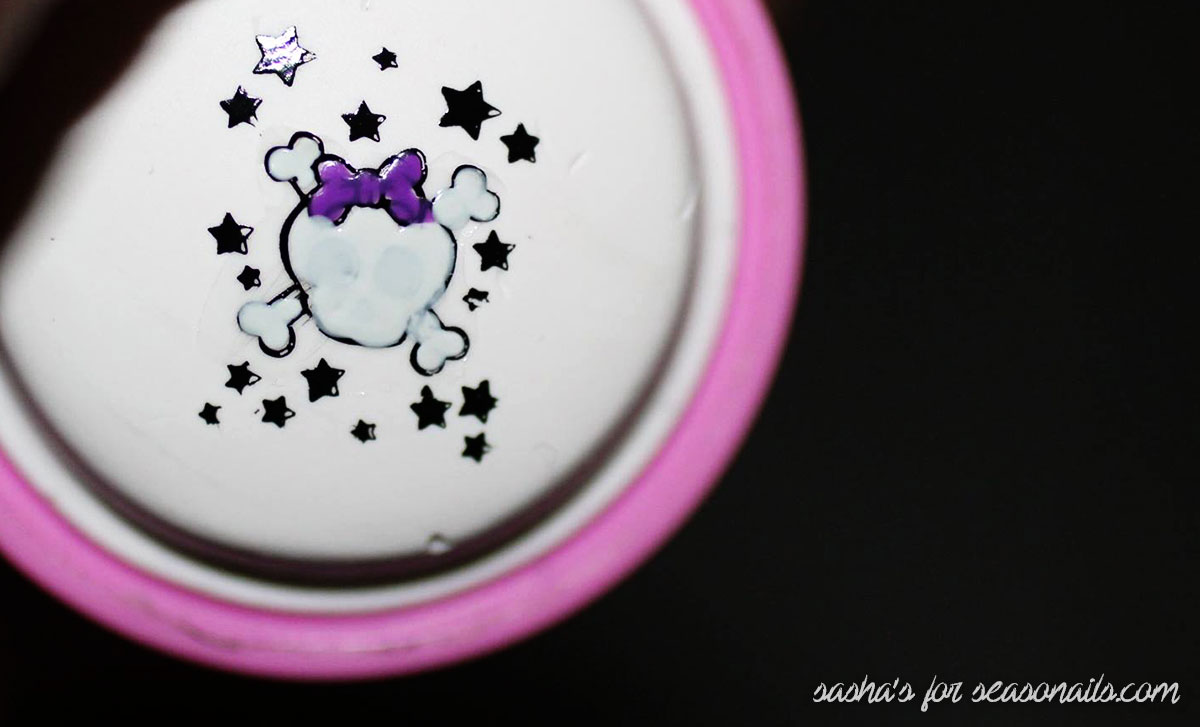
Because I was gonna color in my stamping image, I prepped this step at this stage; I transferred this cute skull with stars (I love me some stars to wish upon, what about you, Cecilia?) onto the stamper head, put some top coat just in the spot where I wanted to color it in and let that dry. In the meantime, I did my mani routine…
See also: Rag Doll stamped nails!
As always, I made sure my nails were clean and free from any oils and I applied a base coat. Right now, I’m using my second bottle of Orly’s Bonder. I absolutely love this base coat, I really do! Now the top coat on the stamper head had some time to dry, so I colored in the image; with one finer and one bigger dotting tool, I filled in the image; with the tiny dotting tool I filled in the bow with the same lovely purple as on my pinky fingers, index fingers and thumbs, and the skull and crossbones I did with the bigger dotting tool and the greyed out white polish. I let that dry again.
See also: Black&white Kitty nails for Halloween and more!
Then I applied the black polish to my middle fingers, the orange to my ring fingers, and I applied the purple to my remaining fingers. The purple took 3 coats to reach opacity and the orange even 4 coats (I always do thin coats), but these colors are so worth it!! I applied two coats of the black and topped that off with this beyond gorgeous, really Halloween-y, merky looking holo glitter polish. For me, this is really drool worthy!
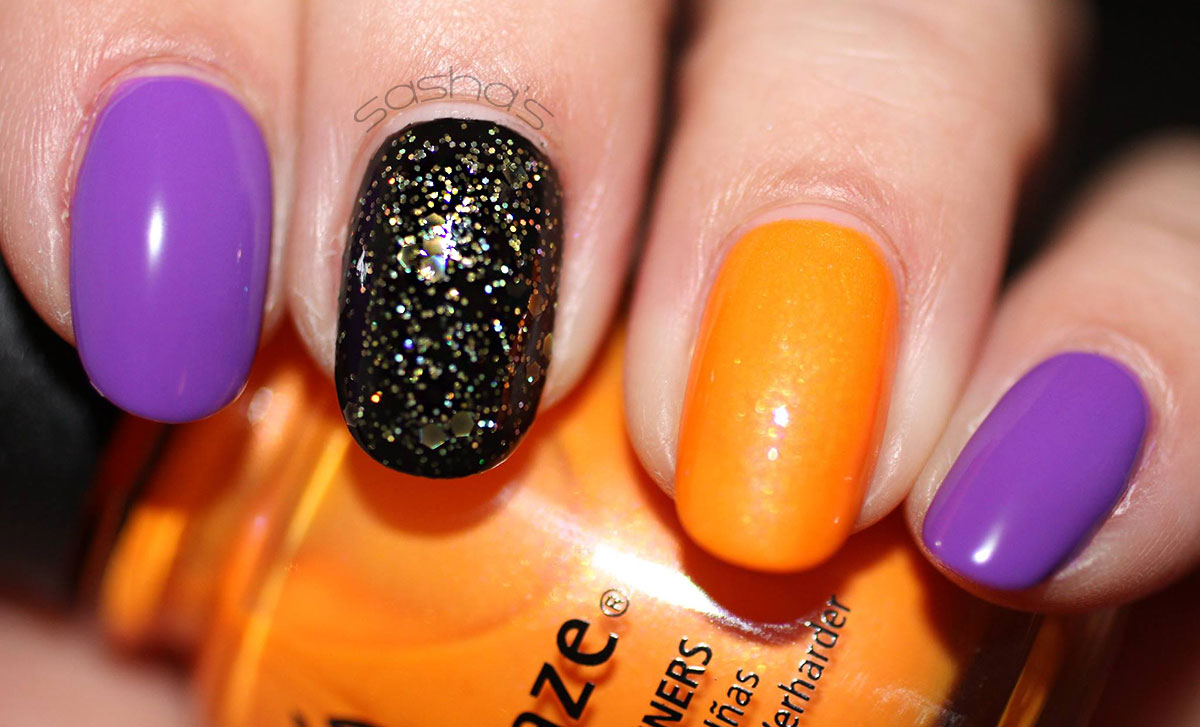
When the glitter polish was dry to the touch, I applied a fast drying top coat to all my nails. The black-with-glitter nails and the purple nails were ready at this stage, so let’s concentrate on the orange accent nails!
By this time, the images on the stamper head are fully dry, so I applied some nail art transfer foil glue on the orange nails, let that dry and stamped the images onto the nails. Because of the glue, every little bit of the image will stick to the nail and stay put!
See also: Fabulous black lace nails!
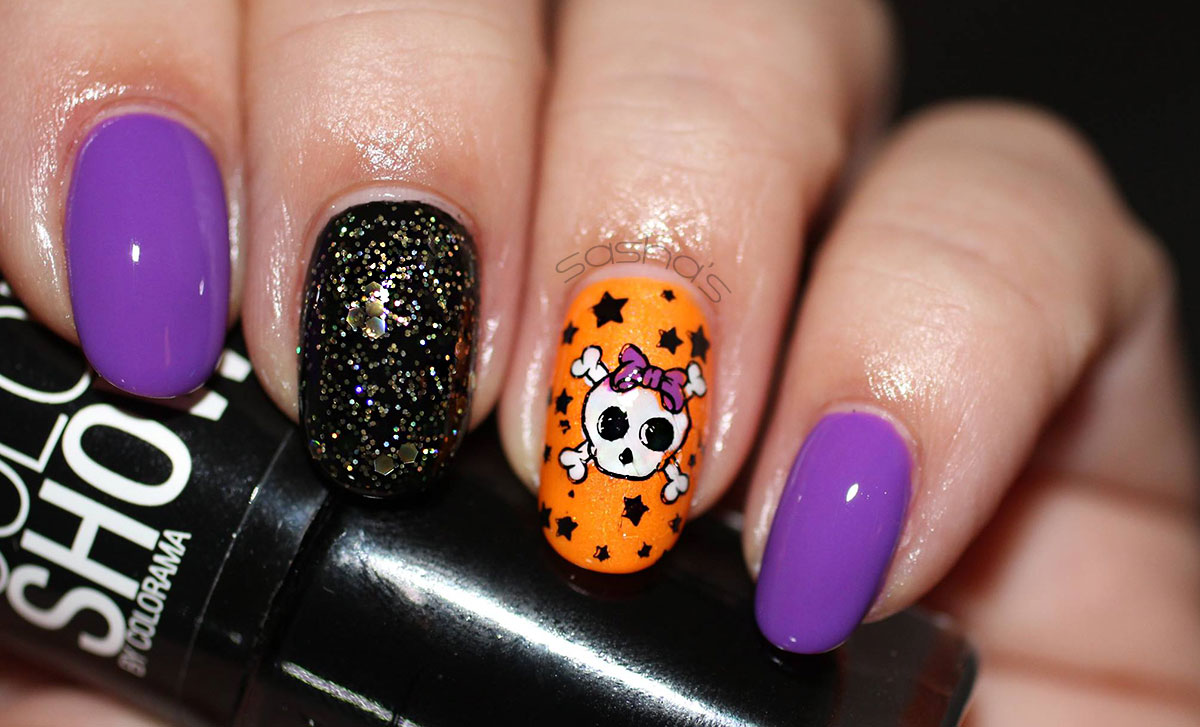
I applied another layer (with top coat I don’t tend to apply such thin layers ^_- ) of my fast drying, high gloss top coat, took care of my dry cuticles with some lovely cuticle oil, and BOO! There was my Halloween 2015 mani.
And as a bonus for Cecilia (I am so grateful to have her in my life and to be on this journey with her), I decided to mattify my set of Halloween nails, so everyone can have it her way!!! Take a pick, which do you prefer, the glossy or the matte mani?
Hope to see you all soon here on Seasonails, with another fun stamping mani. Have a nice and safe Halloween!!
Liefs, Sasha
See also: Girly Goth bats nails for Halloween!
Thank you so much Sasha! For this nail art and for sharing so much about your personal life with us! I’m ever so sorry about your loss and I know nothing could make up for that, but I will always send positive and loveful vibes your way, wishing you be strong!
Oh, and yes – I’ll be using all the stars on our nails and beyond our nails to wish upon! How I love this cute skull! It’s such a tasteful, warm and happy nail art, I’m so grateful for it, Sasha! You can see more of Sasha’s amazing stamping nail art on her FB page.


1 Comment