
Nail Art
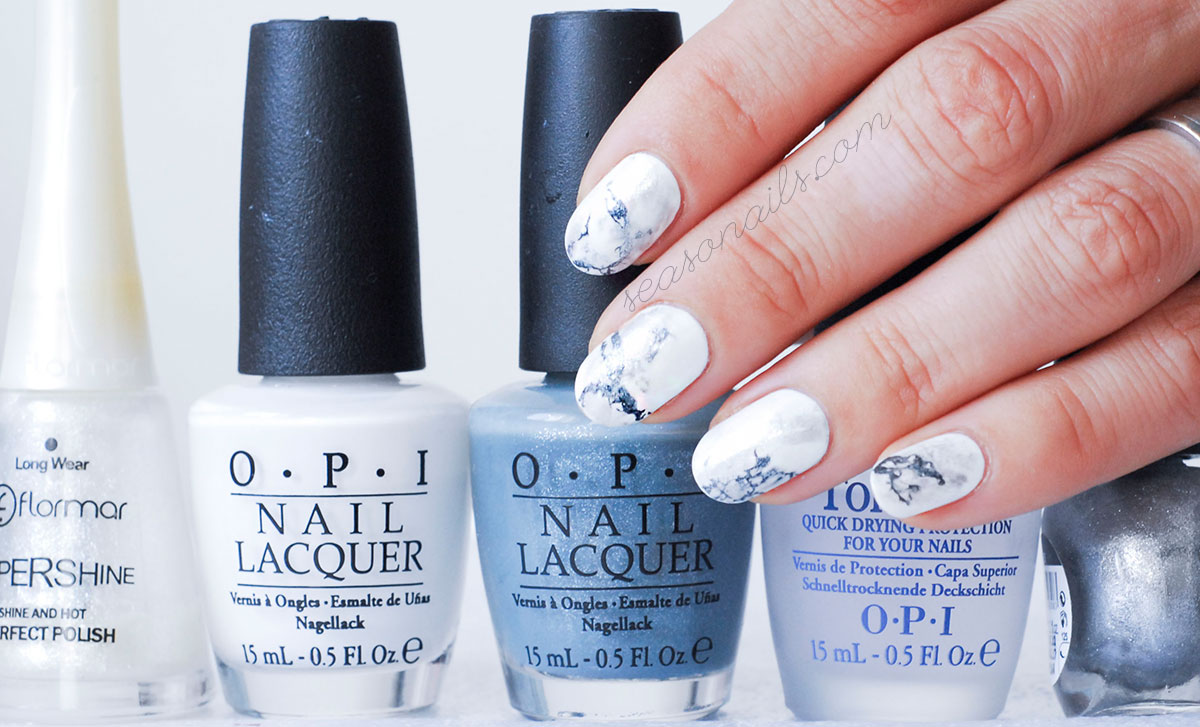
Black & White Stone Marbled Nails
How do you know you love a particular type of nail art? You can’t wait for the next opportunity to recreate it or to develop a similar one in a different color scheme! That’s my case with the marbled nail art!
I was also looking out for a new way to organize my home office which doubles as a polish room and home schooling room for the kiddos.. Hard task, I’m telling you! And since I want a floating long desk, I looked into (kitchen) countertops that could double as desk tops. Lo and behold: the marbled stone! Instant love – stone marbled nails, here I come!
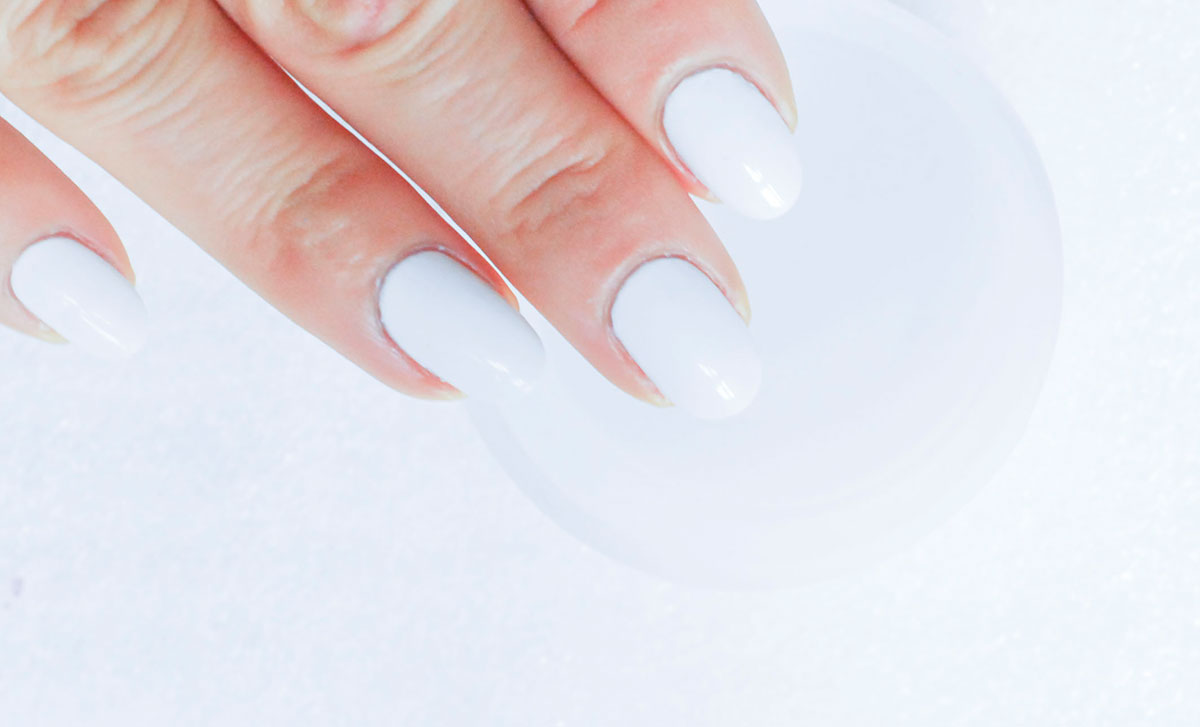
You’ve seen me do the gemstones nails not long back, these black and white marbled nails use the same technique, with nail polish, water and perfume but also the dry-brush technique I love so dearly! First things first: paint all your nails crisp white and then add a clear topcoat.
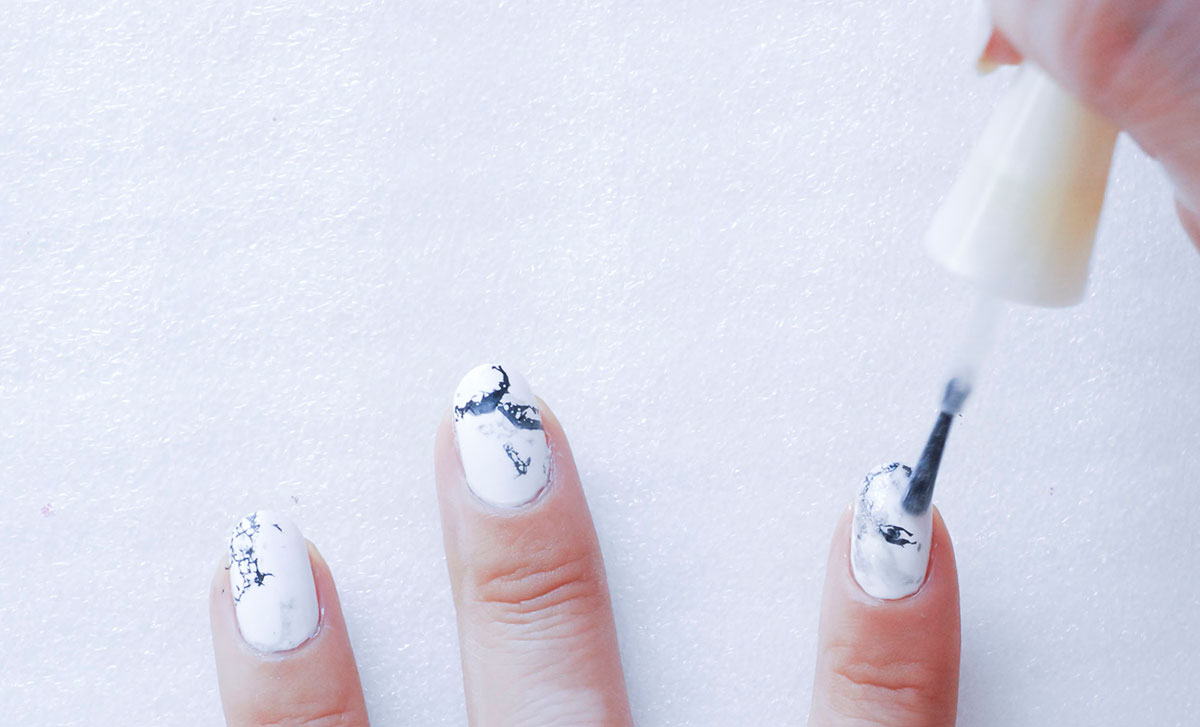
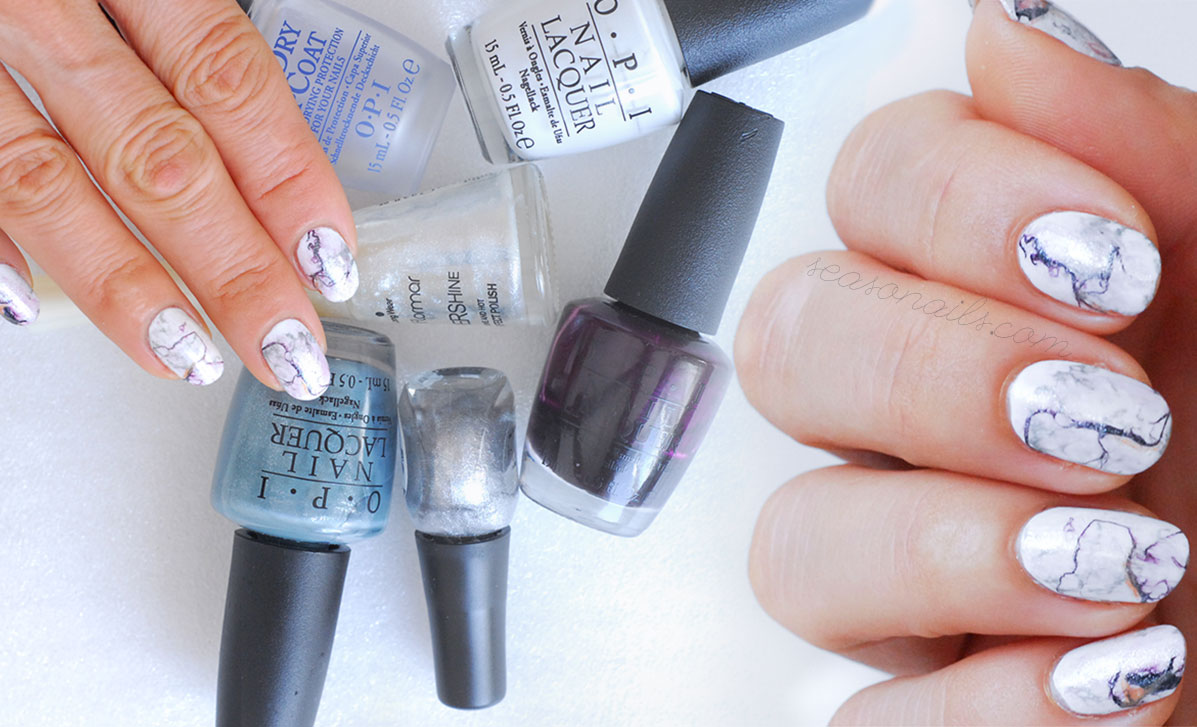
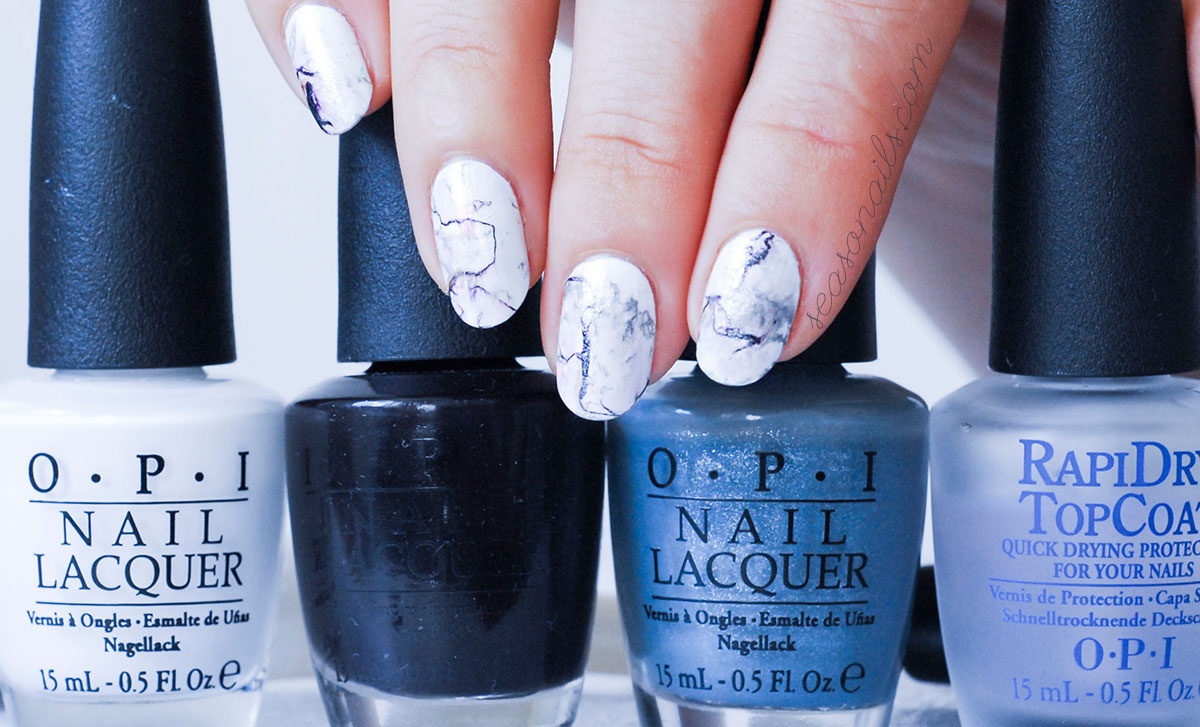
Pour some (non-calcareous) water in a small bowl or plastic cup like me, gather your black and grey polishes, some silver too and a shimmery topcoat. Don’t forget the perfume bottle! Your favorite eau de perfume is essential in the making of this nail art! Proceed by dropping two or three drops of the darkest polish (black or indigo blue or dark burgundy) on the surface of the water, wait for it to diffuse slightly and then, from, say 2 inches away, spray the perfume on the polish. If it starts tearing like crazy, you’re all good! If nothing happens after you sprayed your perfume, change the polish! Some work, some don’t, I’m no water marbled specialist but a trial-and-error kind of gal..
See also: Colorful abstract nail art looks sophisticate yet it’s incredibly easy to do!
You don’t need much polish and you can totally dip all your 5 nails at once! I actually like that better because I’m trying to recreate a natural stone effect, I need finger-to-finger visual continuity in my pattern. Look at that beautiful black marbled!
Now cover it with some metallic silver dry brush, then the shimmer creamy topcoat and the final topcoat to seal the deal. Ta-daaah! That’s all! Aren’t they gorgeous?
See also: More marbled nails, made easy with dry-marbled technique!
See also: Crafts idea with nail polish!




2 Comments