
Nail Art
Stamped Edgy Valentine’s Day Nails
Hi there my fellow nail art stamping addicts! With Valentine’s Day right around the corner, I got this idea to make a mani that’s a little egdy, like a graffiti-filled wall, but still cute. The end result of my idea was so up my alley that I absolutely adored it.
When ready, I noticed I only made 4 pictures of it, but I think it’s enough to get the general idea and you can always ask me more questions about it, I’ll be more than happy to answer them! Let’s start with this super fun design with a list of what I used. As you’ve seen before in my previous Stamping column articles, I follow pretty much the same routine when preparing my nails for stamping.
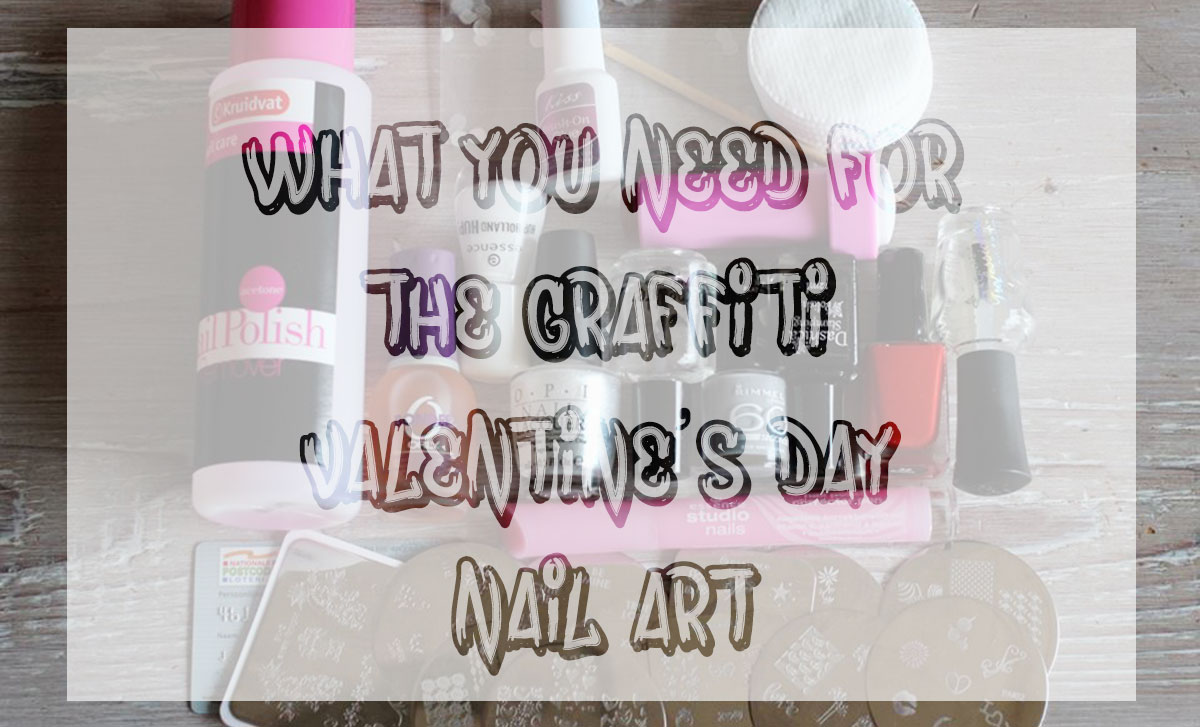
Rounding the nail polish remover, orangewood stick, cotton pads, base coat, top coat, white nail polish, white shimmery nail polish, top coat for stamping, light grey nail polish, black and red stamping polish, nail polish remover corrector pen, stamper, scraper/store card, stamping plates. I also included cut out rounds of tea bags and nail glue, because I had a tear in my pinky nail and with these two items I repaired that.
See also: Lovely watercolor Valentine’s Day nails!
When my nails ware completely free from any nail polish from my previous mani and or any oils, I applied my base coat to protect my natural nails and to let the mani adhere to the nails better. Then I applied the white polish and on top of that, the white shimmery polish (I made sure that it was opaque) and top coated that with a quick drying top coat and let that dry.
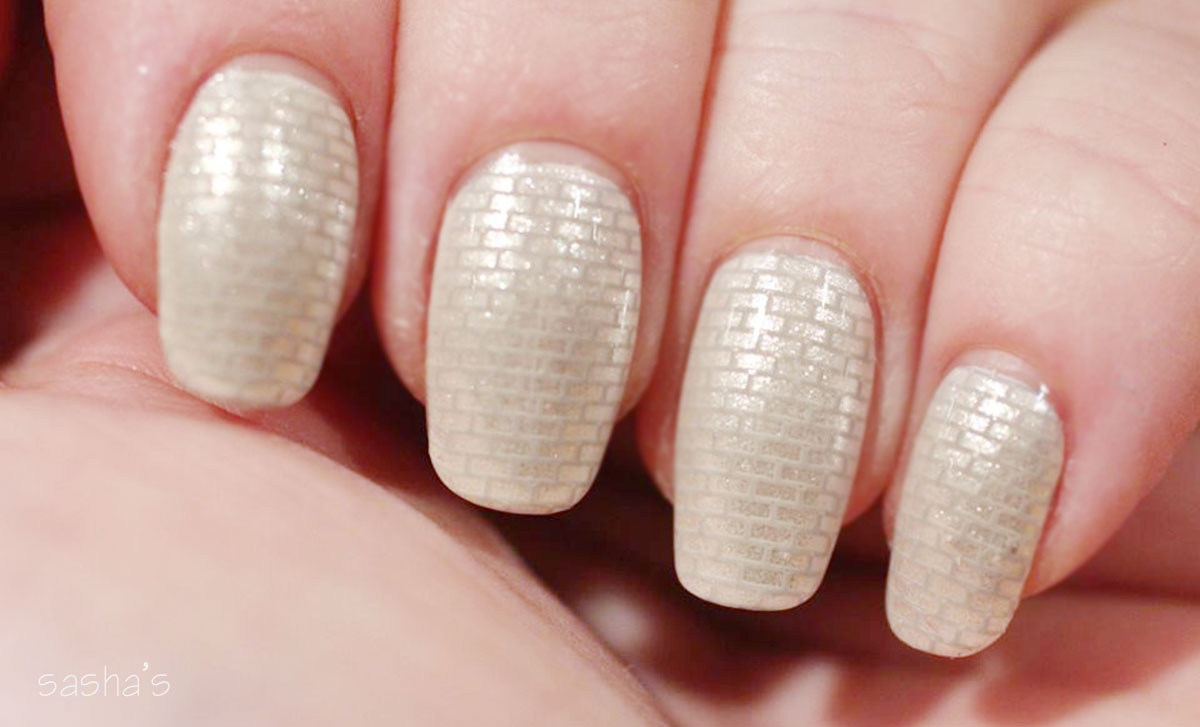
Then I put some light grey polish on the brick wall image, scraped it over the entire image, picked it up with my stamper and transferred it onto all my nails. And here comes the fun part of this mani; stamping all those Valentine’s Day related images, more or less randomly, in black onto the brick wall, with some images in bright red for accents. Just keep on stamping the most cute and adorable images to create a wall filled with love graffiti. In this mani, I used 14 different images (15 if you count the brick wall too) and it’s just a coherent, beautiful mess , just on this four nails. Imagine that… I know it sounds a bit much, but it all falls together well!
After this super fun part, I applied a coat of the special stamping top coat to protect the stamped images from smudging and when dry, I topped all off with my super quick drying, high gloss top coat. You know, I just love high gloss nails! After the top coat had dried, I applied some cuticle oil on my cuticles and my kinda edgy, yet adorable Valentine’s Day mani was done.
See also: How to do your own fabulous black lace nails!
Believe me, this was so much fun to do and don’t you love the combo of white, black and red? I sure do, I kept starring at my nails, I can tell you that much, and I got so many compliments over this mani! just let go and have fun with it, you don’t have to be super specific about it or even too rigorous, it’s all about love and fun! Don’t hesitate in asking me if you have any question about this mani or any other nail art I’ve done before!
I hope you liked this Valentine’s nail art and step by step tutorial and I hope you will all have a lovely Valentine’s Day!
Thank you Sasha for your always wonderful tutorials! To keep up with Sasha’s fantastic designs, you can follow her Facebook page!







Latest Comments