
Nail Art
Valentine’s Day Nails Watercolor Hearts
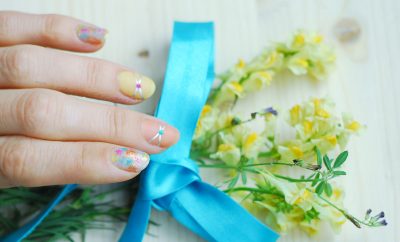
This is, by far, my favorite Valentine’s Day nail art! Happy nails make happy days! Don’t you feel like smiling wide when you’re wearing playful nails? I know I am!
They might look elaborate, but let me tell you: these are among the easiest nails you can try and I know firsthand that people won’t stop staring at your nails and compliment you about it! Also – if you want to refresh your nail art, all you need it just cleaning your solid color nails and paint them a different shade of pink, blue or why not? Sunny Yellow!
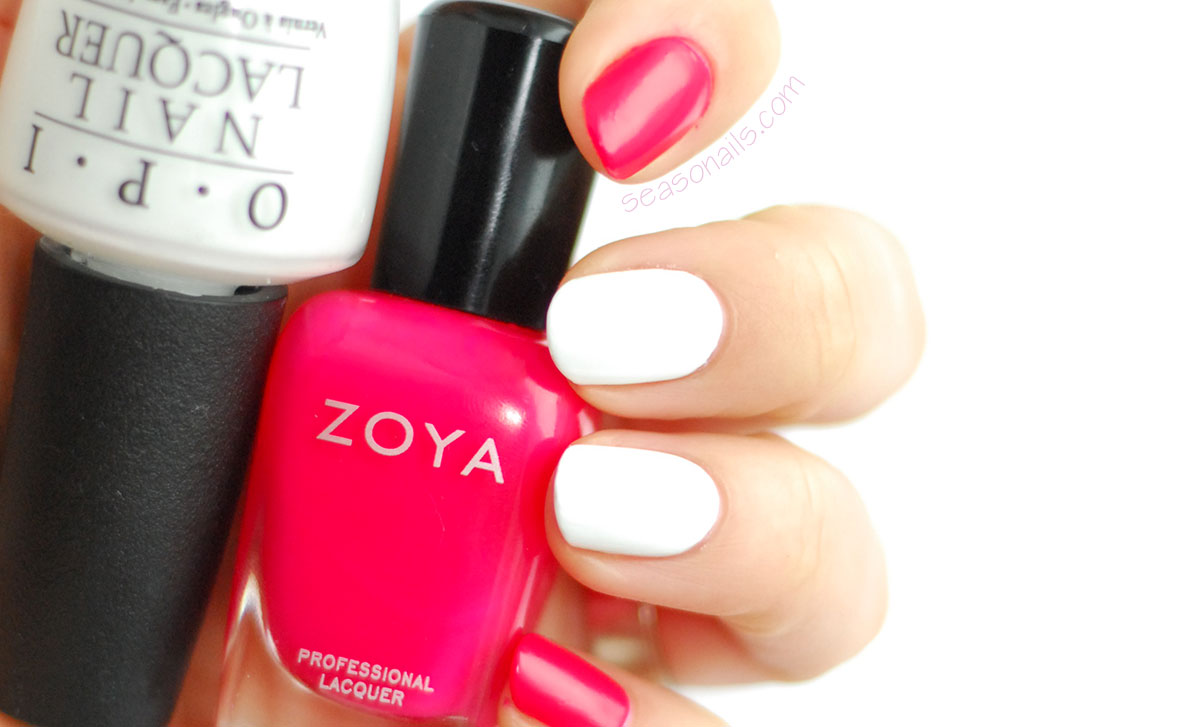
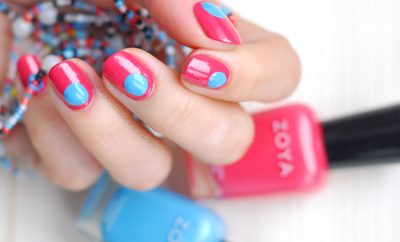
You need to a solid white and a solid cream – I used pink nail polish for this combo. OPI Alpine Snow and Zoya Ali. A special mention for this Zoya – it has an amazing texture! Creamy and more matte, it has a satiny finish I almost didn’t top-coated, that’s how beautiful it looks!
See also: More gorgeous nail art with Zoya Ali!
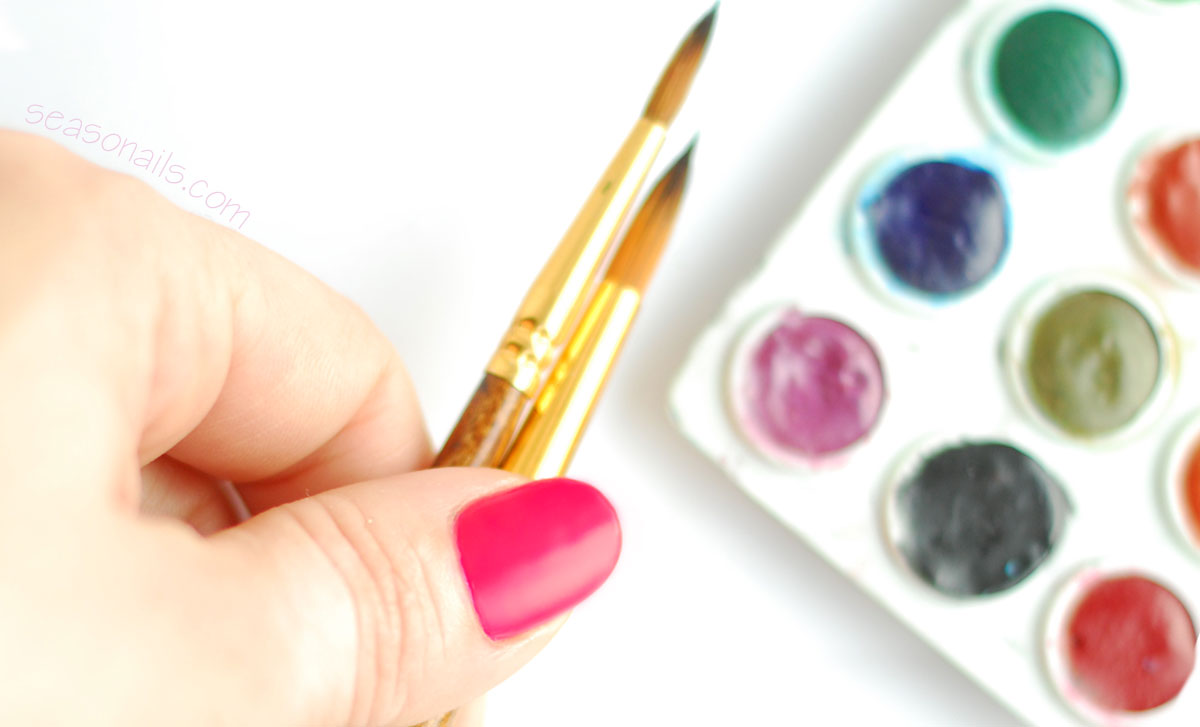
Once your nail polish is all dry, you need a tube of white acrylic paint and your watercolors at hand – first you prep your white nails for the watercolors by painting them with white acrylic. The watercolors don’t adhere to the shiny nail polish surface and the acrylic adds the perfect base layer for watercolors! After it dries, it’s time to put your drawing skills to work!
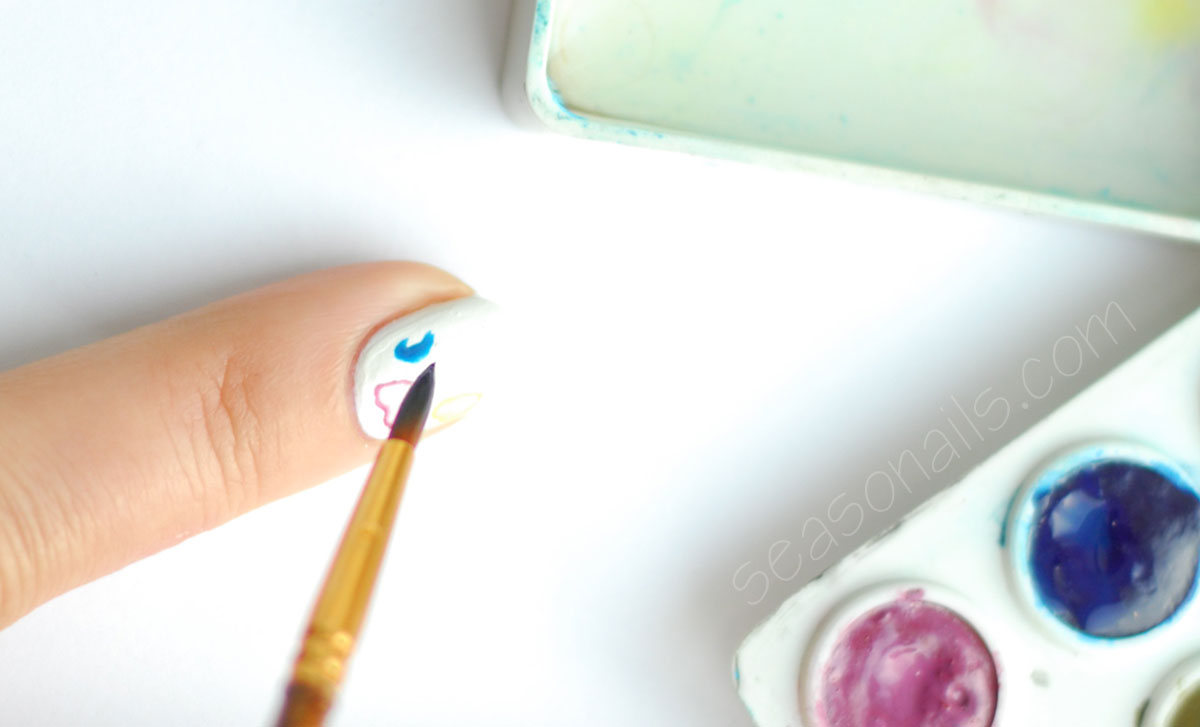
With a special watercolor brush (I tried non-watercolor brushes, they don’t work as well as the natural hair watercolor brushes, so I really recommend you use good brushes for the best results) you’ll be drawing the hearts. You need an extra watercolor brush, bigger and dry, keep it next to you (and the paper napkin). With the detail brush dipped in (water and) color, start drawing your first heart on the nail. Draw it smaller, so if you have any worries with the edges, you can contour it bigger to make it perfect!
Remove the excess color from the brush on the paper napkin (don’t brush it or you’ll remove tiny paper flakies you don’t need when painting such small details). Now take the bigger dry brush and let it absorb the extra water on the surface of your watercolor heart. The result is fascinating – the watercolor contour around a very lightly colored heart! If you want to wash out more your hearts, you only need to apply a bit of water with the detail brush and repeat the absorbing process with the big, dry brush.
Watercolors dilute indefinitely, so there’s no need to worry even if you crossed the edge. All you need is clean water and a clean brush to get the color out.

See also: Delicate nails for Spring!
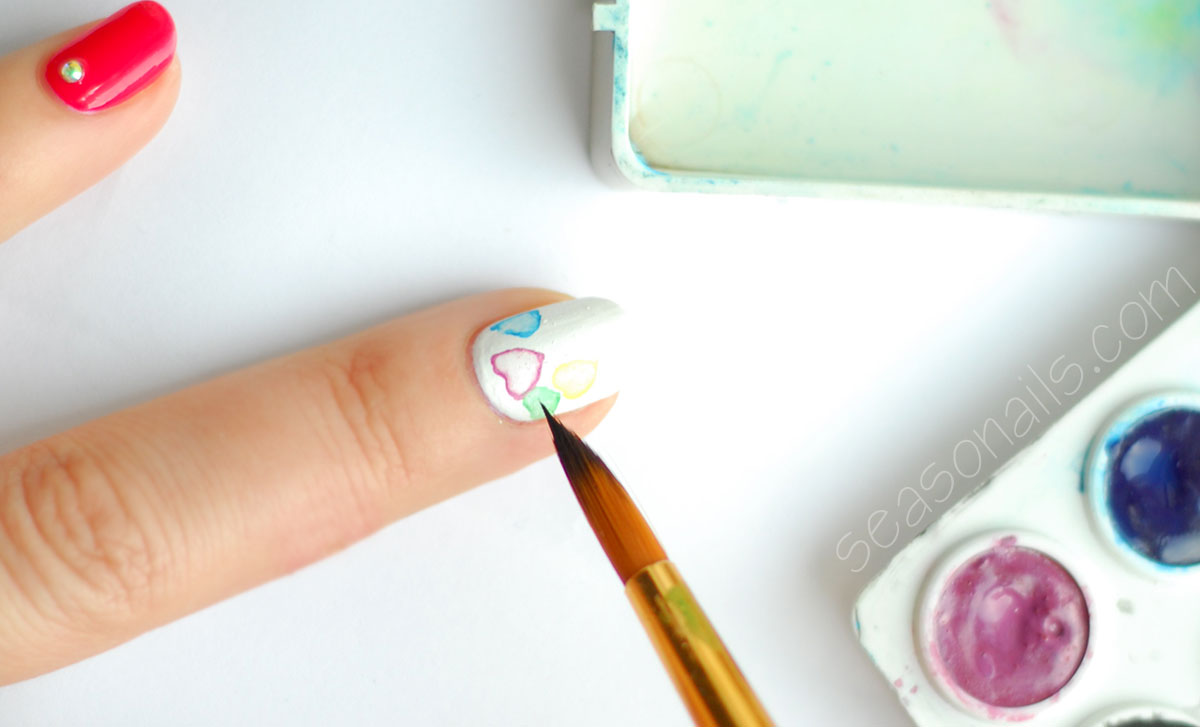
Repeat the watercolor hearts process with the desired colors and sizes until you’ve covered as much as you wanted from the nail surface! Don’t stop painting or your watercolors won’t adhere to the acrylic if the surface of the nail gets even the slightest greasy! Once you’ve finished a nail and the watercolor hearts are dry, seal it with topcoat to ensure you don’t mess the new gorgeous art! Proceed to the next nail, repeat the steps above and seal.
If you want, add a tiny rhinestone for each of the solid pink nails, topcoat and you’re set for Valentine’s with the most amazing nail art there is!


3 Comments